

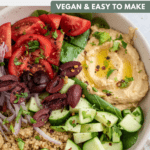
Hummus Nourish Bowl
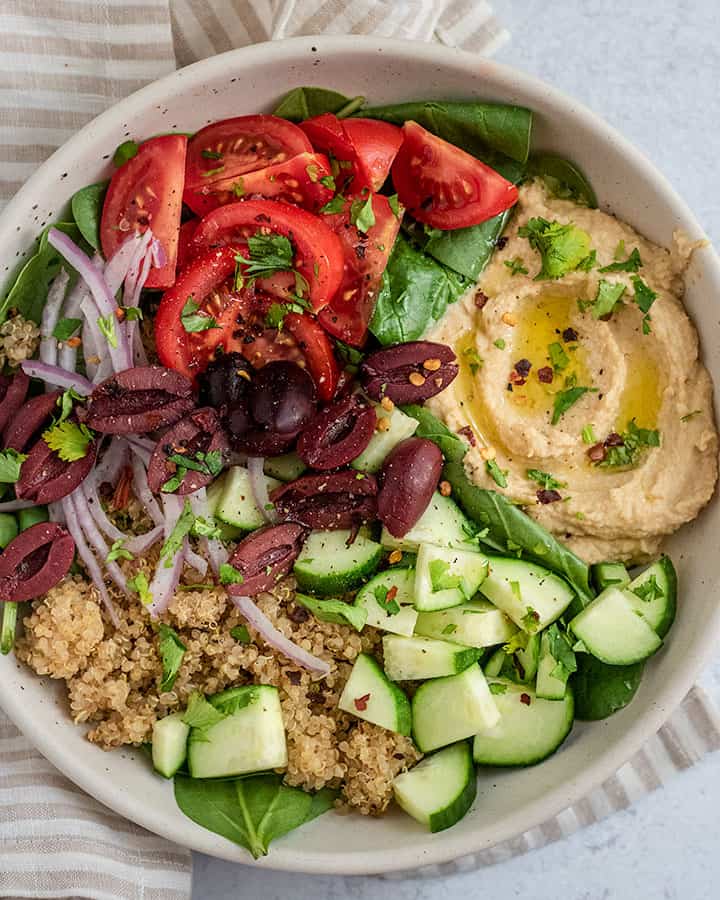
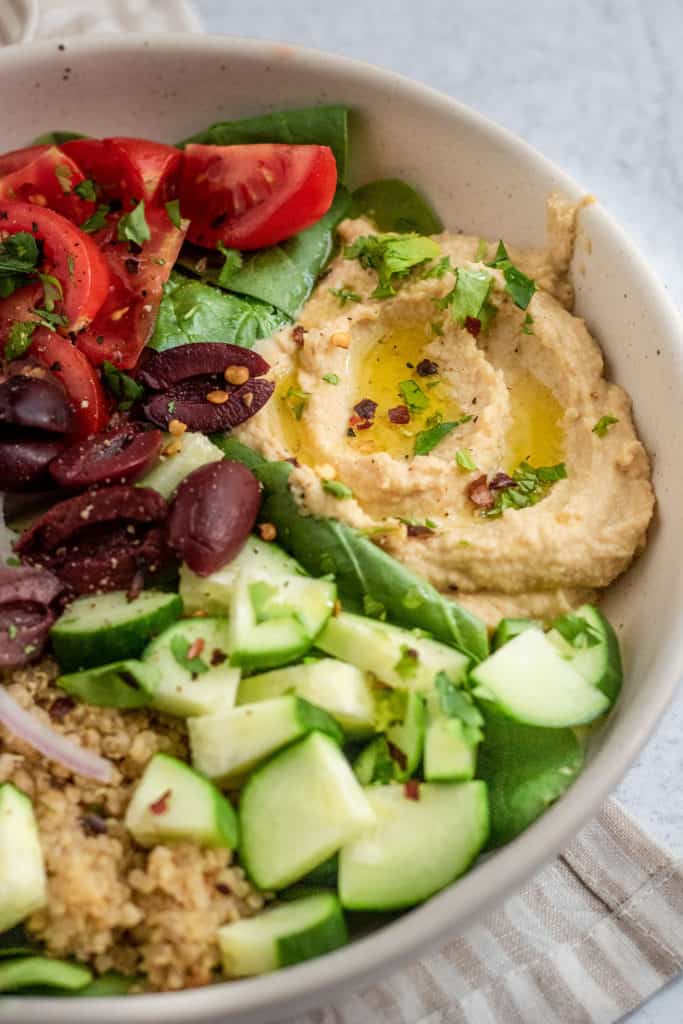
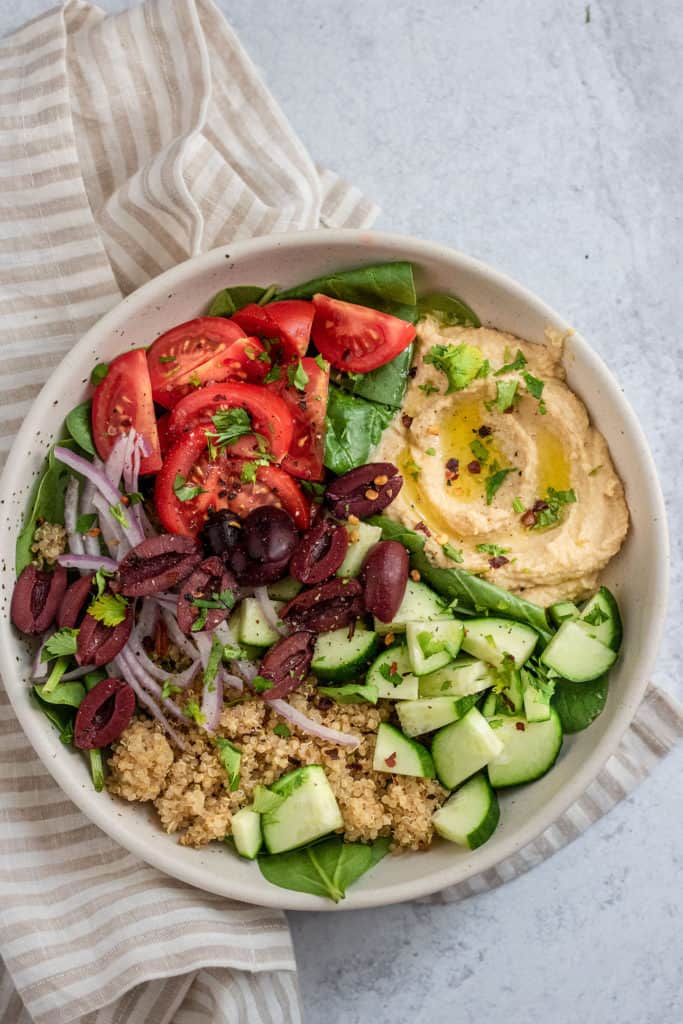
An easy Hummus Nourish Bowl loaded with quinoa, fresh vegetables and creamy homemade hummus. This healthy bowl is quick and easy to make, which makes it the perfect meal prep for lunches through the week.
If you are just using hummus for dipping your carrots then you are missing out on a lot of yummy things you could be doing with it. From making the most delicious Baked Hummus Pasta (trust me, it’s perfect creamy delicious joy) to using it to flavor your favorite Chickpea Salad Sandwich Recipe, hummus is amazing.
Making your own hummus is a lot easier than you think. It’s also cheaper and allows you to customize it more to your preferred palate. And, having a really great homemade and creamy hummus you can make can be the key to elevating nourish bowls just like this one.
Why You’ll Love This Hummus Bowl
- The hummus works as the best flavorful dressing for all of your vegetables and quinoa. It’s garlicky with a lovely tang and very perfectly creamy to help enjoy every bite of this bowl.
- Making the hummus is super easy. We use canned chickpeas to make the whole process quick and easy.
- You can prep this for the week. Once all the ingredients are prepped, all you have to do is assemble into containers or bowls when ready to enjoy.
- This whole meal is vegan, gluten-free and super easy to customize. If you need some ideas for how to change it up, I have them listed below, so make sure to keep reading.
Key Ingredients for Your Hummus
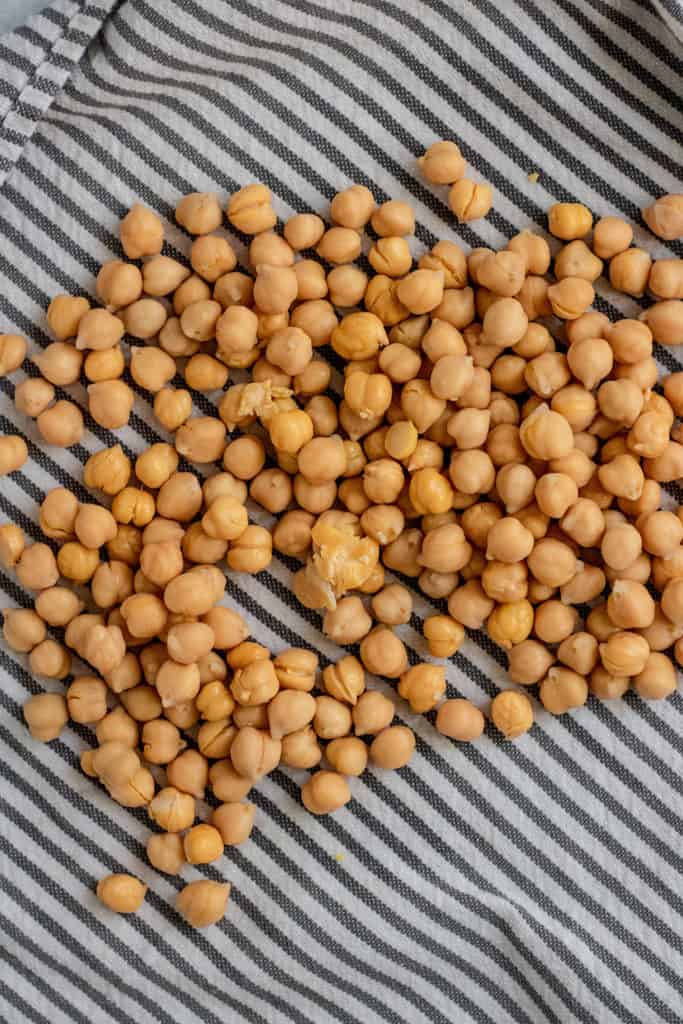
- Chickpeas: Use canned or fresh chickpeas. For this recipe, I used canned to help save on time.
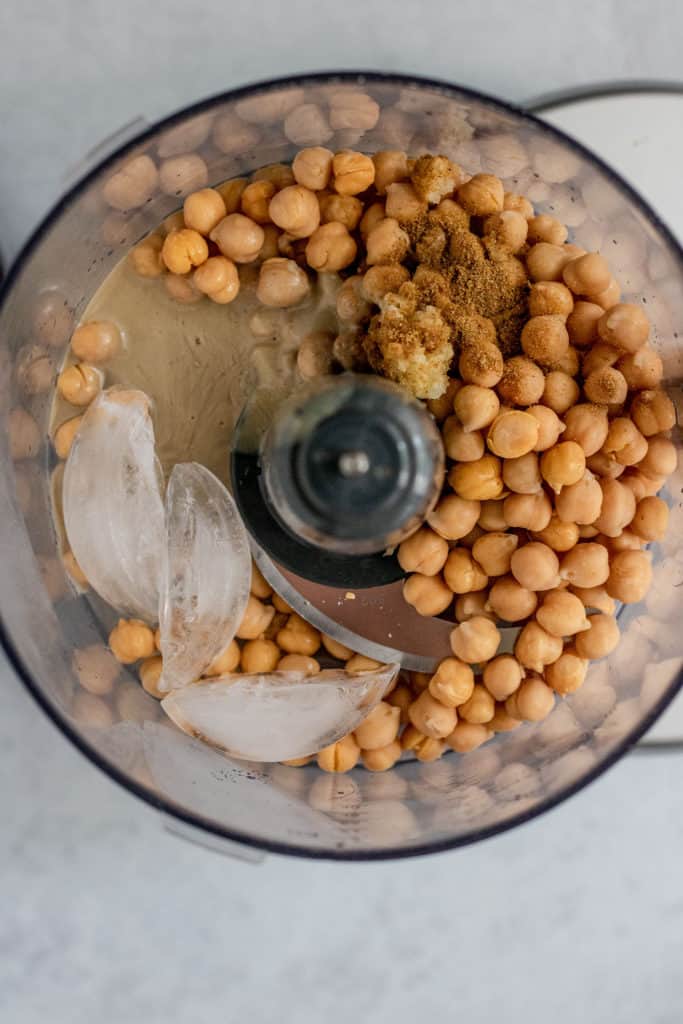
- Tahini: Use a good quality tahini. I personally like to use Soom Foods tahini as it is very creamy and tastes very smooth without that bitterness.
- Lemon Juice: Fresh is best.
- Garlic: I used fresh raw garlic for this. Since my food processor is not super powerful, I crushed it before adding it in to make sure it blends into the hummus really well.
- Cumin: Gives it a lovely robust flavor.
- Ice Cubes: It helps make the hummus fluffier in my opinion. After seeing many versions of hummus using this method, I confirmed that it really does make a difference.
Tips for Making Creamy Hummus
- Remove excess chickpea skins. Place your chickpeas in a clean kitchen cloth after rinsing and draining them from the can. Gently rub the cloth along the chickpeas to help remove some of the chickpea peels. Removing those extra chickpea skins will help to improve the creaminess of your resulting hummus, so don’t skip this step if you can.
- Check the firmness of your chickpeas. After rinsing your chickpeas, place one chickpea between your fingers and press on it. If it easily squishes in your fingers, it is perfect for blending. If your chickpeas are a little too firm, you can boil them for a few minutes to help soften them before blending.
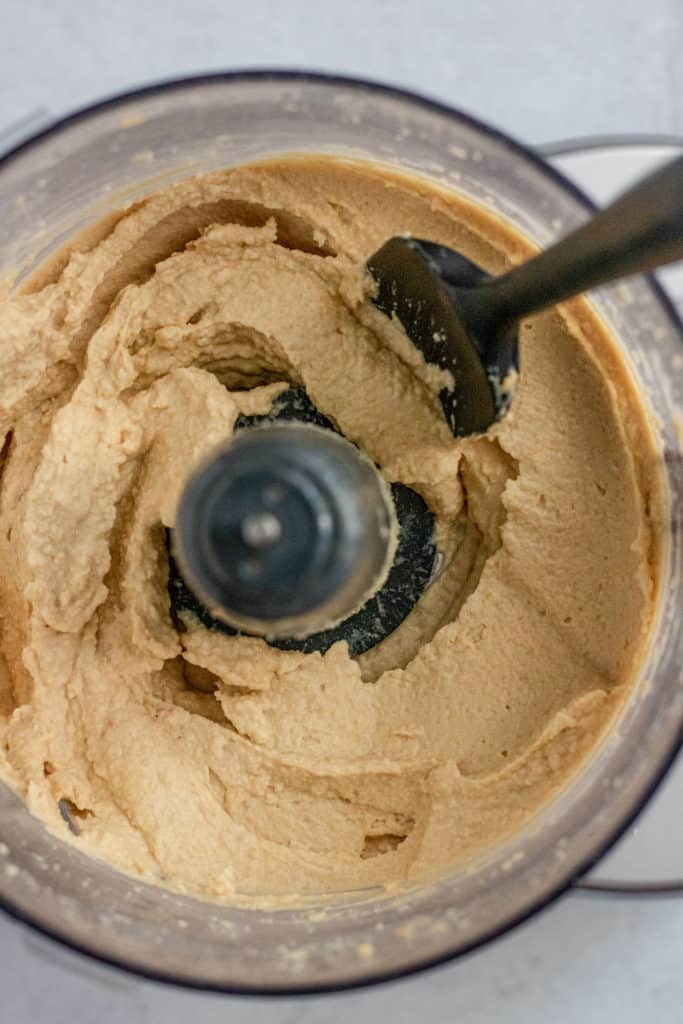
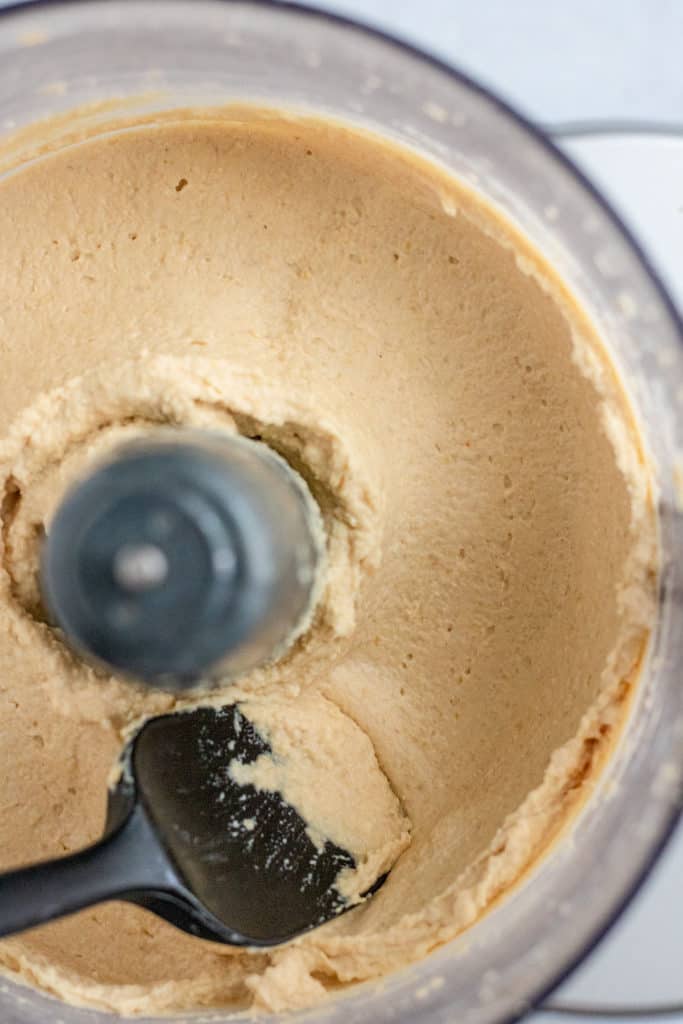
- Use a high power food processor. If you have a weak food processor, it might be difficult to blend your hummus. So make sure you scrap down the sides between blending and crush your garlic if you have a weaker food processor. If your hummus is still looking grainy, blend for longer. I’ve blended my hummus for up to 5 minutes and it makes a big difference.
How to Assemble the Perfect Hummus Bowl
With just a few extra ingredients you can build a very filling and delicious bowl. Here are the elements of this bowl, plus some extra ideas of ingredients to use.
- Chickpeas: Our main ingredient for the hummus, but you can add whole chickpeas or another bean or protein option along with the hummus.
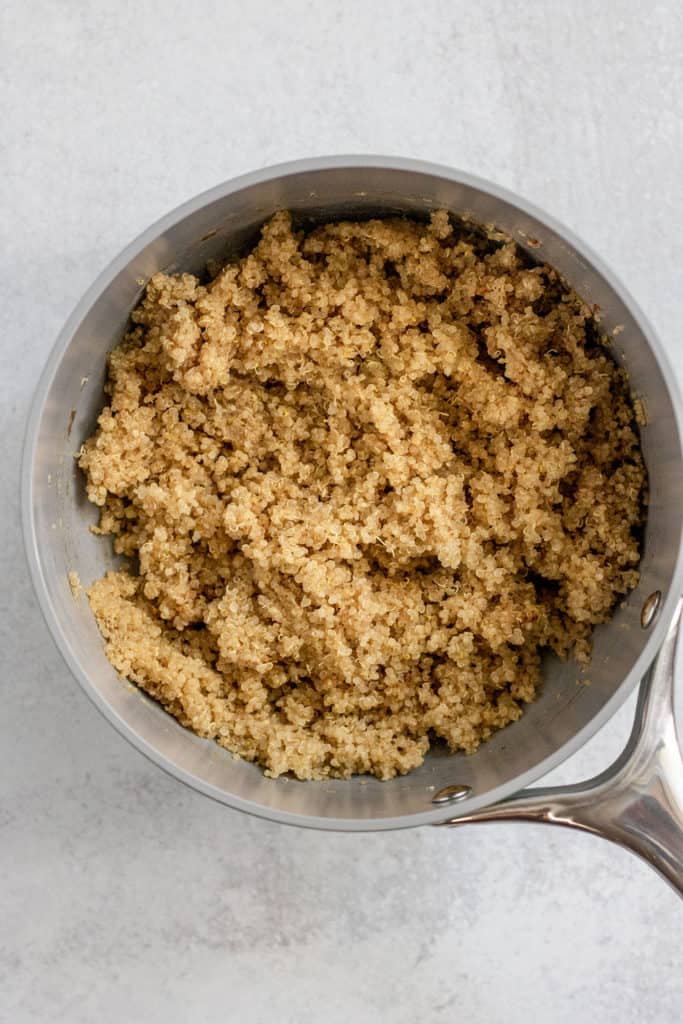
- Quinoa: Helps add more plant based protein along with some energy thanks to it’s carbohydrates. Make it flavorful by cooking your quinoa up with some vegetable broth instead of just water.
- Spinach: Get in some nourishing greens like spinach to your bowl. If you don’t like them raw, you can also sauté with some garlic and olive oil for more flavor.
- Tomatoes: Heirloom tomatoes, cherry tomatoes or Campari tomatoes are all my favorites to use in a bowl like this because they have the best flavor (kind of a mix of sweet and savory). Sprinkle with a little salt on top when serving for even more pronounced flavor.
- Cucumber: English cucumbers are great because they aren’t as watery as traditional cucumbers.
- Quick Pickled Red Onion: Totally optional, but I like the crunch, salty and sweet element it adds. Pickling also makes it milder and less astringent.
- Olives: I prefer Kalamata olives in this because they are nice and salty and compliment the hummus well, but use what you prefer.
- Extras: Olive oil for drizzling on top, red pepper flakes if you like some heat, hemp hearts for more protein, and pita chips.
Customizing Your Hummus Nourish Bowl
The additions to my nourish bowl are totally customizable based on your preference. To help minimize cooking, I used a lot of fresh raw veggies like spinach, red onion, tomatoes and cucumbers. But you can absolutely roast up some vegetables to serve along with your hummus.
You can also add some other sources of protein to accompany the protein you get from both the hummus and quinoa. So here are some ideas:
Storage Tips
You can store the hummus and quinoa separately in airtight containers for the week in the fridge. You can freeze your hummus for up to 3 months. If you’d like to use this meal as meal prep, you can add the vegetables and quinoa together in a container with hummus in a separate container on the side and then mix the two together when it’s time to eat.
More Nourish Bowls to Try
- Latin Nourish Bowl
- Black Bean Nourish Bowl with Ginger Sriracha Dressing
- Almond Miso Chickpea Nourish Bowl
- Quinoa Veggie Bowl
Hummus Nourish Bowl
- Prep Time: 15 minutes
- Cook Time: 15 minutes
- Total Time: 30 minutes
- Yield: 4 servings 1x
- Category: Main Dish
- Method: One Pot
- Cuisine: American
- Diet: Vegan
Description
An easy Hummus Nourish Bowl loaded with quinoa, fresh vegetables and creamy homemade hummus. This healthy bowl is quick and easy to make, which makes it the perfect meal prep for lunches through the week.
Ingredients
Homemade Hummus
- 1, 15oz chickpeas, rinsed and drained
- 2 tbsp tahini, I used Soom Foods
- 2 cloves garlic, crushed or minced well
- Juice of one large lemon, about 3 tablespoons
- 1 tsp ground cumin
- 1/2 tsp or more Kosher salt
- 2–3 ice cubes
For the Nourish Bowl
- 1 cup dry quinoa
- 2 cups vegetable broth
- 3 Roma Tomatoes, diced
- 1/2 English Cucumber, quartered
- Pickled Red Onions
- 3–4 tbsp Kalamata Olives
- 3–4 cups of Baby Spinach, or more!
- Herbs and Spices: Fresh cilantro, parsley, red pepper flakes, salt and pepper to taste
- Olive Oil
Instructions
- Start cooking your quinoa. Add your quinoa and vegetable broth to a sauce pan and bring the mixture to a boil. Reduce heat to low and then cover and cook undisturbed for 15 minutes. Remove from heat and allow to rest for a minute or two, then fluff with a fork.
- Make your hummus. Place your chickpeas on a clean kitchen towel and rub them gently to help discard a good portion of the chickpea skins that fall off. Place your peeled chickpeas and the remainder of your ingredients into a high powered food processor and blend on high, scrapping down the sides as needed. Continue to blend until smooth, might take up to five minutes depending on the power of your food processor. Adjust the salt and lemon juice to your desired taste.
- Assemble your bowl. To assemble your bowl, add your greens, quinoa and a large portion of hummus to a bowl. Top with the tomatoes, cucumbers, pickled onions and olives, then add a drizzle of olive oil and other herbs and spices as desired, then serve.
Notes
Remove excess chickpea skins. Place your chickpeas in a clean kitchen cloth after rinsing and draining them from the can. Gently rub the cloth around the chickpeas to help remove excess chickpea skins. Removing those extra peels will help to improve the creaminess of your resulting hummus, so don’t skip this step if you can. The more skins removed, the better.
Check the firmness of your chickpeas. After rinsing your chickpeas, place one chickpea between your fingers and press on it. If it easily squishes in your fingers, it is perfect for blending. If your chickpeas are a little too firm, you can boil them for a few minutes to help soften them before blending.
Use a high power food processor. If you have a weak food processor, it might be difficult to blend your hummus. So make sure you scrape down the sides between blending and crush your garlic if you have a weaker food processor. If your hummus is still looking grainy, blend for longer. I’ve blended my hummus for up to 5 minutes and it makes a big difference.
If you tried this recipe or any other recipe on the blog, then let me know what you thought in the comments below! And if you loved it, don’t forget to rate it too. Feel free to follow on Instagram, Pinterest, and TikTok for the latest nutrition tips and recipe videos.
★ Catherine
This post contains affiliate links which means I will make a small commission if you purchase from those links. I only recommend and share products that I know, trust and personally use myself!


The picture of your completed bowl caught my eye while I was searching for new bowl recipes! Great recipe!
Suggestion: Could you add “greens” to your ingredient list? Also a recipe to make pickled red onions would be great.
My hummus wasn’t as smooth as yours. Time to invest in a new food processor!
Thank you so much Mary! I just added the greens to the list, and after sharing this bowl I made a post for some pickled red onions here. And yes, the power of the food processor definitely makes a difference. Hope you keep enjoying this bowl. 🙂
.