

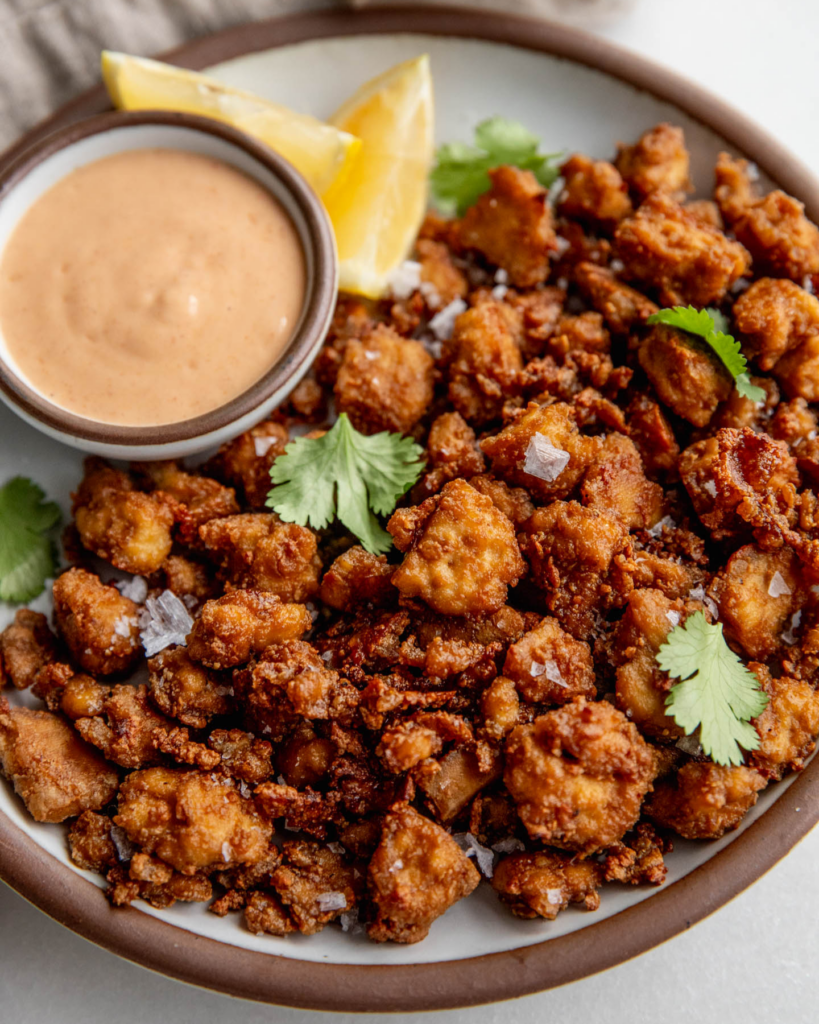
How to Make Crispy Baked Tofu
The ultimate guide for perfectly Crispy Baked Tofu. Easy to make and a great high protein vegetarian or vegan option to add to any meal.
I feel like I’ve learned so much more about tofu since the last time I wrote about it here. So here’s all the updated information that I’ve gathered. This is also for my friends that want those crispy edges, but also a tofu that is properly seasoned inside. More crisp, more flavor for everyone!
And if you still like the old method, I have included it at the very end of this post.
About Tofu
Tofu is one of my favorite foods, and for good reason! It’s a great source of plant-based protein, packed with iron, and is incredibly versatile. Everyone’s experience with tofu varies and a lot of it has to do with how it’s made and prepared.
There are quite a number of brands of tofu that exist that offer different flavor experiences. Yes, tofu has it’s own unique flavor! Personally, I’ve gotten to a point where I can enjoy a piece of tofu straight from it’s package with a little salt and enjoy it. So here are some things to consider when experimenting with tofu:
- Try different tofu brands. We have so many available nowadays that if one brand feels extra watery, crumbly, or just doesn’t have a good flavor, you can always try a different brand and see if that works better for you.
- Types of tofu. So many types of tofu to choose from and experiment with including super firm tofu, extra firm tofu, firm tofu, soft tofu, silken tofu, puffed tofu, tofu skins, and even pre-seasoned tofu. They all have their applications, so keep trying until you find one you like! For a lot of these varieties, I highly recommend giving a visit to a local asian market.
- Experiment. There are a ton of different philosophies when it comes to preparing tofu, so lean towards the flavors and textures you know you enjoy when deciding on a recipe. My biggest tip, explore recipes and preparations from cuisines that naturally use tofu (Chinese, Japanese, Korean, Indonesian, Malaysian, Singaporean, Filipino, Vietnamese, Thai, and more).
Why You’ll Love This Crispy Baked Tofu
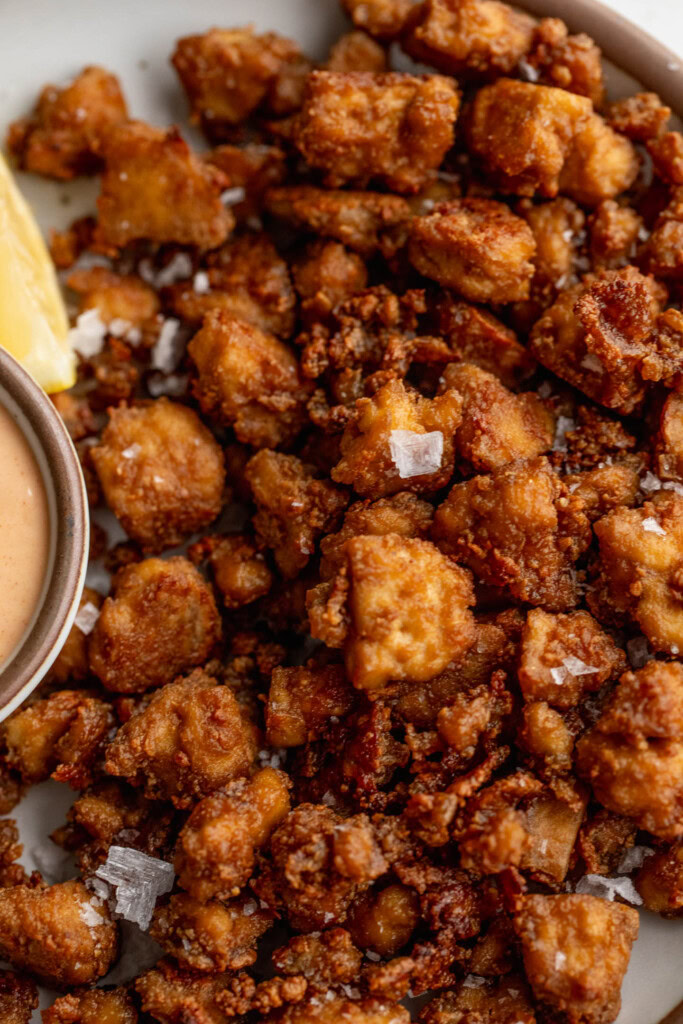
- Chewy texture with crispy edges. When baked correctly, you can get some nice crisp around your tofu while getting a wonderfully chewy flavorful inside.
- The flavor really seeps into the heart of the tofu. Boiling tofu with the flavor you want to impart helps to get more flavor into it. We use this method in prepping this tofu.
- Great source of nutrition. Use this as a way to bulk up any meal with a little more protein, iron and calcium.
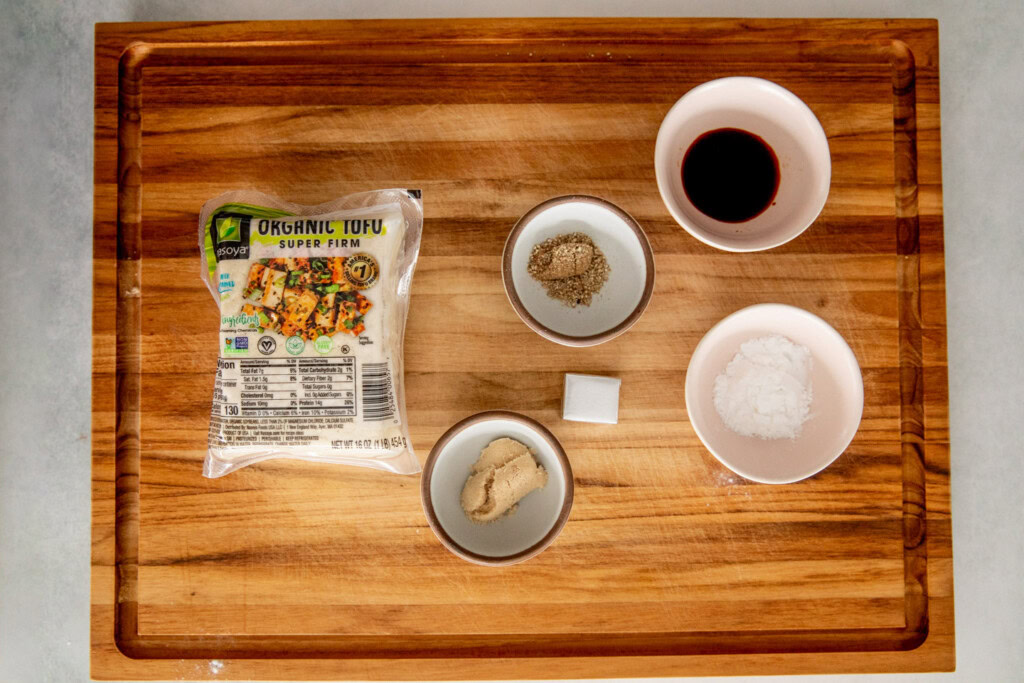
Key Ingredients and Substitutions
- Tofu: I used super firm tofu (the dense, vacuum sealed variety of tofu) for this recipe, but you can use a good-quality extra firm tofu. Just make sure, if using an extra firm tofu packed in water, to press out a little of the water before using in this recipe.
- Bouillon Cube: I used a vegan “chicken” bouillon cube from Edward and Son’s, but you can use a regular veggie broth cube instead.
- Seasonings: I used a combination of coriander and white pepper to help build a more neutral flavor that can be paired with different meals. Feel free to add or swap seasonings based on your preference.
- Brown Sugar: This helps to get a nice caramelization on your tofu. You can also use coconut sugar if desired. If you don’t want that caramelization, feel free to leave the sugar out.
- Tamari: Feel free to use regular soy sauce or coconut aminos instead.
- Vinegar: I used rice vinegar, but white wine vinegar works too.
- Potato Starch: I have tested this recipe with both potato starch and cornstarch with success. I will say, I do like the taste of the potato starch ones better in this application.
How to Make Crispy Baked Tofu
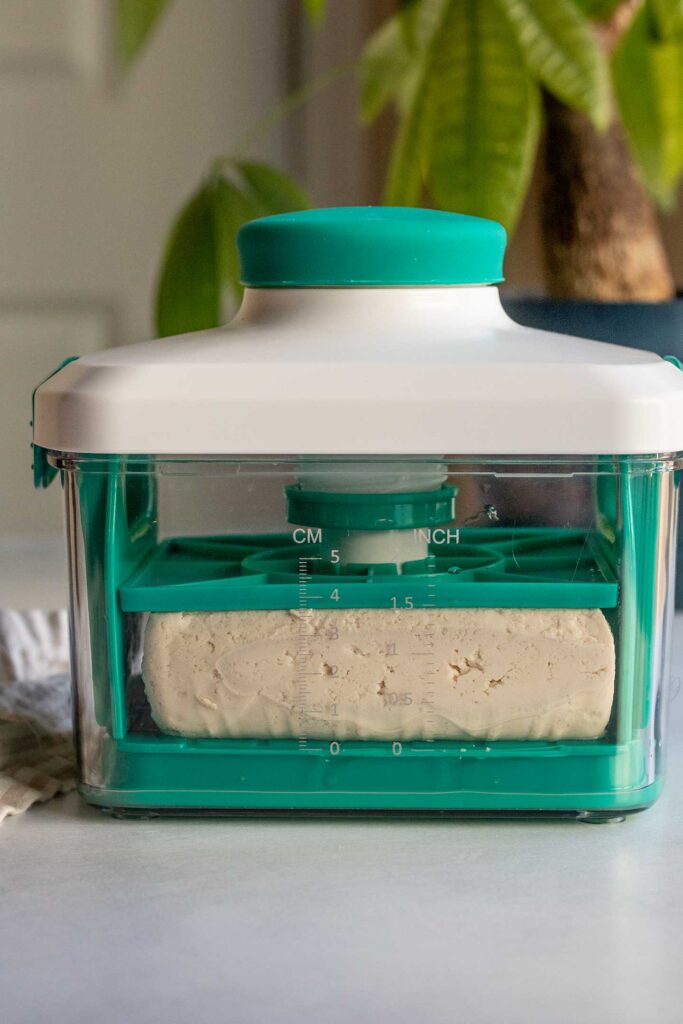
How to Press Tofu
When using extra firm tofu, cut the tofu out of its container and drain the water. At this point, you want to press out as much excess water from the tofu as possible. You can do this two different ways.
- Use a tofu press. Place the tofu in the tofu press and press the tofu for at least 15 minutes to remove excess water.
- Without a tofu press. Wrap your tofu block in a clean kitchen towel and place it on a plate. Stack another flat plate on top of the tofu, then place a heavier object (like a couple of books) on top and allow to press for at least 15 minutes.
Cutting Your Tofu
After you have pressed your tofu, you can cut or tear your tofu into smaller pieces. I prefer tearing the tofu into chunks for applications like this, as it creates more surface area for flavor and more rough edges that crisp up better when baked.


Enhance Flavor
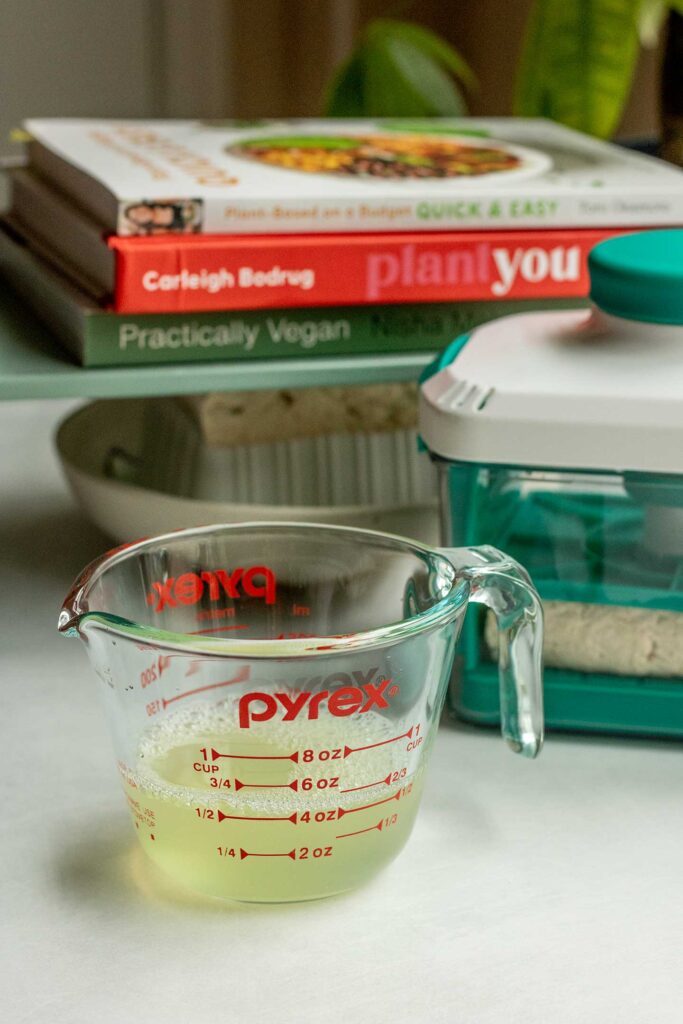
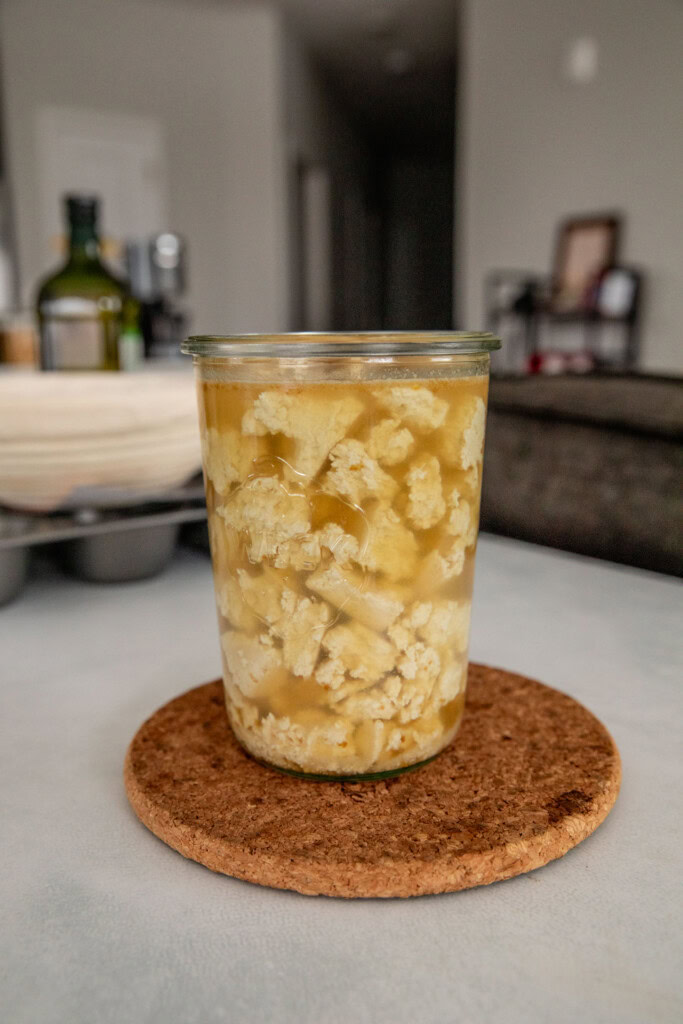
Transfer the tofu pieces to a heat-safe bowl or container and crumble your bouillon cube over the tofu. Boil water in a tea kettle and pour it over the tofu until completely covered. Stir the tofu carefully to make sure the bouillon cube dissolves, then cover and let the mixture sit for at least 10 minutes.
Drain the tofu through a fine-mesh sieve, ensuring most of the liquid has drained off, then transfer to a large bowl or resealable bag.
How to Prepare
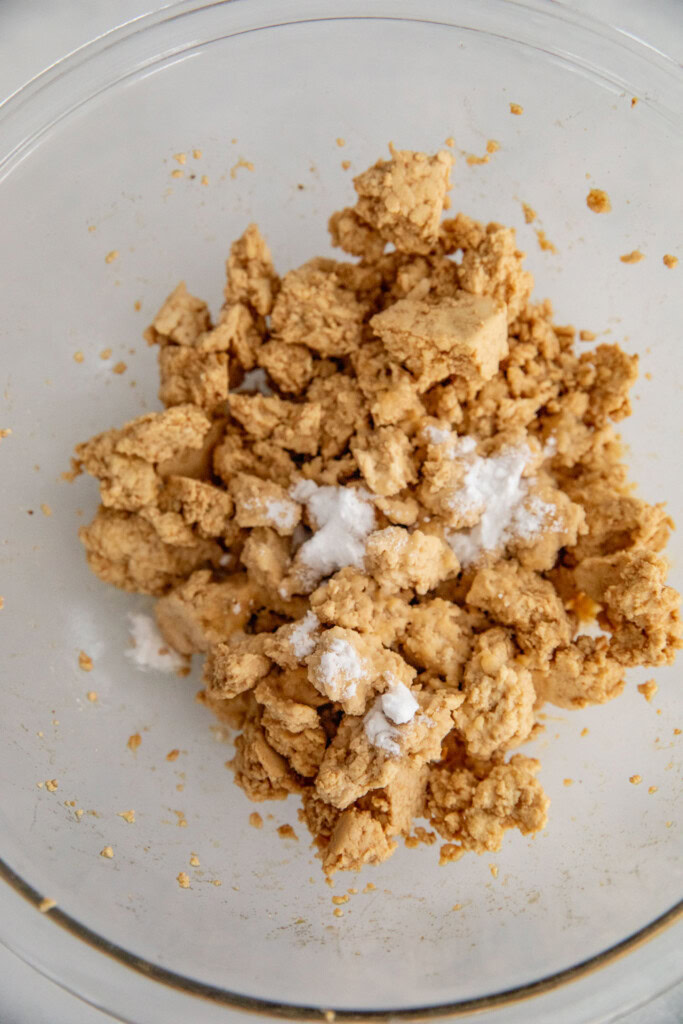
To the bowl or bag, add the tamari, vinegar, coriander, white pepper and brown sugar. If using a bowl, toss gently with your hands until the tofu is evenly coated. If using a bag, seal it and gently toss until evenly coated.
Add the starch and oil, tossing again with your hands or sealing the bag and tossing until the tofu is evenly coated.
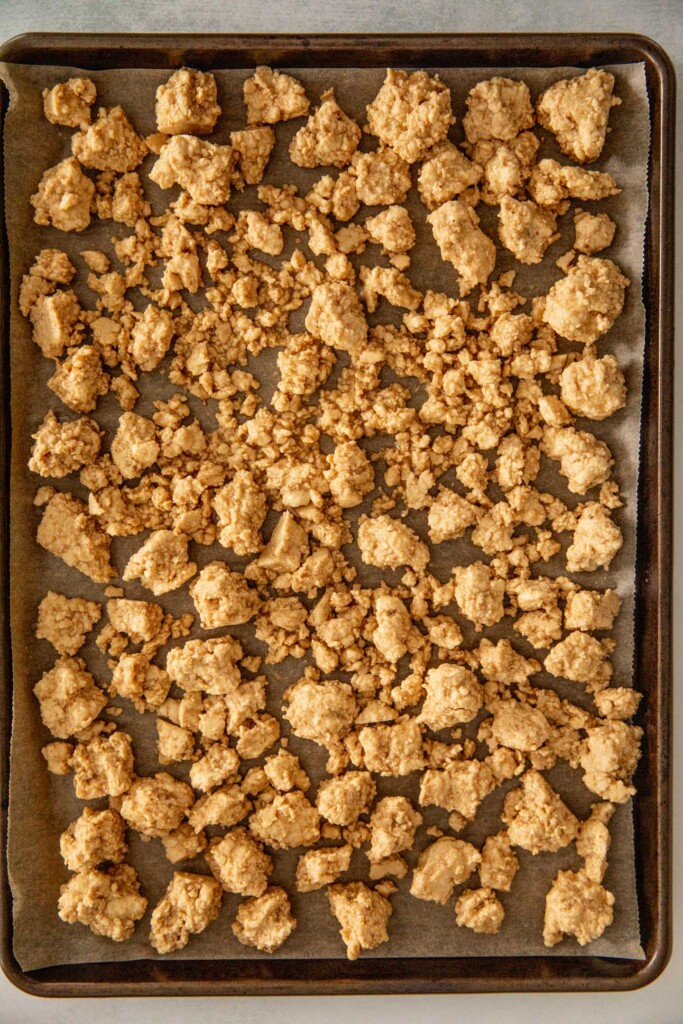
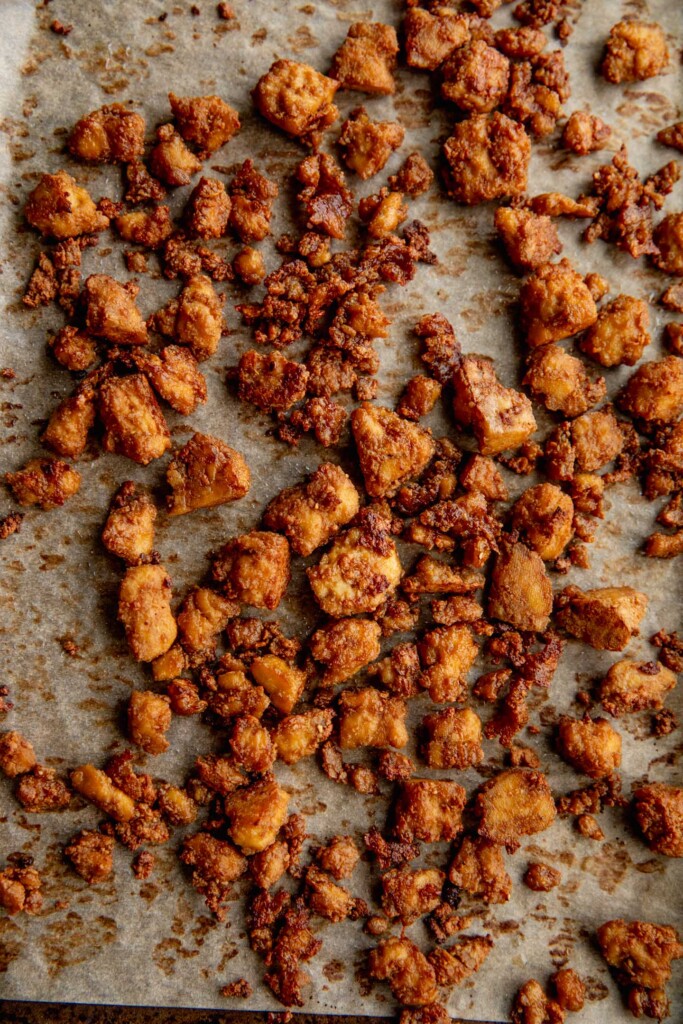
Dump the contents of the bowl or bag onto the prepared baking sheet, spreading the tofu out so that there is a little space between each piece.
Place the tofu on the bottom rack of the oven and bake for 18 minutes. Flip the tofu pieces, then return them to the bottom rack and bake for an additional 10-12 minutes, or until the edges have crisped up to your liking.
Expert Tips
- Save time and clean up by using a resealable bag. I find the easiest and less messy way of setting up your tofu is to do it all in a large resealable bag. If you want to minimize your plastic use, you can also use a glass storage container. Ideally, start by adding all the seasonings to the bag to coat your tofu with, open the bag add the starch and oil then seal and shake to evenly coat before dumping on the tray.
- Tear vs Cubing. You can use the method you love best depending on what you are using the tofu for. I do find that torn tofu gives you more of a crispy texture versus cubing, as the rough texture gives a better crisp when baking.
- Avoid overcrowding your pan. Your pan should be big enough to allow the tofu pieces to have space between them. This allows for the tofu to achieve the proper heat and air circulation to properly crisp up around the edges.
- Know the difference between recipes that call for super firm tofu vs extra firm tofu. There is a massive difference between both. If using extra firm tofu I’d suggest pressing it first before using. Packages marked as super firm tofu are often found in vacuum sealed packaging are much denser in consistency and do not require you to press it.
- Tofu brands do matter. If you struggle with a certain variety of tofu being to soft even though it says it is extra firm, try a different brand. I use the super firm tofu either from Nasoya, Trader Joe’s and WildWood Farms. For extra firm, I’ve had the most consistent success using the brand House Foods.
- Give it a broil. If you want an extra touch of crispiness, feel free to broil your tofu at the very end for 1-2 minutes.
Frequently Asked Questions
My favorite US brands of super firm tofu include Nasoya, Trader Joe’s and WildWood Farms. My favorite US brands of extra firm tofu include House Foods, Nasoya and Soy Boy Foods.
Soy products like tofu, soymilk, tempeh, natto, edamame, and whole soybeans are rich in beneficial nutrients like protein, iron and antioxidants like isoflavones. Fortified tofu can also be a good source of calcium. Research points to the benefit of consuming soy in it’s least processed forms (tofu, tempeh, soy beans, soy milks, and edamame). Benefits include reduced risk for breast cancer, heart disease, type 2 diabetes, and eases menopausal symptoms like hot flashes. Enjoy soy unless you have an allergy to it.
Yes. However, do note that the tofu will lose its crispiness over time. If packing for meal prep, allow the tofu to cool, then place in an airtight container in the fridge for up to 5 days. To heat back up and re-crisp your tofu, place the tofu pieces into a toaster oven at 375F to heat through for 5 minutes.
If you want a super crunchy tofu, I recommend trying this breaded tofu instead. Breading it with panko helps really get that super crunch. The crisp you get with this simpler baked tofu is more light and around the edges. Some of the smaller pieces do get nice and crunchy though.
What To Pair Your Tofu With
- Dominican Tabbouleh
- Mexican Rice
- Moro de Guandules
- Roasted Vegetables and Noodles
- Any of your favorite salads
More Tofu Recipes to Try
- Barbecue Glazed Tofu Burgers with Tomato Jam
- Buffalo Tofu Cutlets with Celery Ranch Slaw
- Chili Crunch Tofu Bowls
- Crispy Shredded Za’atar Tofu Cabbage Wraps
- Gochujang Tofu Sandwich
If you tried this recipe or any other recipe on the blog, then let me know what you thought in the comments below! And if you loved it, don’t forget to rate it too. Feel free to follow on Instagram, Pinterest, and TikTok for the latest nutrition tips and recipe videos.
Print
How to Make Crispy Baked Tofu
- Prep Time: 30 minutes
- Cook Time: 30 minutes
- Total Time: 1 hour
- Yield: 4 servings 1x
- Category: Main Dish
- Method: Baking
- Cuisine: American
- Diet: Vegan
Description
The ultimate guide for perfectly Crispy Baked Tofu. Easy to make and a great high protein vegetarian or vegan option to add to any meal.
Ingredients
Tofu Nuggets
- 1, 16oz block super firm tofu or extra firm tofu (see notes if using extra firm tofu)
- 1 vegan “chicken” or vegetable bouillon cube
- 1 tbsp tamari
- 1 tbsp rice vinegar
- 1/2 tsp ground coriander
- 1/4 tsp white pepper
- 2 tsp light brown sugar
- 2 tbsp potato starch or corn starch
- 2 tbsp avocado oil
- Flaky salt for serving, optional
Smoky Maple Dijon Dipping Sauce
- 3/4 cup plain unsweetened yogurt
- 1 tbsp Dijon mustard
- 1 clove of garlic, grated
- Juice and zest of half a lemon
- 1 tbsp maple syrup
- 1 tbsp hot sauce
- 1/2 tsp smoked paprika
- 1/2 tsp kosher salt
Instructions
For the Tofu
- Preheat oven to 425F and line a baking sheet with parchment paper.
- For super firm tofu, remove it from its packaging and pat dry with a paper towel, then tear the tofu into 1-inch chunks. If using extra firm tofu, press it for 15 minutes to remove excess water, then continue with the recipe.
- Transfer the tofu pieces to a heat-safe bowl or container and crumble your bouillon cube over the tofu. Boil water in a tea kettle and pour it over the tofu until completely covered. Stir the tofu carefully to make sure the bouillon cube dissolves, then cover and let the mixture sit for at least 10 minutes.
- Drain the tofu through a fine-mesh sieve, ensuring most of the liquid has drained off, then transfer to a large bowl or resealable bag.
- To the bowl or bag, add the tamari, vinegar, coriander, white pepper and brown sugar. If using a bowl, toss gently with your hands until the tofu is evenly coated. If using a bag, seal it and gently toss until evenly coated.
- Add the starch and oil, tossing again with your hands or sealing the bag and tossing until the tofu is evenly coated.
- Dump the contents of the bowl or bag onto the prepared baking sheet, spreading the tofu out so that there is a little space between each piece.
- Place the tofu on the bottom rack of the oven and bake for 18 minutes. Flip the tofu pieces, then return them to the bottom rack and bake for an additional 10-12 minutes, or until the edges have crisped up to your liking.
For the Sauce and Serving
- While the tofu bakes, make the sauce by adding the yogurt, mustard, garlic, lemon, syrup, hot sauce, paprika, and salt to a blender cup. Blend until completely smooth, then refrigerate until ready to use.
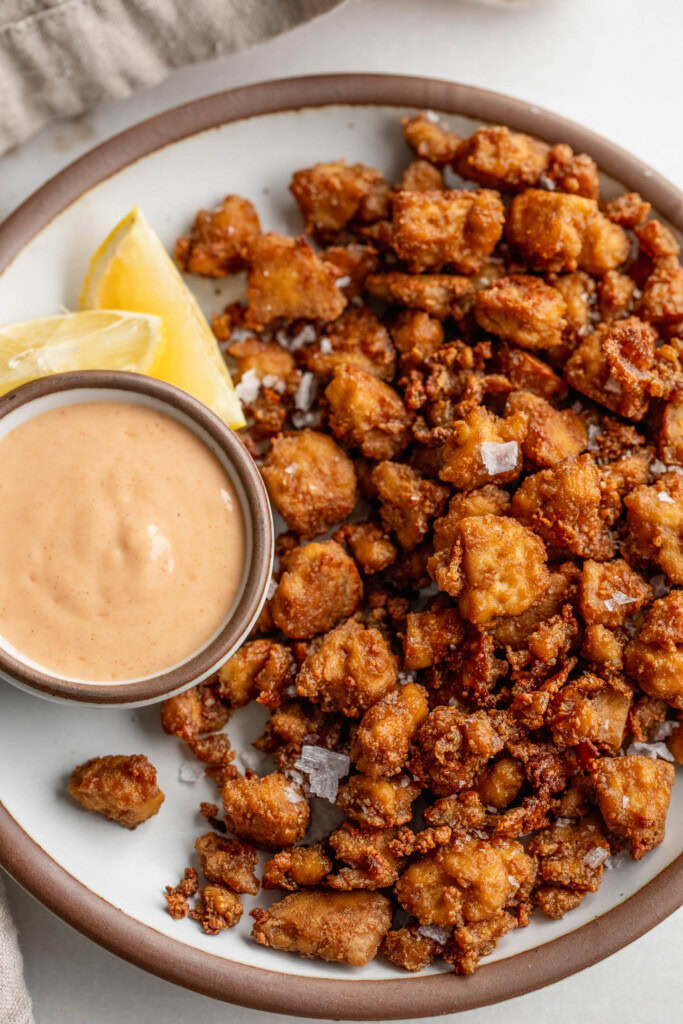
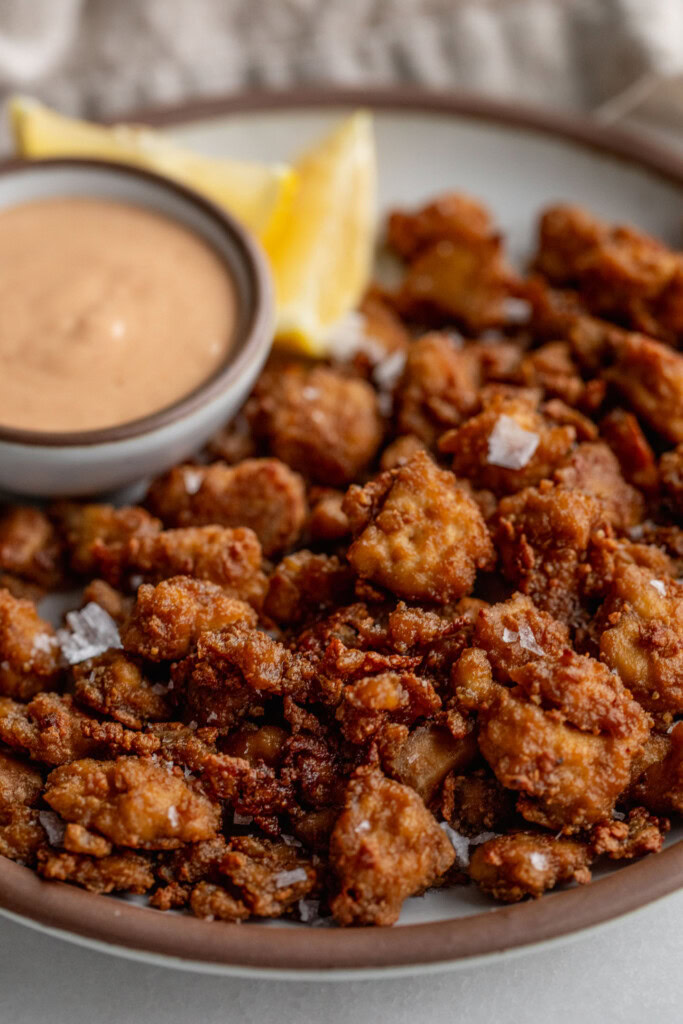
- Serve the tofu topped with a pinch of flaky salt. Enjoy the tofu alongside the dipping sauce or use the tofu to compliment other recipes when in need of some extra protein.
Notes
Save time and clean up by using a resealable bag. I find the easiest and less messy way of setting up your tofu is to do it all in a large resealable bag. If you want to minimize your plastic use, you can also use a glass storage container. Ideally, start by adding all the seasonings to the bag to coat your tofu with, open the bag add the starch and oil then seal and shake to evenly coat before dumping on the tray.
Tear vs Cubing. You can use the method you love best depending on what you are using the tofu for. I do find that torn tofu gives you more of a crispy texture versus cubing, as the rough texture gives a better crisp when baking.
Avoid overcrowding your pan. Your pan should be big enough to allow the tofu pieces to have space between them. This allows for the tofu to achieve the proper heat and air circulation to properly crisp up around the edges.
Know the difference between recipes that call for super firm tofu vs extra firm tofu. There is a massive difference between both. If using extra firm tofu I’d suggest pressing it first before using. Packages marked as super firm tofu are often found in vacuum sealed packaging are much denser in consistency and do not require you to press it.
Tofu brands do matter. If you struggle with a certain variety of tofu being to soft even though it says it is extra firm, try a different brand. I use the super firm tofu either from Nasoya, Trader Joe’s and WildWood Farms. For extra firm, I’ve had the most consistent success using the brand House Foods.
Give it a broil. If you want an extra touch of crispiness, feel free to broil your tofu at the very end for 1-2 minutes.
Original Recipe
Ingredients
- 1 (450 g) block of extra firm tofu (see note)
- 1 tbsp nutritional yeast
- 1 tbsp cornstarch
- 1 tbsp soy sauce or coconut aminos to make gluten-free
- 1 tbsp avocado oil
- 1/2 tsp garlic powder
- 1/2 tsp dry thyme
Instructions
- Preheat your oven to 425F. Cut the tofu out of its container and dump any of the excess water it was sitting in. Press the tofu by either using a tofu press or wrapping the tofu in a clean kitchen towel and setting some heavy objects overtop to help press out excess water for at least 30 minutes.
- Once your tofu is pressed, drain the excess water, pat your tofu dry and then cube it.
- Place the tofu in a bowl and add your cornstarch, nutritional yeast, soy sauce, oil and seasonings. Toss the tofu to completely coat and then place the tofu on a parchment lined baking sheet making sure you space out your tofu.
- Place the tofu in the oven and roast for 30 minutes, making sure to flip the tofu half way through at the 15 minute mark.
Note
Make sure to press your tofu for at least 20 minutes before starting this recipe.
This post contains affiliate links which means I will make a small commission if you purchase from those links. I only recommend and share products that I know, trust and personally use myself!


Only made the tofu and it was awesome. Nice spice blend and easy to follow directions resulted in crispy and flavorful nuggets.
Added a teaspoon of salt as my chick powder is low salt.
Thank you for sharing!