

Raspberry Orange Chia Jam
Made with real fruit and sweetened with a little maple syrup, this raspberry orange chia jam comes together easily for the perfect tasty spread. Great to prep in advance and enjoy for the week.
I honestly don’t even remember when I started making this particular jam. Might have been last year when I wanted to have jam with my crispbread, but couldn’t get to the supermarket. So, I used what I had on hand in my freezer and pantry. The rest is history.
It was so simple that I never gave it thought to add the recipe here, but after a few requests, I thought it definitely deserved it’s own spot here. One of the reasons I started making this jam more frequently was because it was SO EASY. I could also control the ingredients, decide if I wanted to sweeten it or not and then add some fun little twists to make each weeks jam that much more enjoyable. I also like that I can eat this by the spoonful and get some extra nutrients as well.

Why You’ll Love this Raspberry Orange Chia Jam
- It’s honestly so gratifying when you can make something super simple and quick, but still have it taste so delicious at the same time. This jam is the perfect pick me up addition to your favorite snacking habits.
- Loaded with omega 3s and more fiber than your average jam.
- Very easy to customize. You can opt for other berries to make this jam and still have it come out delicious.
Snack Better
I totally get it. Snacking right now might be challenging. That’s why I want to encourage you to keep it simple and think about a simple formula for nourishing yourself. I made mention of some of these tips in my Guide to Balancing Your Vegan Plate. Snacking can be a little different. You might not get every single component into one snack, but focus on getting at least a combination of two wholesome components in one snack. As I like to say, snacks go better in pairs.
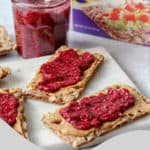
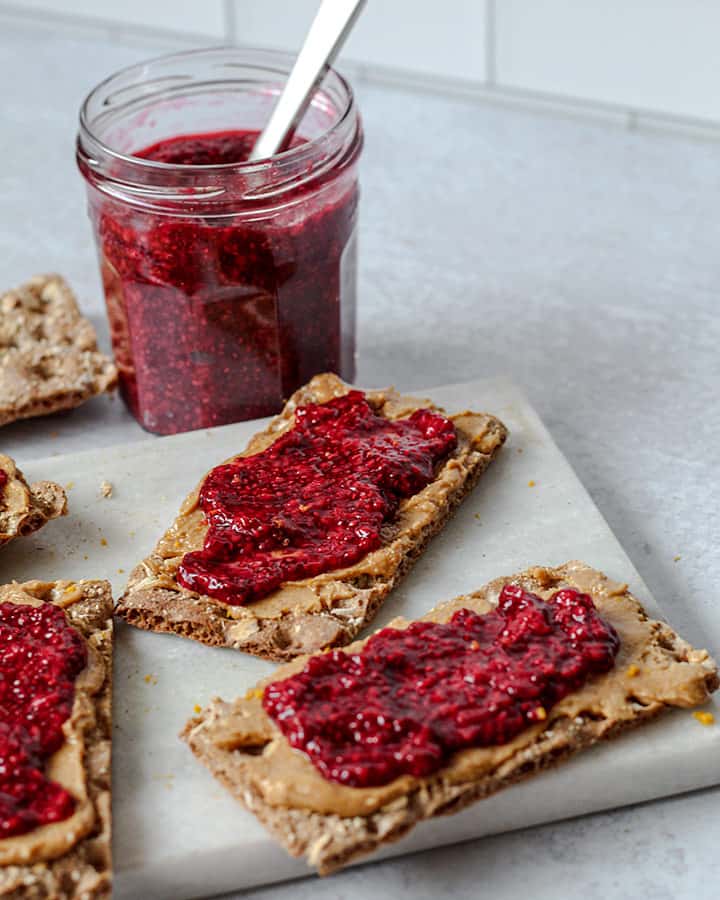
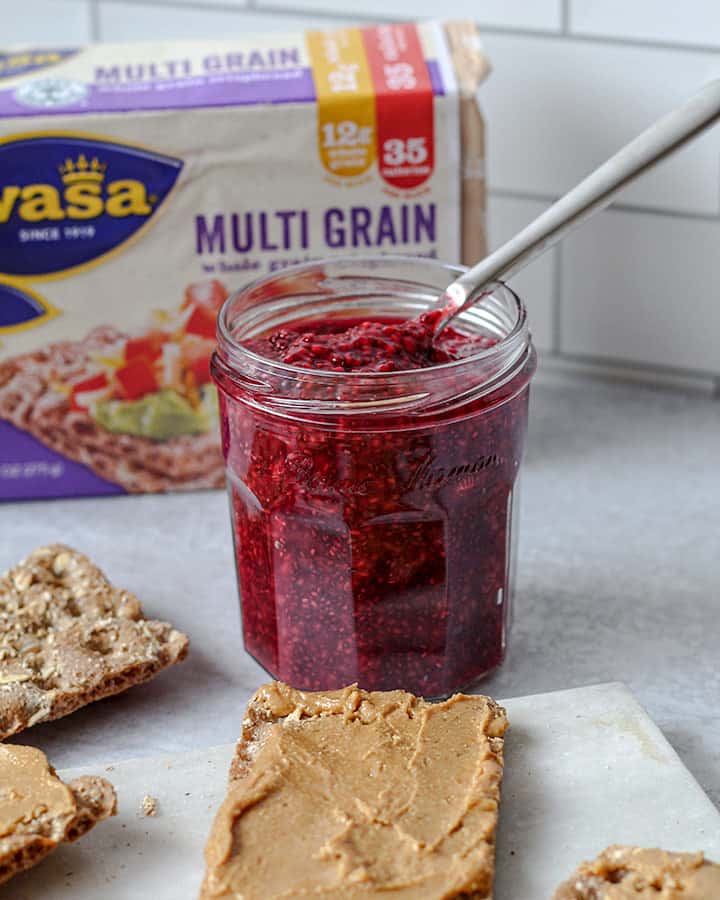
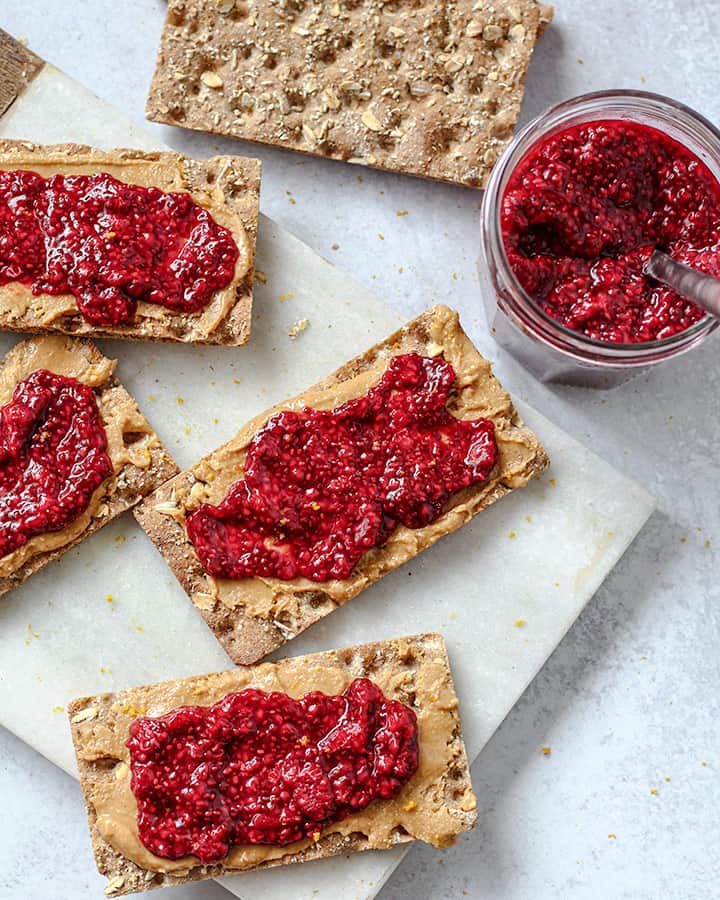
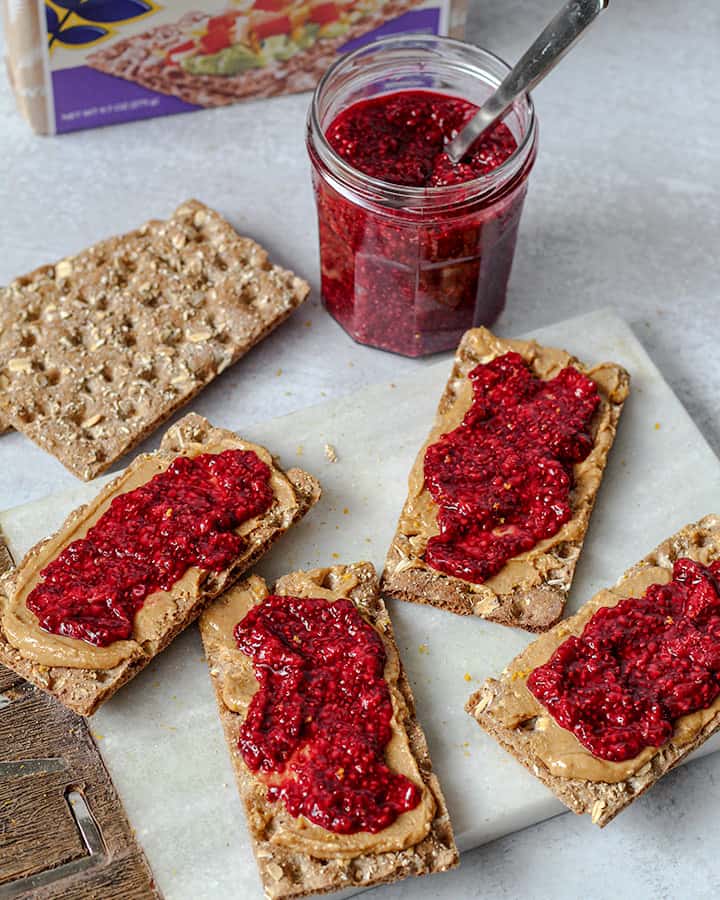
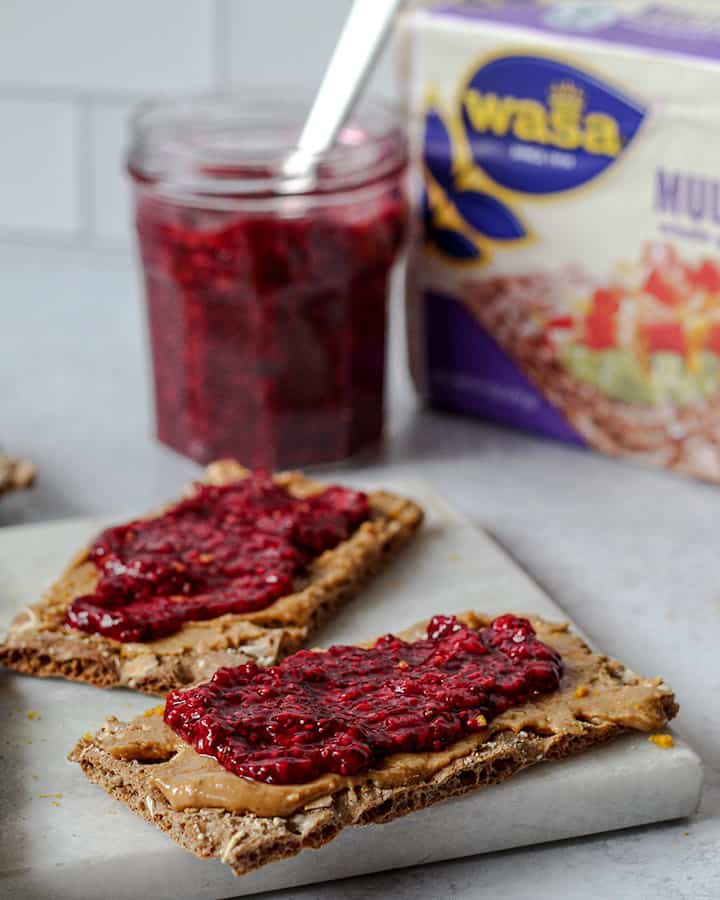
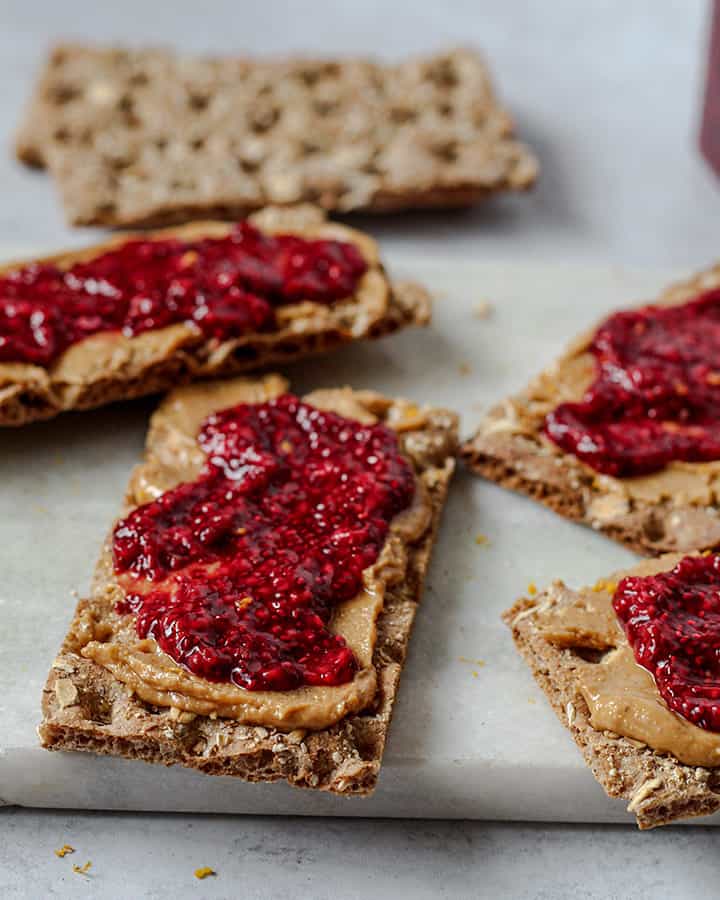
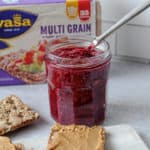
I love using this raspberry orange chia jam as a combination of both added produce and a source of healthy omega 3 fats. This flavorful combo goes great on top of a whole grain crispbread (I used Wasa Crispbreads for this) spread with this jam and some nut butter.
Key Ingredients
- Raspberries: frozen is perfect for this recipe, but feel free to use fresh if you prefer
- Maple Syrup: helps add just a light touch of sweetness to balance the tang of the raspberries
- Chia Seeds: our vegan gelling agent that will help absorb the juice of the fruit
- Orange Zest: adds a lovely pop of brightness to the raspberries
How to make this jam
- Cook down your frozen raspberries to help release their juices.
- As the raspberries cook down, lightly mash with your cooking spoon or spatula.
- Once cooked, remove from heat and add in your maple syrup, chia seeds and orange zest.
- Allow to sit and gel for at least 10 minutes before use or for a few hours for an even thicker jam.
Tips for making this jam
- This jam can be made in advance and stored in the fridge for up to 7 days. Make sure that jam completely cools before storing it in a jar or glass container.
- If your jam appears to have too much juice, add an additional tsp of chia seeds to help solidify it.
- Make sure to stir the chia seeds into the jam really well to prevent clumping. I like to stir it really well after it sits to gel for 10 minutes to break up any major clumps.
- Some perfect ways to use this jam include spreading on crispbreads, toasts, pancakes or waffles, using it as jam for your pb & jelly sandwiches, or great to stir into a bowl of oats.
More snacking treats
Raspberry Orange Chia Jam
- Cook Time: 10 minutes
- Total Time: 10 minutes
- Yield: 8 servings 1x
- Category: Snack
- Cuisine: American
Description
Made with real fruit and sweetened with a little maple syrup, this raspberry orange chia jam comes together easily for the perfect spread.
Ingredients
- 2 cups frozen raspberries
- 2 tbsp maple syrup
- 2 tbsp chia seeds
- Zest of one orange
Instructions
- To a saucepan add in your frozen raspberries and bring to medium heat to fully thaw.
- As the raspberries thaw, lightly mash with your cooking spoon or spatula.
- Once completely thawed and mashed, remove from heat and add in your maple syrup, chia seeds and orange zest.
- Allow to sit and gel for at least 10 minutes before use or for a few hours for an even thicker jam.
Notes
Make sure your jam completely cools before storing it.
To make a full and balanced snack. Include some whole grains, protein and some healthy fats. I used Wasa Crispbreads for my whole grain addition, protein from some nut butter and healthy fats and produce thanks to the raspberry jam.
Did You Try This Recipe?
Then let me know what you thought! Share your creations by tagging me on Instagram with the hashtag #plantbasedrdeats
★ Catherine