

Simple Vegan Pie Crust
A step by step on how to make a simple vegan pie crust from scratch that results in a buttery flaky crust. Easy to make and can be used for any of your baking needs.
Why You’ll Love This Simple Vegan Pie Crust
- Easier than you think it is to make. I’ve never been big on baking pie from scratch because it always seemed so overwhelming to make. However, it’s really a matter of cutting butter into flour then pressing the dough together into a disk. I’ve simplified the process for you so you don’t have to overthink it at all.
- Minimal ingredients. Just a few ingredients that are relatively easy to come by.
- Simple method. To make this as simple as possible, just use a food processor. It will do most of the hard work for you, which helps this dough come together so quickly.

Key Ingredients and Substitutions
- Butter: Using high quality salted butter makes a big difference. I achieved the best results when I used butter from Miyoko’s and Violife. The plant-based butters from Country Crock and Earth Balance work well too, but I noted that the crust doesn’t get as golden as the other two options.
- Flour: All-purpose flour is best here. Please see the FAQ section for gluten-free options.
- Sugar: This helps to get a more golden color on your crust when it is baking. Regular granulated sugar is best here.
- Vinegar: Changes the way that gluten develops in your dough. I used apple cider vinegar, but lemon juice or white wine vinegar also works here.
- Ice water: I don’t normally list out water in this section, but this is important to specify. To get a flaky crust, it’s important to keep the butter cold, which is why the ice water is so critical here.
How to Make a Simple Vegan Pie Crust
Making the Crust
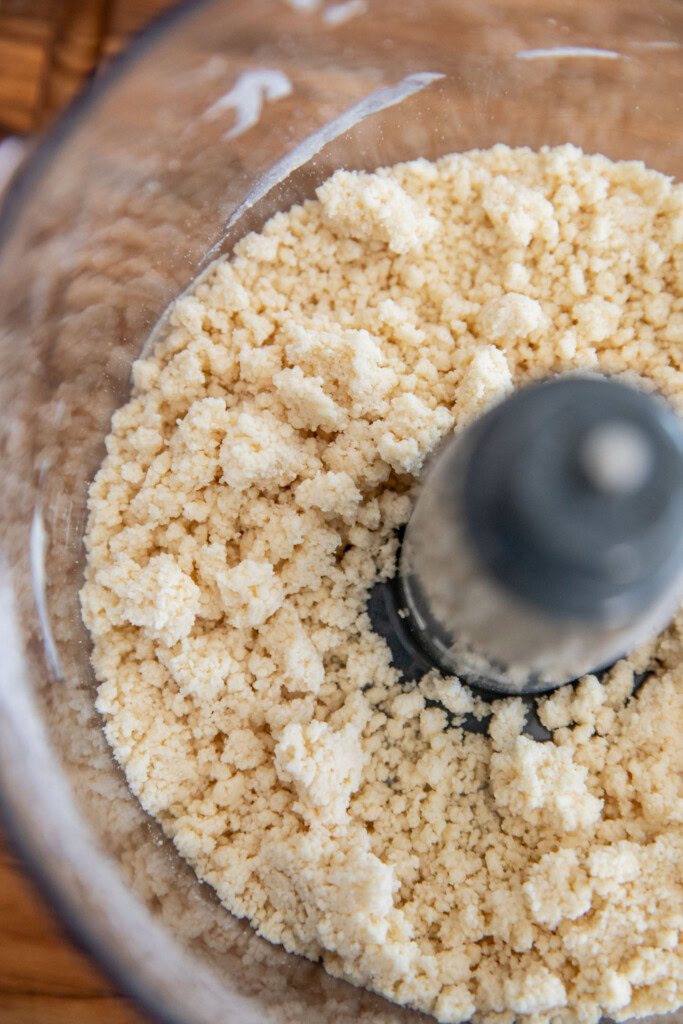
To a food processor add the flour, sugar and salt and pulse together to combine. Add the butter and pulse until the mixture looks like wet sand and there are no large butter chunks left.

Add the apple cider vinegar then pour in 2 tablespoons of the iced cold water, pulsing a few times to combine. If the dough doesn’t appear to clump together, add the remaining ice water, 1 tablespoon at a time. Pulse together until the dough is just combined.
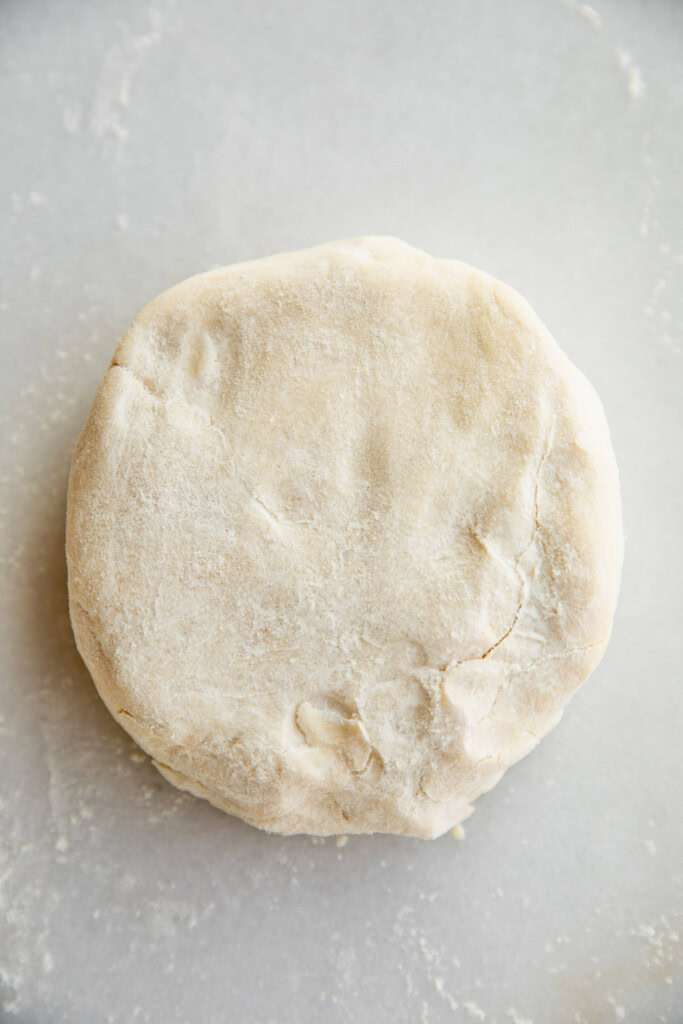
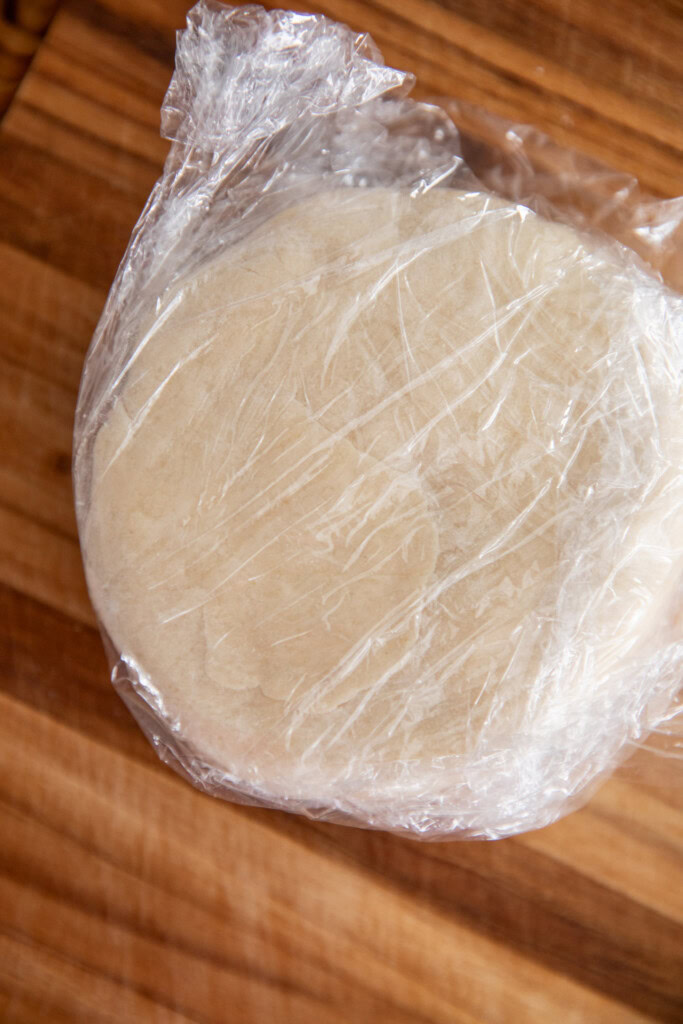
Turn out the dough chunks onto a lightly floured surface. Use your hands to push the dough together into a flat disk then cover with plastic wrap and place in the fridge for at least 30 minutes. If not using the same day, leave in the fridge for up to 2 days.
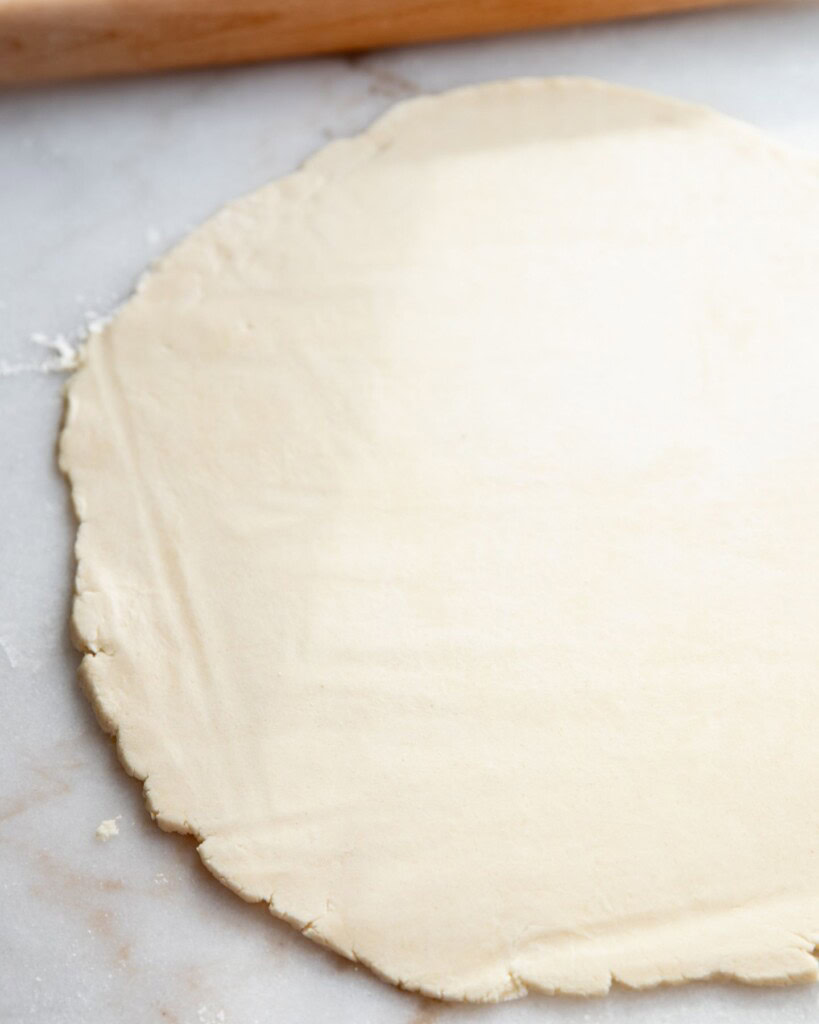
How to Roll Out Your Pie Crust
You can roll out your dough once it has chilled for at least 30 minutes. Lightly flour a clean working surface and place your crust on top. Lightly flour the top of the dough then use a rolling pin to start from the center of your dough and roll outwards in all directions until it has been rolled out into a rough 12-inch circle. Your dough should be 1/8th of an inch in thickness.


How to Use
From here you can carefully roll your dough over your rolling pin and roll it out to center and carefully tuck it into a pie dish. If making a galette, roll it out over a parchment lined baking sheet instead.
For a pie, trim the border of your pie crust making sure to leave about 1-inch of dough to overhang the edge of your dish. Roll up that excess dough inward towards the dish and press the dough to seal, creating a thick outer crust around the edge of the dish. If you are looking for some ideas on how you can style that crust, highly recommend this visual how to. Poke a few holes with a fork into the bottom of your pie crust and then it is ready to use for any of your pie related needs.
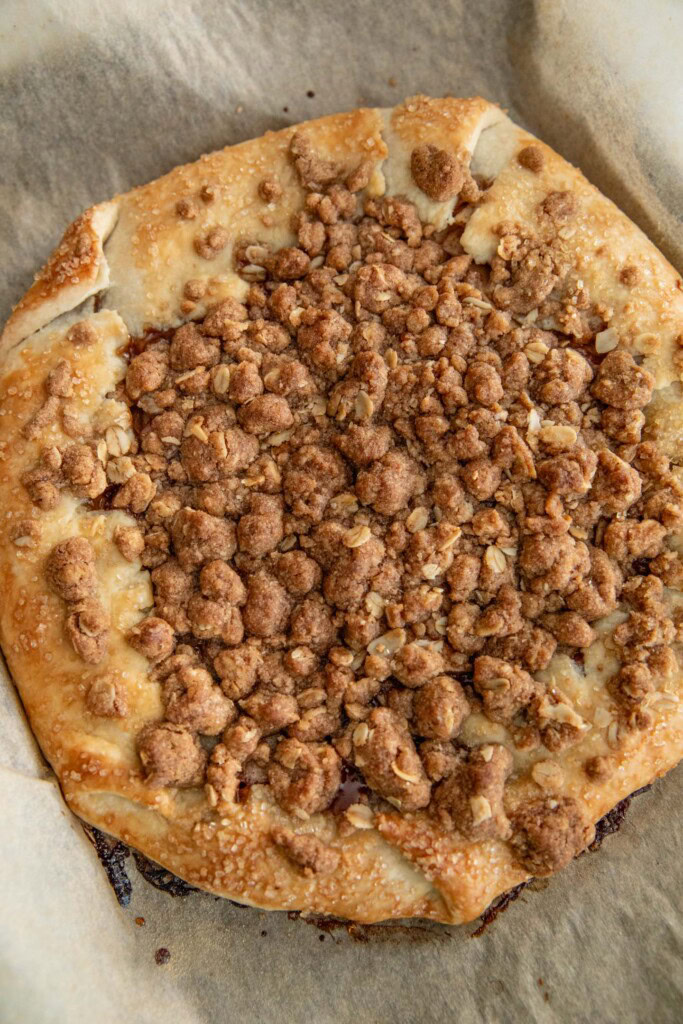
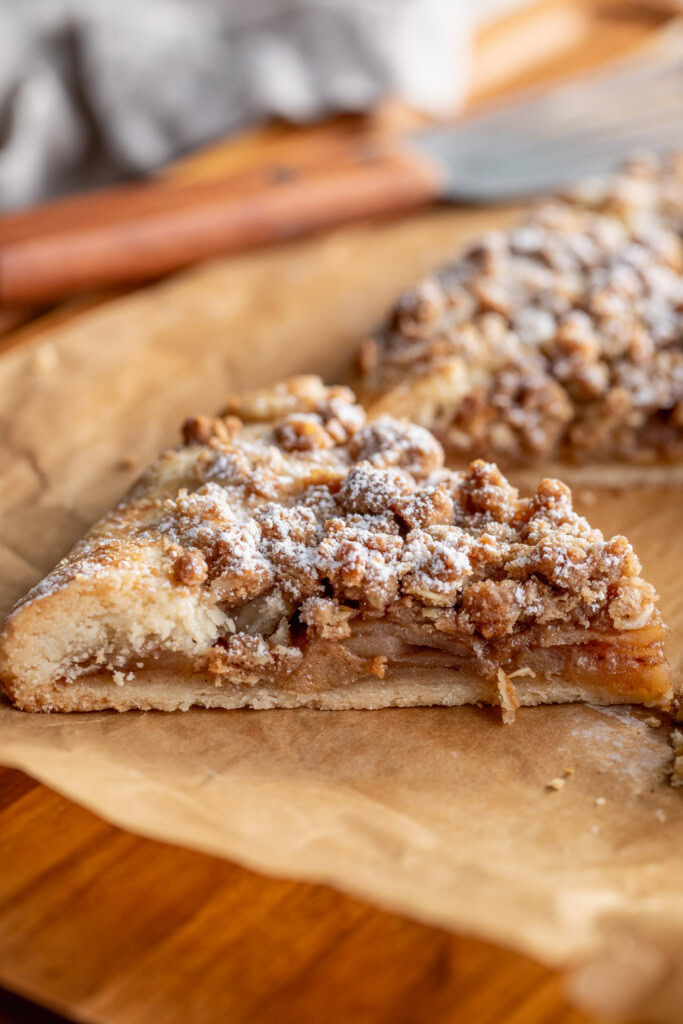
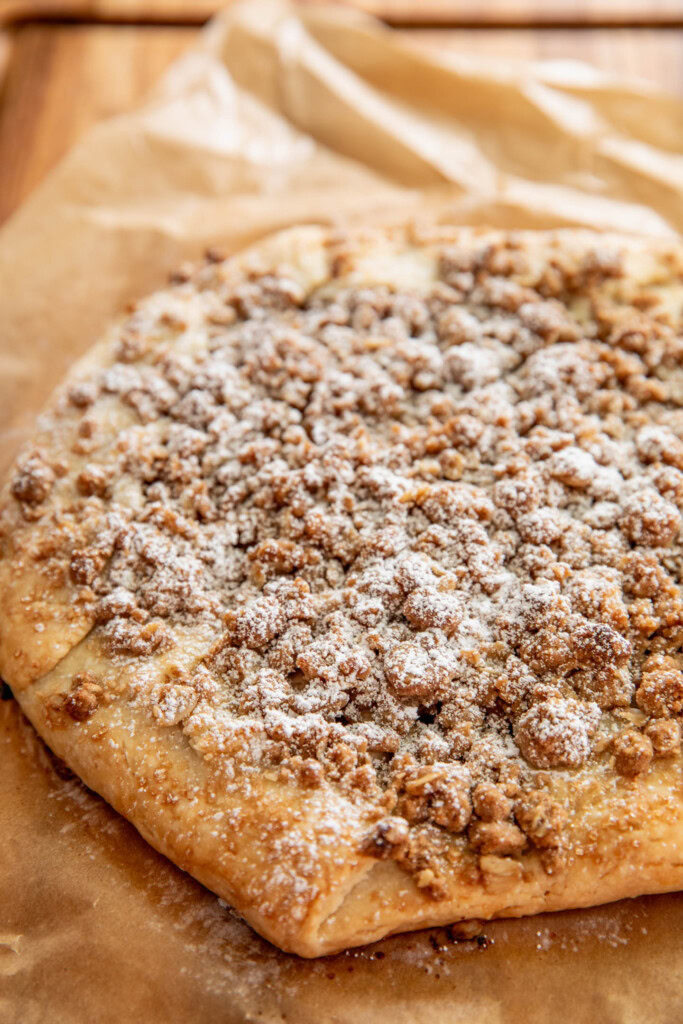
For a galette, layer the filling of choice around the center of your crust, making sure to leave a little more than 1-inch of the edge untouched. Once filled, fold the edges up and over the apples around the edge, towards the center. If you need a filling idea, try this Apple Streusel Galette.
When ready to bake, make an “egg” wash by mixing together the milk and maple syrup. Use a pastry brush to then lightly brush the mixture over the exposed edges of your dough. This will be a lot looser than a normal egg wash, so do brush the mixture very lightly. Then you can go ahead and bake as instructed.
Expert Tips
- Don’t overwork your dough. If your dough is mostly holding together, you can stop manipulating the dough. The less you mess with your dough the better. Overworking the dough will lead to a tough, less flaky crust.
- Double it. If you need pie crust for the bottom and top of your pie, just double this recipe. Or, if you are like me and want to make the most of pulling out your food processor, just make double the amount as a save in the freezer for later option.
- Keep your dough cold. Try not to overwork your dough with your hands. Your hands are warm and can cause the butter in the dough to melt, which will result in a crust that is less flaky. If you feel your dough is getting too warm, pop it into the fridge to chill before working with it again.
Frequently Asked Questions
Yes. Make sure it is wrapped tightly in plastic wrap then place in the freezer for up to 1 month.
Unfortunately, I have not tested my own version of a gluten-free pie crust. However, some very talented and some excellent recipe creators have already done this exact thing. Check out The Banana Diaries for a great gluten-free and vegan pie crust recipe. And if all else fails, there is always the option to buy one from brand’s like Sweet Loren’s.
It can actually be really helpful for those maybe new to making pie crust as the addition of the vinegar slows the development of gluten in the recipe. Translation, it will give you a little more wiggle room to manipulate your dough without overworking it leading to a more flaky crust.
More Things to Bake
- Brown Butter Toffee Chocolate Chip Cookies
- Hotteok Cookies
- Chocolate Peanut Butter Stuffed Cookies
- Fluffy Vegan Cinnamon Rolls
- Vegan Pumpkin Bread with Streusel Topping
If you tried this recipe or any other recipe on the blog, then let me know what you thought in the comments below! And if you loved it, don’t forget to rate it too. Feel free to follow on Instagram, Pinterest, and TikTok for the latest nutrition tips and recipe videos.
Print
Vegan Pie Crust
- Prep Time: 15 minutes
- Chill Time: 30 minutes
- Total Time: 45 minutes
- Yield: 1 pie crust 1x
- Category: Sweets
- Method: Baking
- Cuisine: American
- Diet: Vegan
Description
A step by step on how to make a simple vegan pie crust from scratch that results in a buttery flaky crust. Easy to make and can be used for any of your baking needs.
Ingredients
Pie Crust
- 1 1/2 cups all-purpose flour, spooned and leveled
- 2 tsp granulated sugar
- 1/2 tsp kosher salt
- 1/2 cup cold salted butter, cubed
- 1 tsp apple cider vinegar
- 3–4 tbsp ice cold water
“Egg” Wash
- 2 tbsp unsweetened plant-based milk
- 2 tsp maple syrup
Instructions
Making the Dough
- To a food processor add the flour, sugar and salt and pulse together to combine. Add the butter and pulse until the mixture looks like wet sand and there are no large butter chunks left.
- Add the apple cider vinegar then pour in 2 tablespoons of the iced cold water, pulsing a few times to combine. If the dough doesn’t appear to clump together, add the remaining ice water, 1 tablespoon at a time. Pulse together until the dough is just combined.
- Turn out the dough chunks onto a lightly floured surface. Use your hands to push the dough together into a flat disk then cover with plastic wrap and place in the fridge for at least 30 minutes. If not using the same day, leave in the fridge for up to 2 days.
How to Roll Out Your Pie Crust
- You can roll out your dough once it has chilled for at least 30 minutes. Lightly flour a clean working surface and place your crust on top. Lightly flour the top of the dough then use a rolling pin to start from the center of your dough and roll outwards in all directions until you it has been rolled out into a rough 12-inch circle. Your dough should be 1/8th of an inch in thickness.
How to Use
- From here you can carefully roll your dough over your rolling pin and roll it out to center and carefully tuck it into a pie dish. If making a galette, roll it out over a parchment lined baking sheet instead.
- For a pie crust, trim the border of your pie crust making sure to leave about 1-inch of dough to overhang the edge of your dish. Roll up that excess dough inward towards the dish and press the dough to seal to create a thick outer crust around the edge of the dish. If you are looking for some ideas on how you can style that crust, highly recommend this visual how to. Poke a few holes with a fork into the bottom of your pie crust and then it is ready to use for any of your pie related needs.
- For a galette, layer the filling of choice around the center of your crust, making sure to leave a little more than 1-inch of the edge untouched. Once filled, fold the edges up and over the apples around the edge, towards the center. If you need a filling idea, try this Apple Streusel Galette.
- When ready to bake, make an “egg” wash by mixing together the milk and maple syrup. Use a pastry brush to then lightly brush the mixture over the exposed edges of your dough. This will be a lot looser than a normal egg wash, so do brush the mixture very lightly. Than you can go ahead and bake.
Notes
Don’t overwork your dough. If your dough is mostly holding together, you can stop manipulating the dough. The less you mess with your dough the better. Overworking the dough will lead to a tough, less flaky crust.
Double it. If you need pie crust for the bottom and top of your pie, just double this recipe. Or, if you are like me and want to make the most of pulling out your food processor, just make double the amount as a save in the freezer for later option.
Keep your dough cold. Try not to overwork your dough with your hands. Your hands are warm and can cause the butter in the dough to melt, which will result in a crust that is less flaky. If you feel your dough is getting too warm, pop it into the fridge to chill.
This post contains affiliate links which means I will make a small commission if you purchase from those links. I only recommend and share products that I know, trust and personally use myself!