

Chocolate Peanut Butter Stuffed Cookies
Fudgy chocolate peanut butter stuffed cookies. A decadent cookie that is easy to put together when you want to impress.

I might not always flex this muscle often, but I love to bake. And during the Christmas season, I make it a point to bake often. It’s a form of comfort just like these fudgy chocolate peanut butter stuffed cookies are. And honestly, after making them, I wonder why we don’t go stuffing more cookies with peanut butter, it just makes them that much more enjoyable.
Why You’ll Love Chocolate Peanut Butter Stuffed Cookies
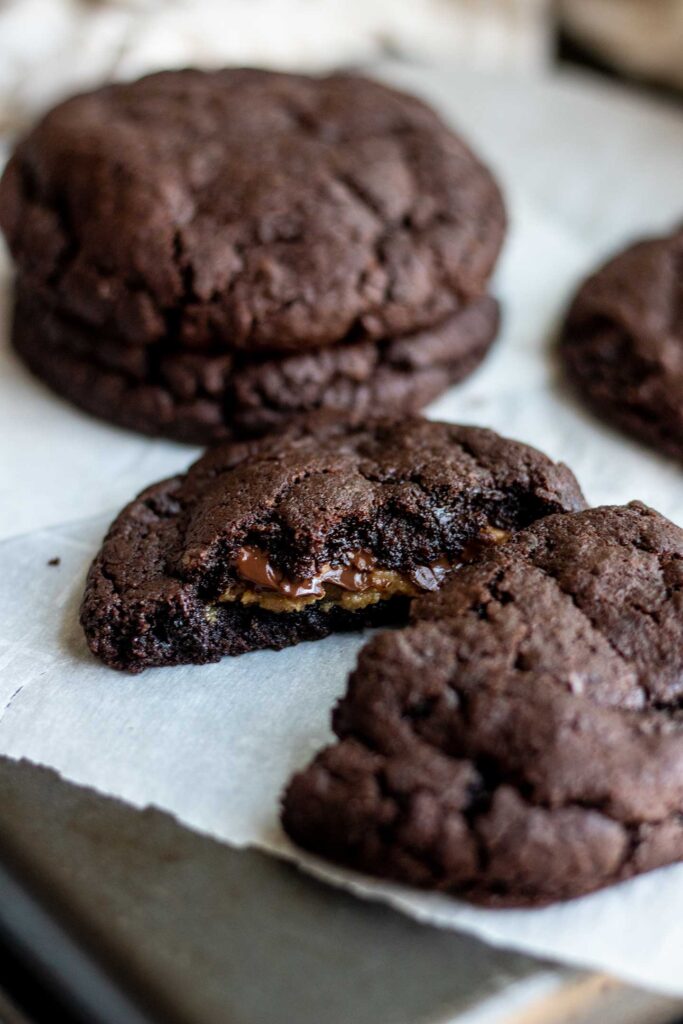
- A fudgy cookie stuffed with creamy peanut butter. The edges get crispy, the middle is fudgy with a creamy peanut butter middle. The perfect cookie in my opinion.
- Surprisingly easy to make. Don’t let the stuffed peanut butter portion scare you. There isn’t anything overly complicated about working with the dough. You can even skip it altogether and just make these into fudgy cookies. Both are equally satisfying.
- Easy to customize. This recipe is pretty forgiving, so feel free to swap out the peanut butter for a different nut or seed butter filling of your choice. You can also see the notes below for other common swaps that still make this recipe work.

Key Ingredients and Substitutions
- Peanut Butter: For best results, use creamy natural peanut butter. If you have a peanut allergy, swap for almond butter or in the case of a nut allergy, try sunflower seed butter.
- Maple Syrup: Both for the peanut butter filling and the dough. If needed, feel free to sub for some agave syrup.
- Flour: I used all-purpose flour. Please see notes below regarding gluten-free information.
- Cocoa Powder: I recommend Dutch-processed cocoa powder, but if in a pinch, regular cocoa powder works too.
- Sugar: For a soft cookie, I chose light brown sugar. You can also choose to use coconut sugar.
- Chocolate Chunks: To keep these cookies vegan, use your favorite melting dairy free , bars, chunks or wafers to melt down.
- Butter: To make this dairy-free, I used vegan stick butter. For best quality, I recommend Miyoko’s. Avoid using the butter from a tub as it tends to have more moisture, which can impact the consistency of the dough.
- Vanilla: Provides extra flavor to our cookies. If you don’t have vanilla, make sure to replace the same amount of liquid for water to the recipe.
How to Make Chocolate Peanut Butter Stuffed Cookies
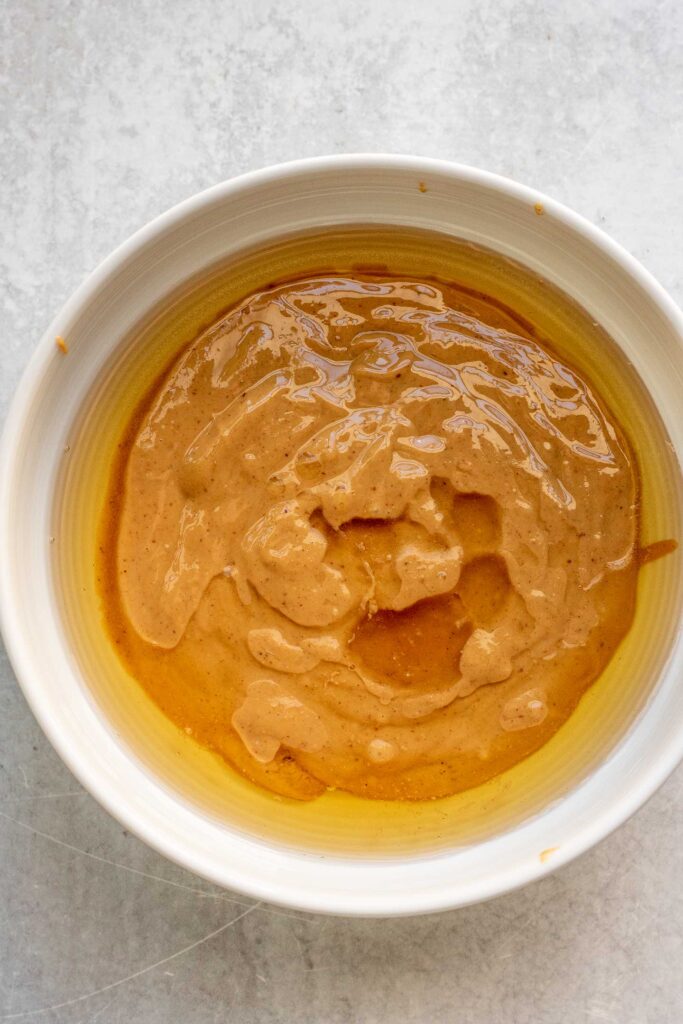
Combine your ground flaxseed with 3 tablespoons of water and set to the side. Now, mix together your peanut butter with 2 tablespoons of maple syrup in a separate bowl until it thickens. Spoon about 2 teaspoons onto a parchment lined tray or dish and place in the freezer.

In a microwave safe dish, add your chocolate chunks and butter. Place the dish in the microwave and heat in 15 second intervals, stirring until the chocolate melts and becomes completely smooth. For reference, this took between 30-45 seconds.
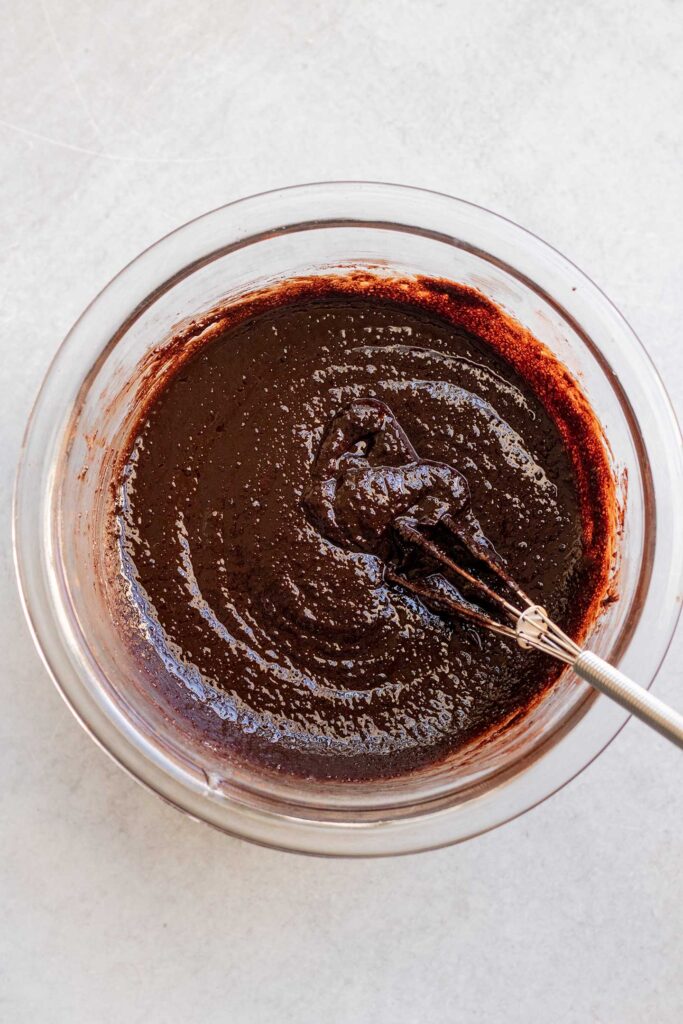

To the chocolate mixture, whisk in your brown sugar, cocoa powder, maple syrup and vanilla, mixing until the cocoa powder is well combined and no cocoa powder clumps remain.
In a medium sized mixing bowl, add the flour, baking powder, baking soda and salt and whisk to combine.
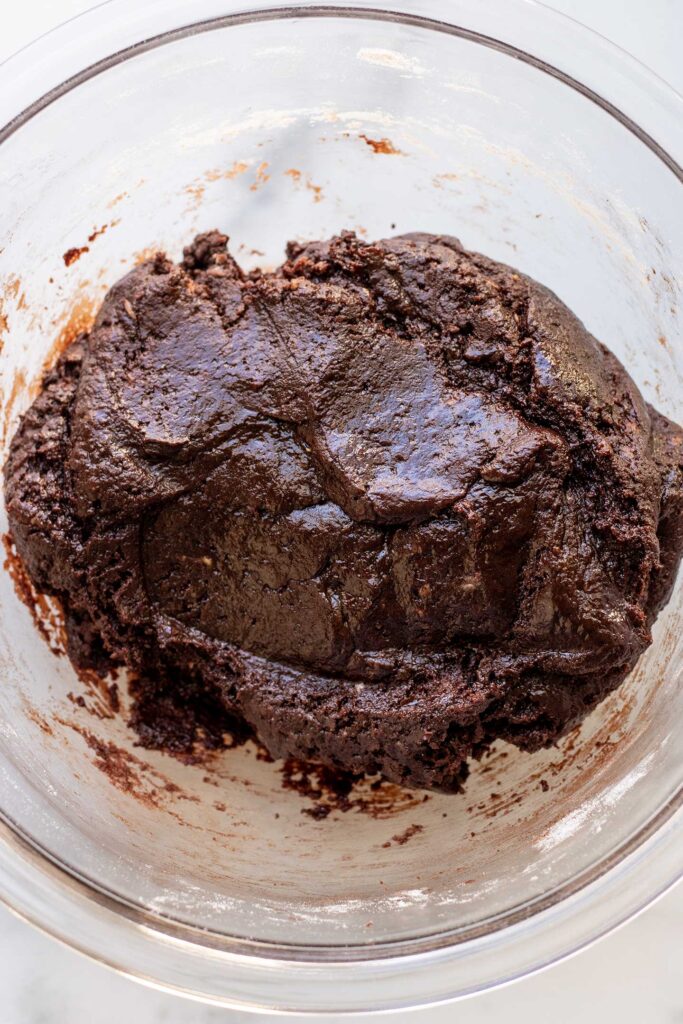

Pour the chocolate mixture into the flour and add the flax mixture. Fold the ingredients together until a uniform dough forms. Cover the bowl and allow the dough to rest on the countertop for 30 minutes and preheat the oven to 350F.
Portion out 2 tablespoons of dough into your hand and flatten with your fingers. Place the chilled peanut butter in the center, and wrap the dough around it to seal. Roll the dough in your hands to smooth it out and place on a parchment lined baking tray. Flatten the dough slightly with your fingers, then repeat with the remaining dough. Make sure to give the cookies enough space to spread.

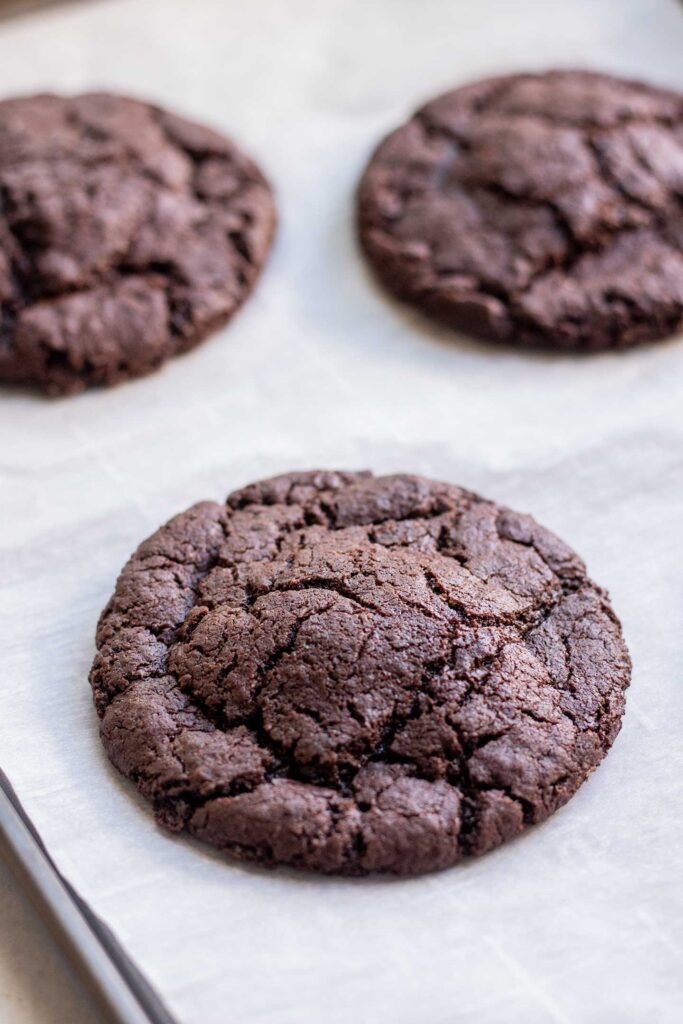
Bake in the oven for 11 minutes. Once out of the oven, use a large cup or bowl to swirl around each cookie to create perfectly round cookies then allow to continue to cool before enjoying.
Frequently Asked Questions
I have not tried this recipe with gluten-free flours. Many gluten-free flours can be more absorbent and may not work as a perfect replacement for regular flour, so be careful! Your best bet if you attempt this is to use a gluten-free 1:1 all-purpose flour that has xanthan gum in it.
Once the cookies have set and cooled completely, place them in an airtight glass container. They can be stored on the countertop for up to 5 days. To freeze, place parchment paper between each cookie to prevent them from getting stuck together.
You may have added too much flour. This can happen if you overpack your measuring cup with flour instead of measuring using the “spoon and level technique”.
Expert Tips
- Use Dutch processed cocoa powder for a deeper chocolate flavor. This recipe is forgiving, so technically you can use either regular cocoa powder or Dutch-processed. However, I do recommend the Dutch-processed for a deeper color and fudgier taste to the cookies.
- Bloom your cocoa powder for the best flavor. Cocoa powder flavor can be enhanced when incorporated with a hot liquid like hot water, coffee, milk, oil or butter. Instead of mixing the cocoa powder with the dry ingredients, mixing the cocoa powder with the hot melted butter mixture provides a richer chocolate flavor in this recipe.
- Measure your ingredients using a scale. This will ensure accurate results as often measuring with a measuring cup doesn’t always yield the same accuracy.
- For an extra gooey center, add some chopped chocolate chunks into the center with the peanut butter.
More Vegan Cookie Recipes to Try
- Matcha Sugar Cookies
- Flourless Chocolate Chip Cookies
- Vegan Snickerdoodle Cookies
- Chewy Ginger Molasses Cookies
- Vegan Thumbprint Cookies

Chocolate Peanut Butter Stuffed Cookies
- Prep Time: 30 minutes
- Cook Time: 11 minutes
- Total Time: 41 minutes
- Yield: 10–12 cookies 1x
- Category: Dessert
- Method: Baking
- Cuisine: American
- Diet: Vegan
Description
Fudgy chocolate peanut butter stuffed cookies. A decadent cookie that is easy to put together when you want to impress.
Ingredients
Peanut Butter Filling
- 1/2 cup creamy natural peanut butter, salted
- 2 tbsp maple syrup
Cookie Dough
- 1 tbsp ground flaxseed
- 3 tbsp water
- 1/2 cup (95g) dark chocolate chunks or disks
- 3 tbsp (42g) vegan stick butter
- 1/2 cup (105g) light brown sugar
- 1/4 cup (30g) Dutch-processed cocoa powder
- 1/4 cup maple syrup
- 1 tsp vanilla extract
- 1 cup (135g) all-purpose flour
- 1 tsp baking powder
- 1/2 tsp baking soda
- 1/2 tsp salt
Instructions
- Combine your ground flaxseed with 3 tablespoons of water and set to the side.
- Mix together your peanut butter with 2 tablespoons of maple syrup in a separate bowl until it thickens. Spoon about 2 teaspoons onto a parchment lined tray or dish and place in the freezer.
- In a microwave safe dish, add your chocolate chunks and butter. Place the dish in the microwave and heat in 15 second intervals, stirring in between until the chocolate melts and becomes completely smooth. For reference, this took between 30-45 seconds.
- To the chocolate mixture, whisk in your brown sugar, cocoa powder, maple syrup and vanilla, mixing until the cocoa powder is well combined and no cocoa powder clumps remain.
- In a medium sized mixing bowl, add the flour, baking powder, baking soda and salt and whisk to combine.
- Pour the chocolate mixture into the flour and add the flax mixture. Fold the ingredients together until a uniform dough forms. Cover the bowl and allow the dough to rest on the countertop for 30 minutes and preheat the oven to 350F.
- Portion out 2 tablespoons of dough into your hand and flatten with your fingers. Place the chilled peanut butter in the center, and wrap the dough around it to seal. Roll the dough in your hands to smooth it out and place on a parchment lined baking tray. Flatten the dough slightly with your fingers, then repeat with remaining dough.
- Bake in the oven for 11 minutes. Once out of the oven, use a large cup or bowl to swirl around each cookie to create perfectly round cookies then allow to continue to cool before enjoying.
Notes
Use Dutch processed cocoa powder for a deeper chocolate flavor. This recipe is forgiving, so technically you can use either regular cocoa powder or Dutch-processed. However, I do recommend the Dutch-processed for a deeper color and fudgier taste to the cookies.
Bloom your cocoa powder for the best flavor. Cocoa powder flavor can be enhanced when incorporated with a hot liquid like hot water, coffee, milk, oil or butter. Instead of mixing the cocoa powder with the dry ingredients, mixing the cocoa powder with the hot melted butter mixture provides a richer chocolate flavor in this recipe.
Measure your ingredients using a scale. This will ensure accurate results as often measuring with a measuring cup doesn’t always yield the same accuracy.
For an extra gooey center, add some chopped chocolate chunks into the center with the peanut butter.
If you tried this recipe or any other recipe on the blog, then let me know what you thought in the comments below! And if you loved it, don’t forget to rate it too. Feel free to follow on Instagram, Pinterest, and TikTok for the latest nutrition tips and recipe videos.
★ Catherine
This post contains affiliate links which means I will make a small commission if you purchase from those links. I only recommend and share products that I know, trust and personally use myself!


These were great! Made them last week and I’m making another batch today. Thank you!
So glad you enjoyed. Thank you Lila! 🙂
So yummy! Thank you for the recipe!