

Air Fryer Zucchini Fries
These air fryer Zucchini Fries are a flavorful and addicting way to use up some summer zucchini. Toss in a quick batter, bread it and bake to crispy perfection.

Make veggies taste good! That is what I built this space for. I want you to feel good with the food you eat, but I want to emphasize that it should not be at the expense of taste. Feeling good and having your food taste good should go hand in hand. So let’s put the spotlight on zucchinis today to share one of my favorite ways to enjoy them and that’s in fry form.
Zucchinis on their own can often times turn into a mushy mess when not cooked appropriately. However, with the right seasoning and a little breading, you can transform this humble vegetable into a really tasty treat.
Why You’ll Love These Air Fryer Zucchini Fries
- A great and less messy alternative to actual frying.
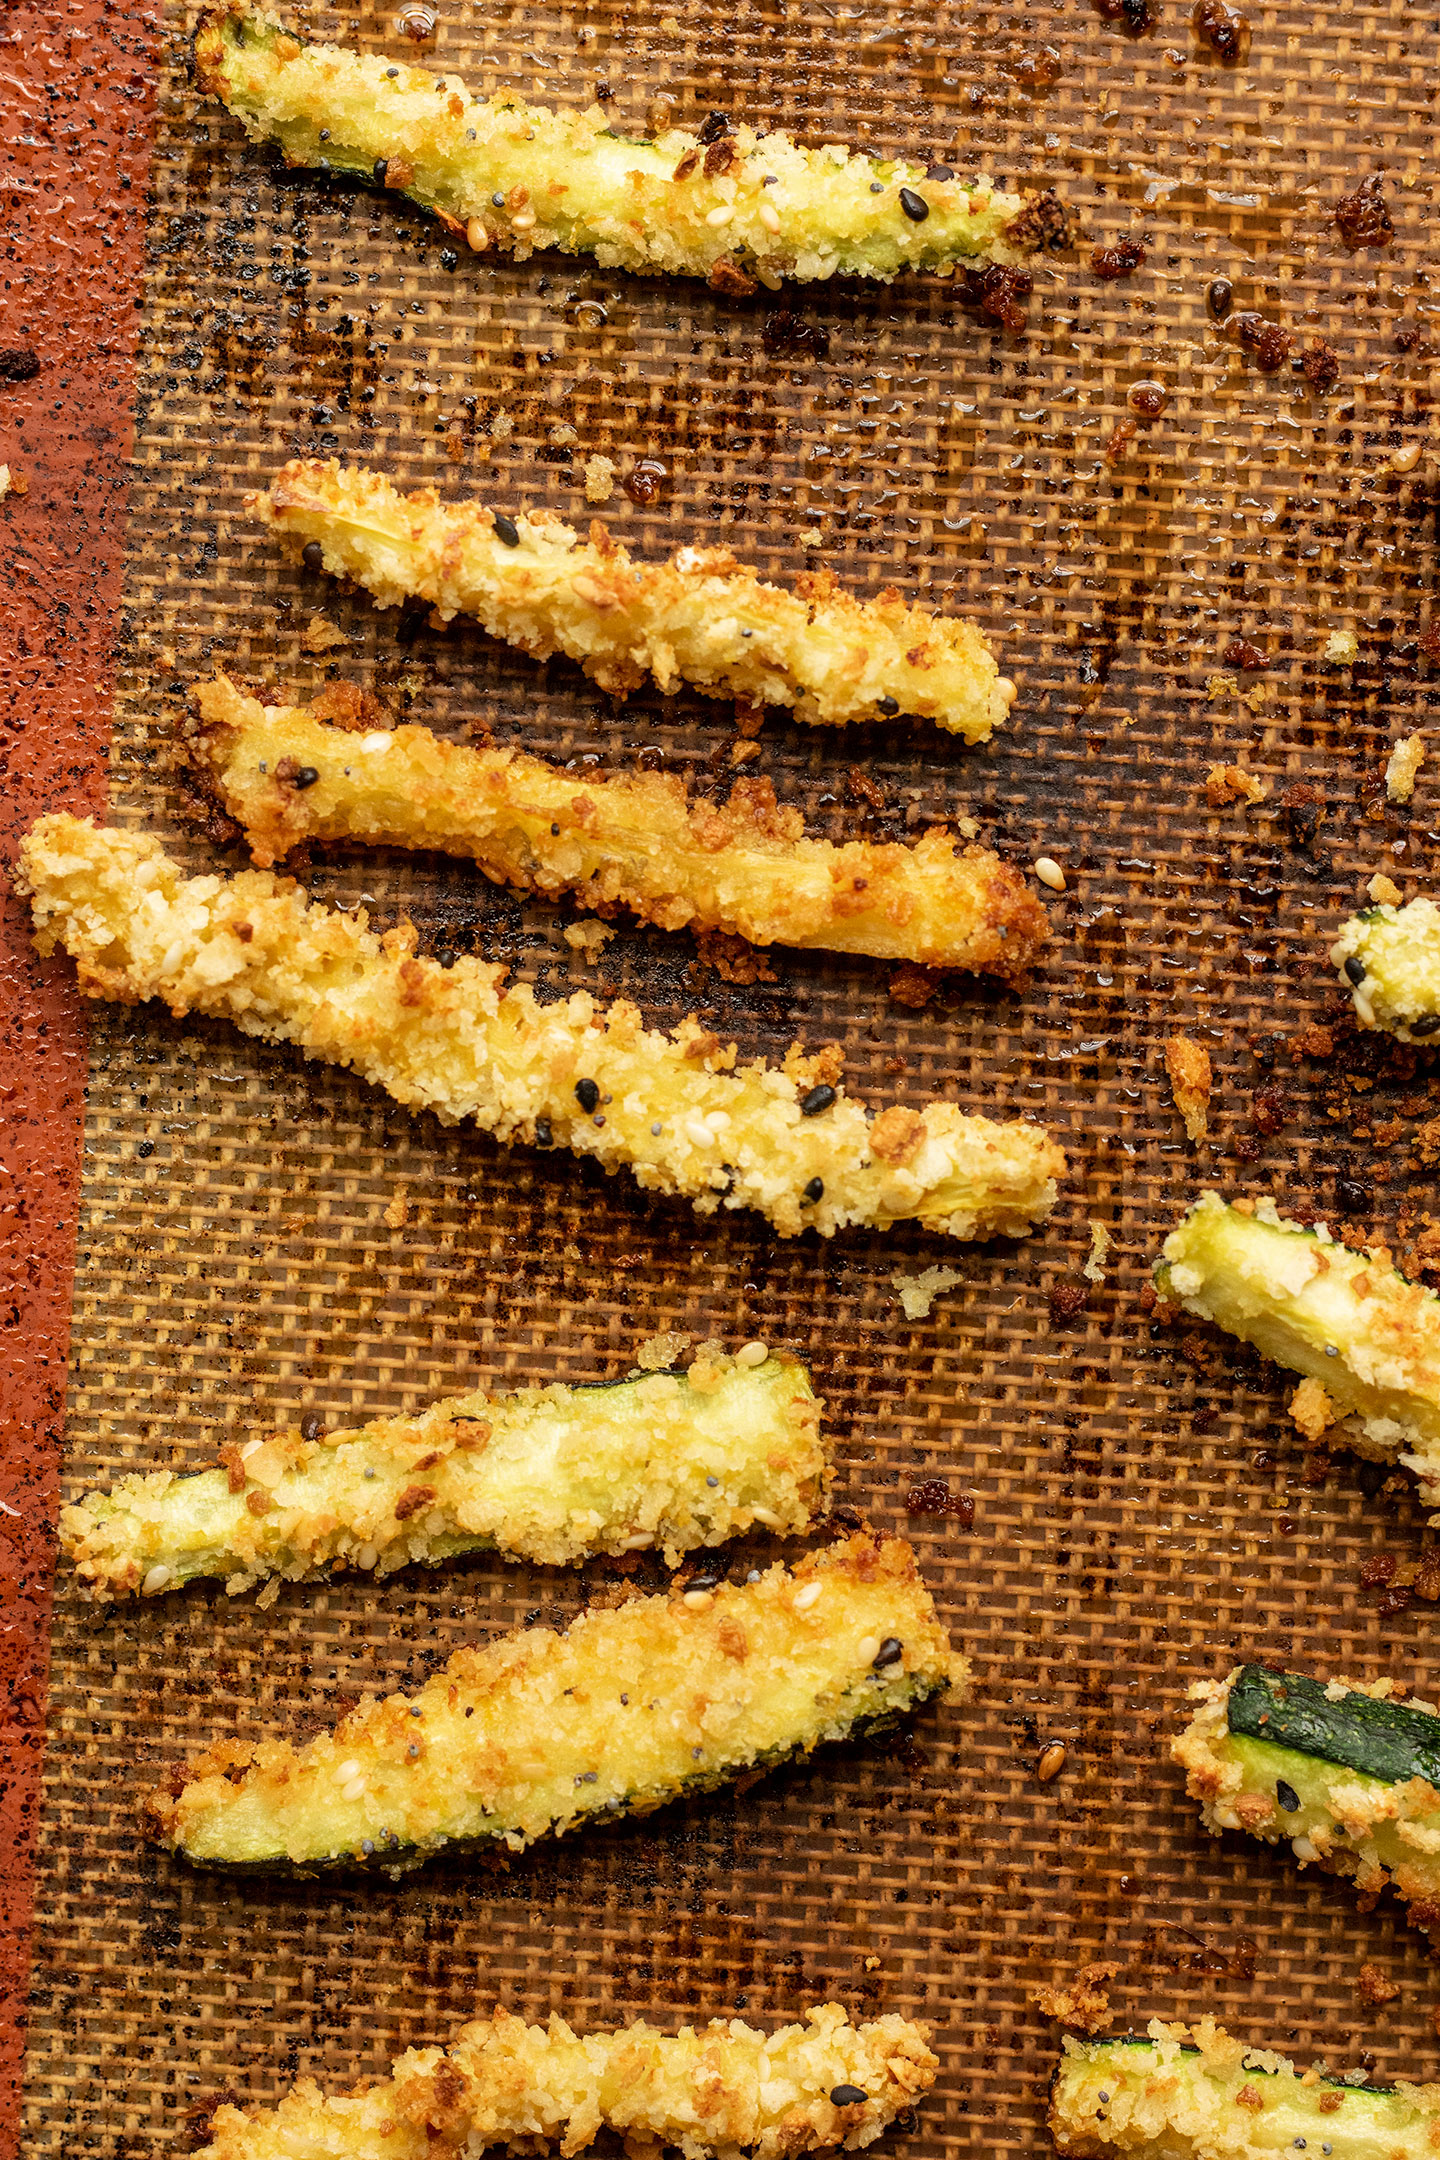
- The breading helps to create a crispy texture on the outside to contrast the tender center of the zucchini.
- Easy to make with a handful of basic ingredients.
- Completely dairy-free and egg-free and can be made gluten-free with a simple alternative.
Key Ingredients and Substitutions
- Zucchini: Make sure to use small to medium sized zucchini as they tend not to have as much water.
- Yogurt: This is our egg replacement. If you do not have plant based yogurt, you can also try frothing milk and oil together with cornstarch to make a cream that should also help to adhere the breadcrumbs.
- Milk: Use the milk you like best. I often do this with soy, almond or cashew milk with great success.
- Corn Starch: This will help to absorb extra moisture and also help the batter stick. You can swap corn starch out for some arrowroot powder.
- Nutritional Yeast: Many classic versions of zucchini fries often use parmesan in the coating. To bypass this I recommend using nutritional yeast as it provides some umami flavor that cheese often provides.
- Seasoning: I went with everything but the bagel seasoning, but you can try other seasoning blends like Italian seasoning or keep it simple with some garlic, salt and pepper.
How to Make Zucchini Fries in the Air Fryer
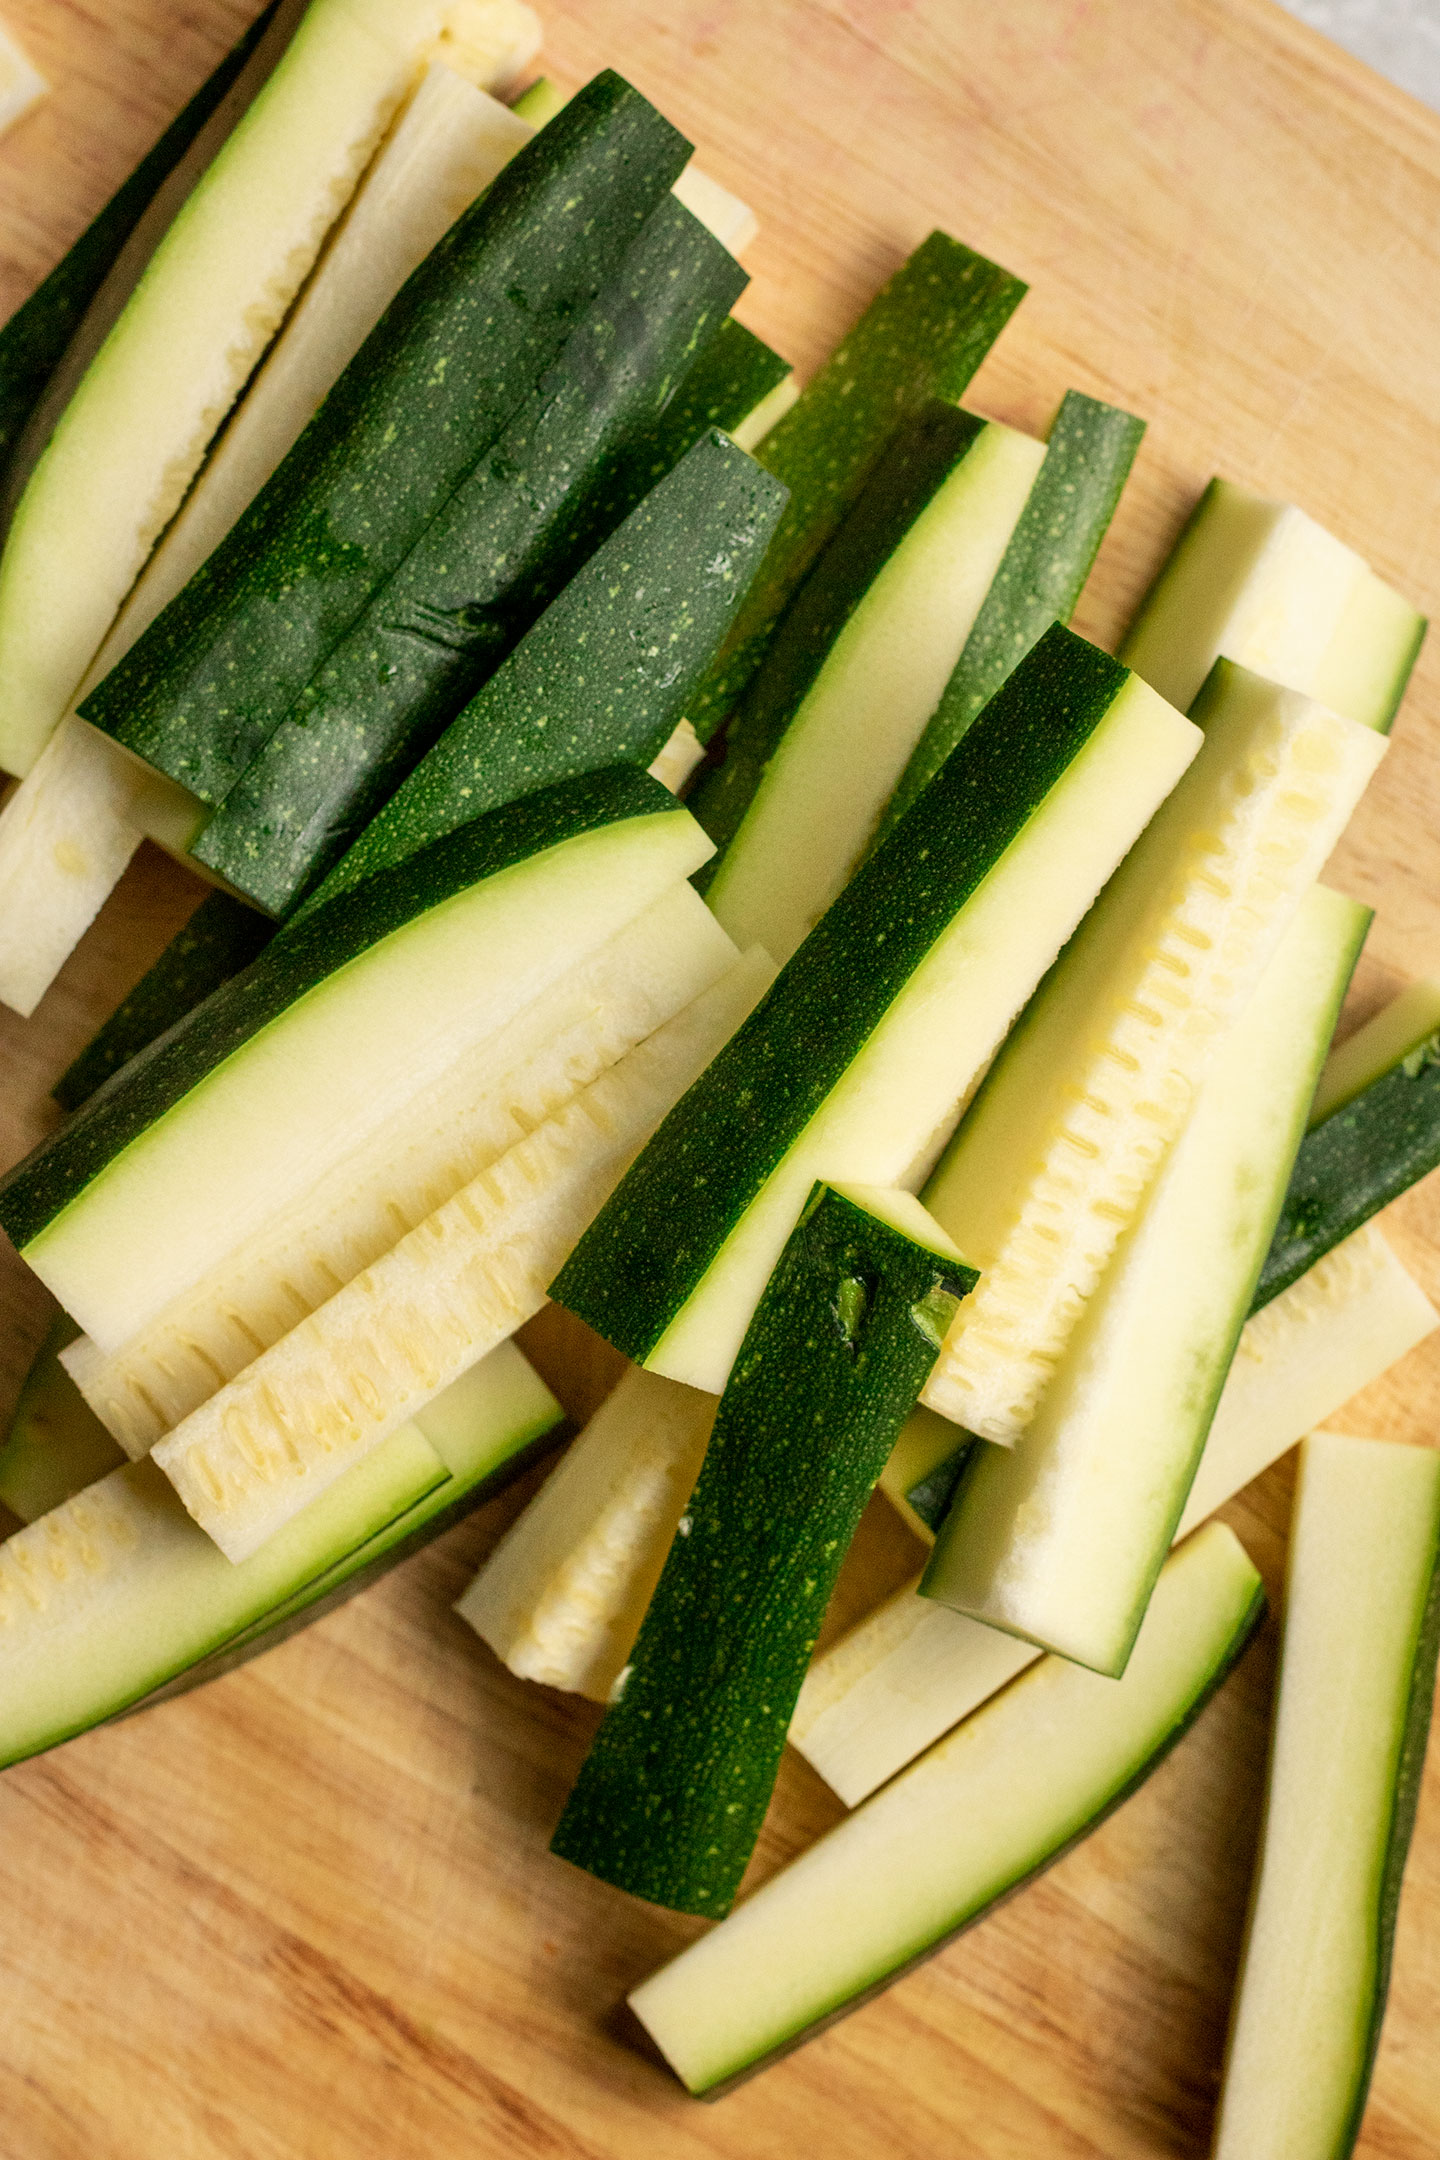
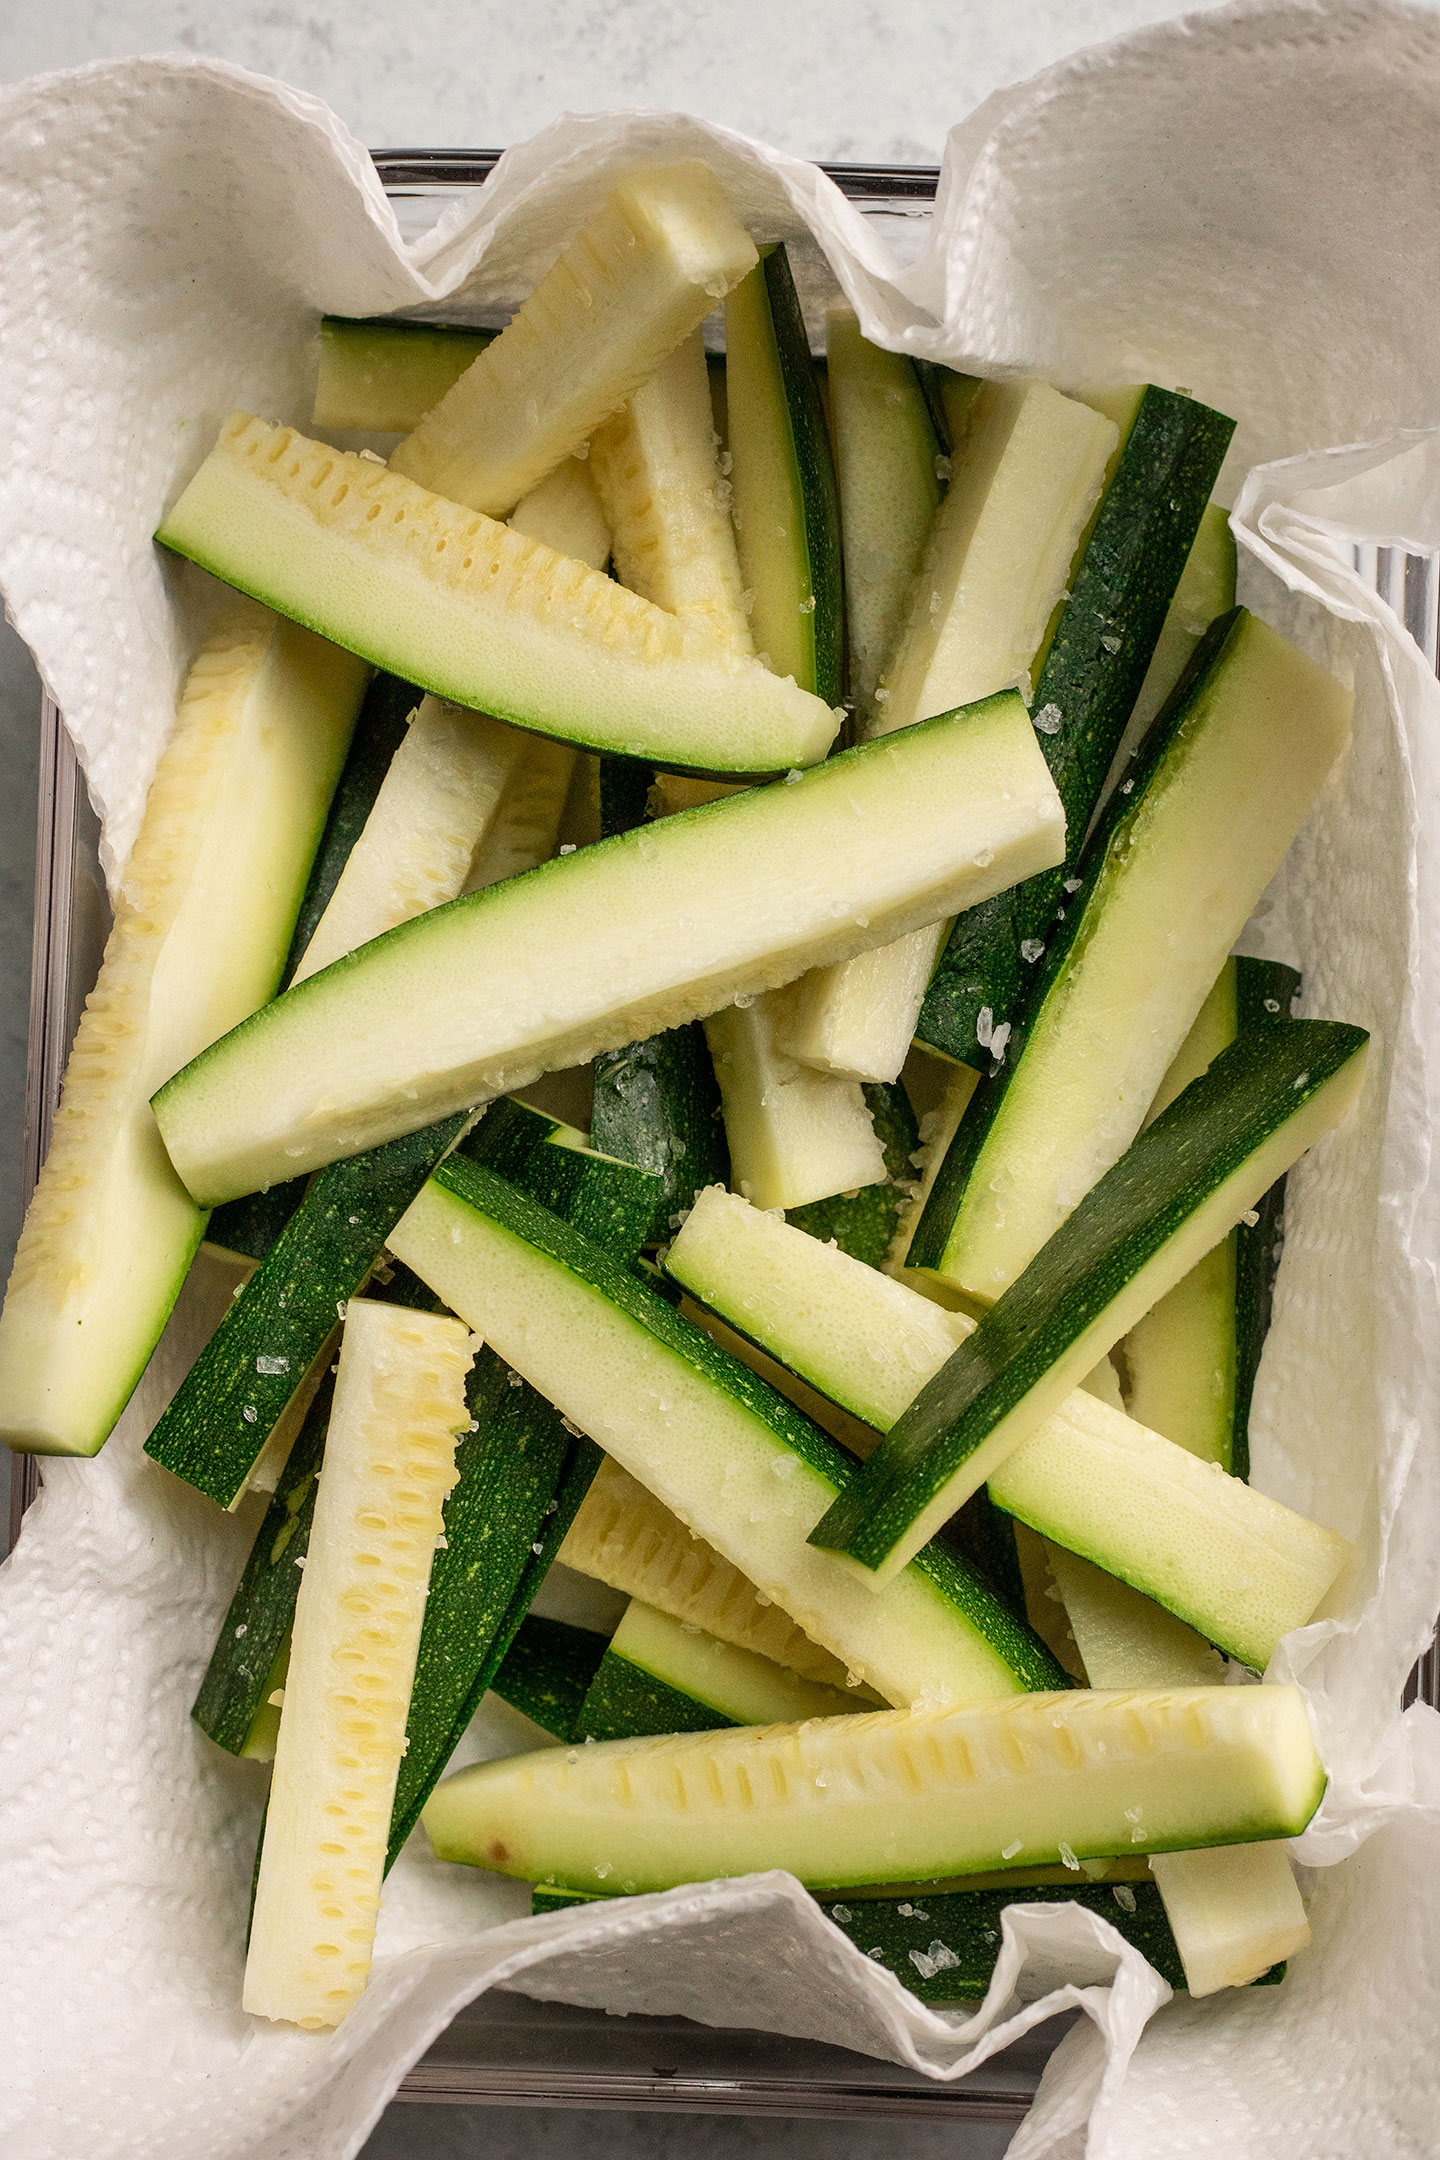
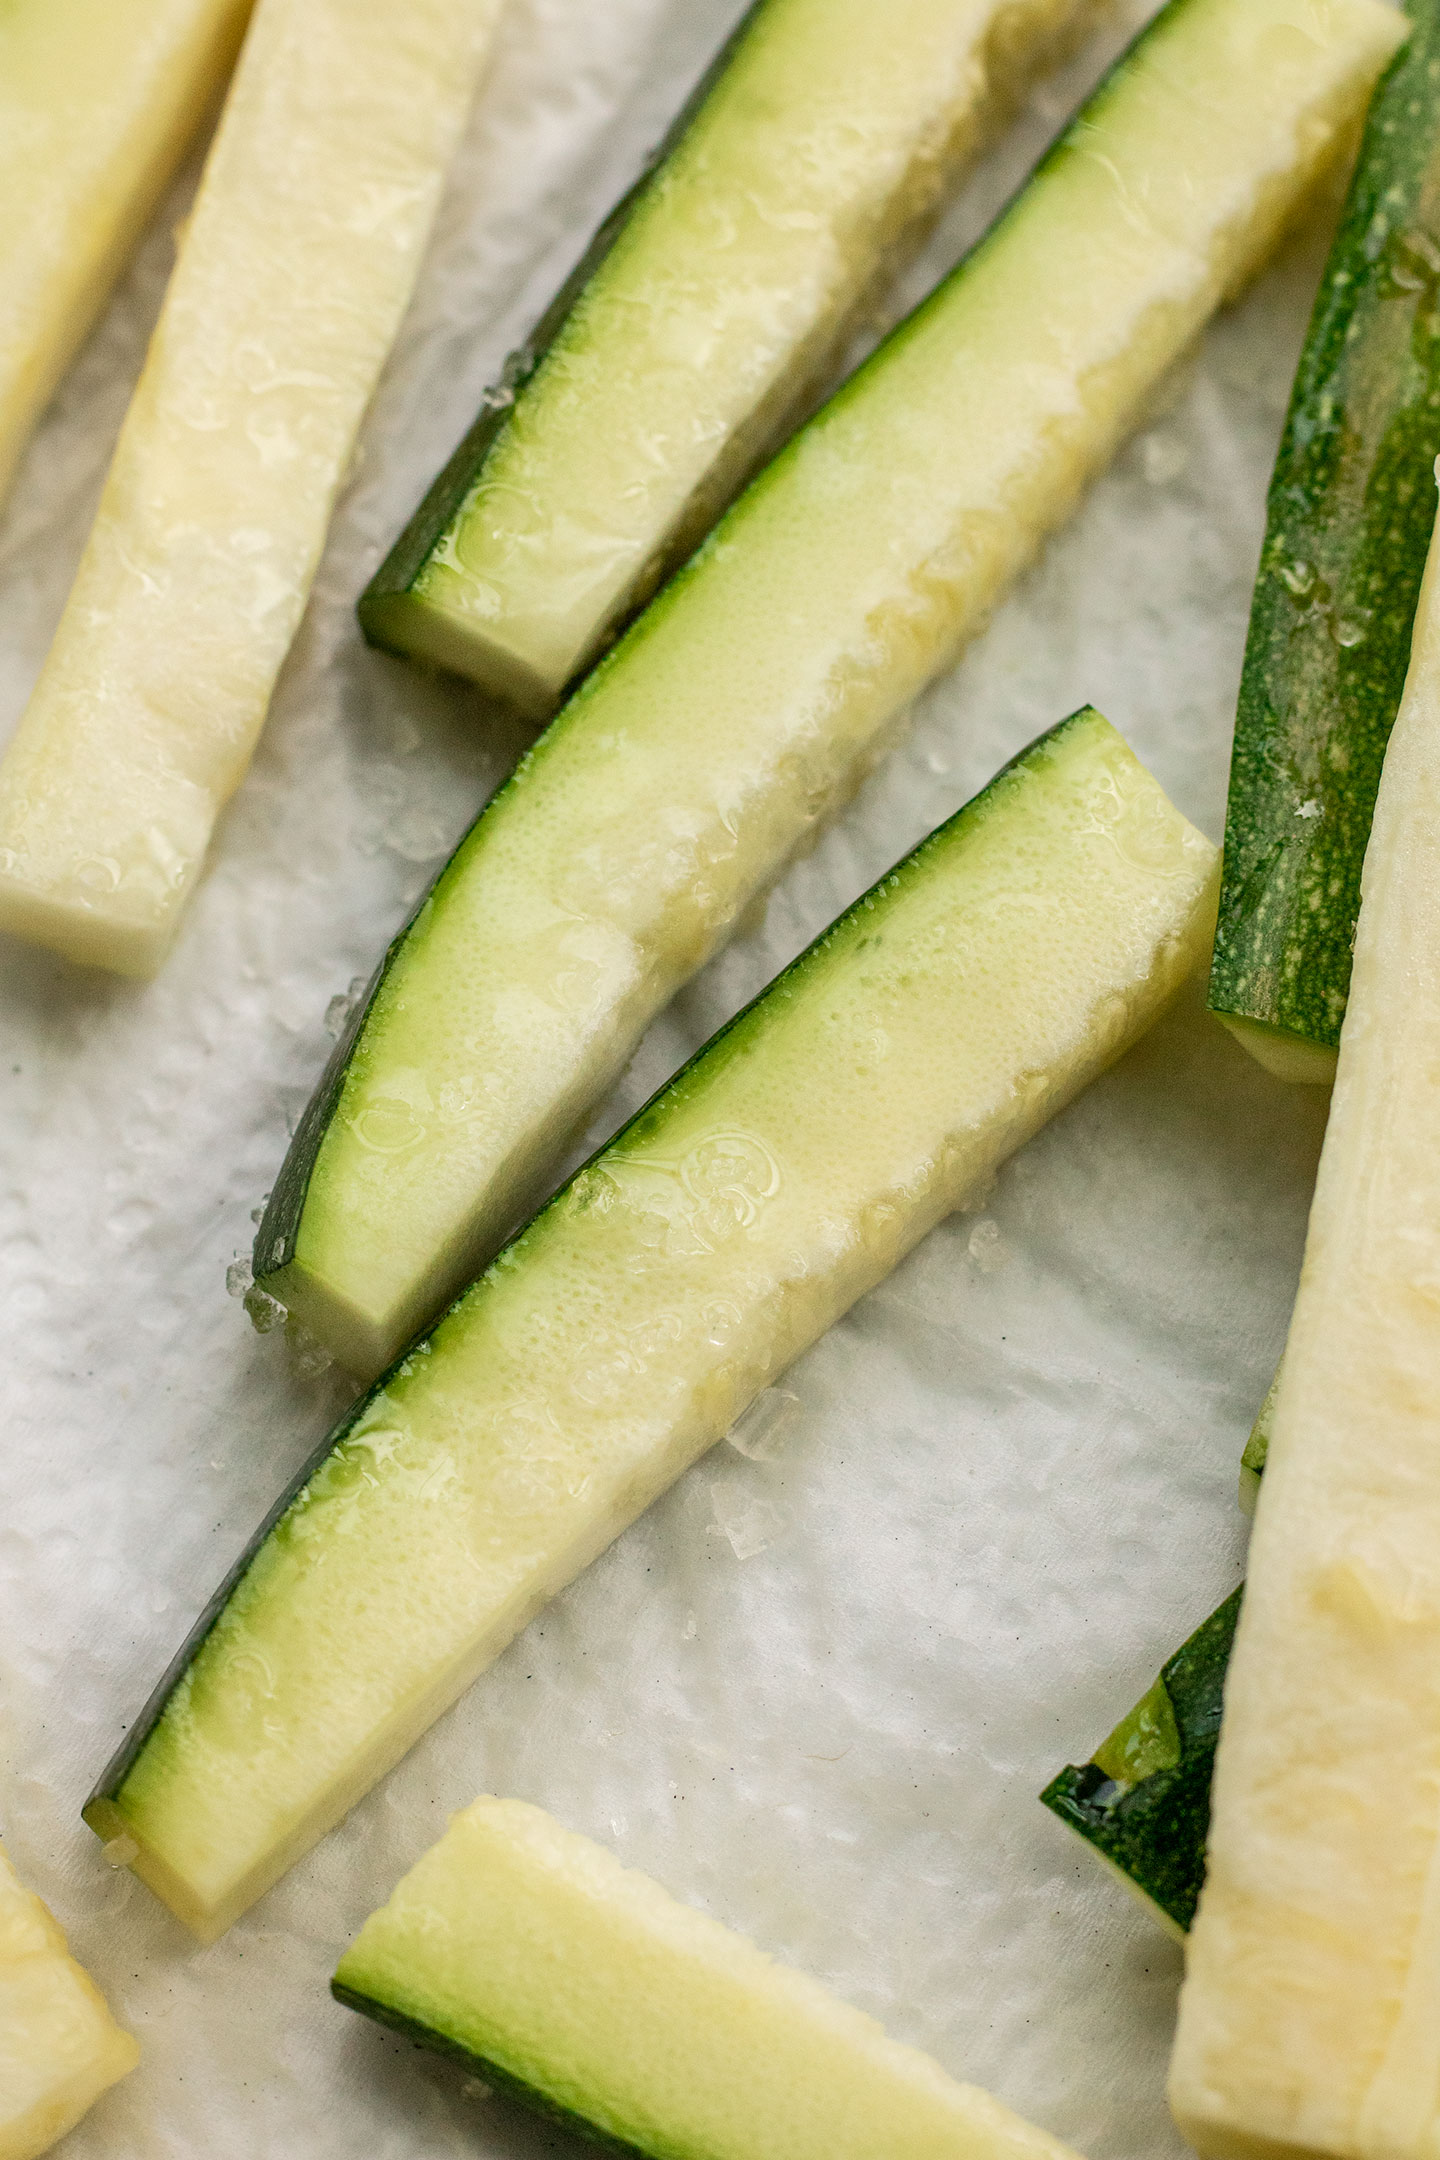
Start by cutting your zucchini into 1 cm thick fry cuts. Place a clean kitchen towel in a bowl or plate and lay your zucchini on top of it. Sprinkle the zucchini with a little salt and let them stand for 10 minutes to release excess moisture. Pat them dry with a towel before continuing.
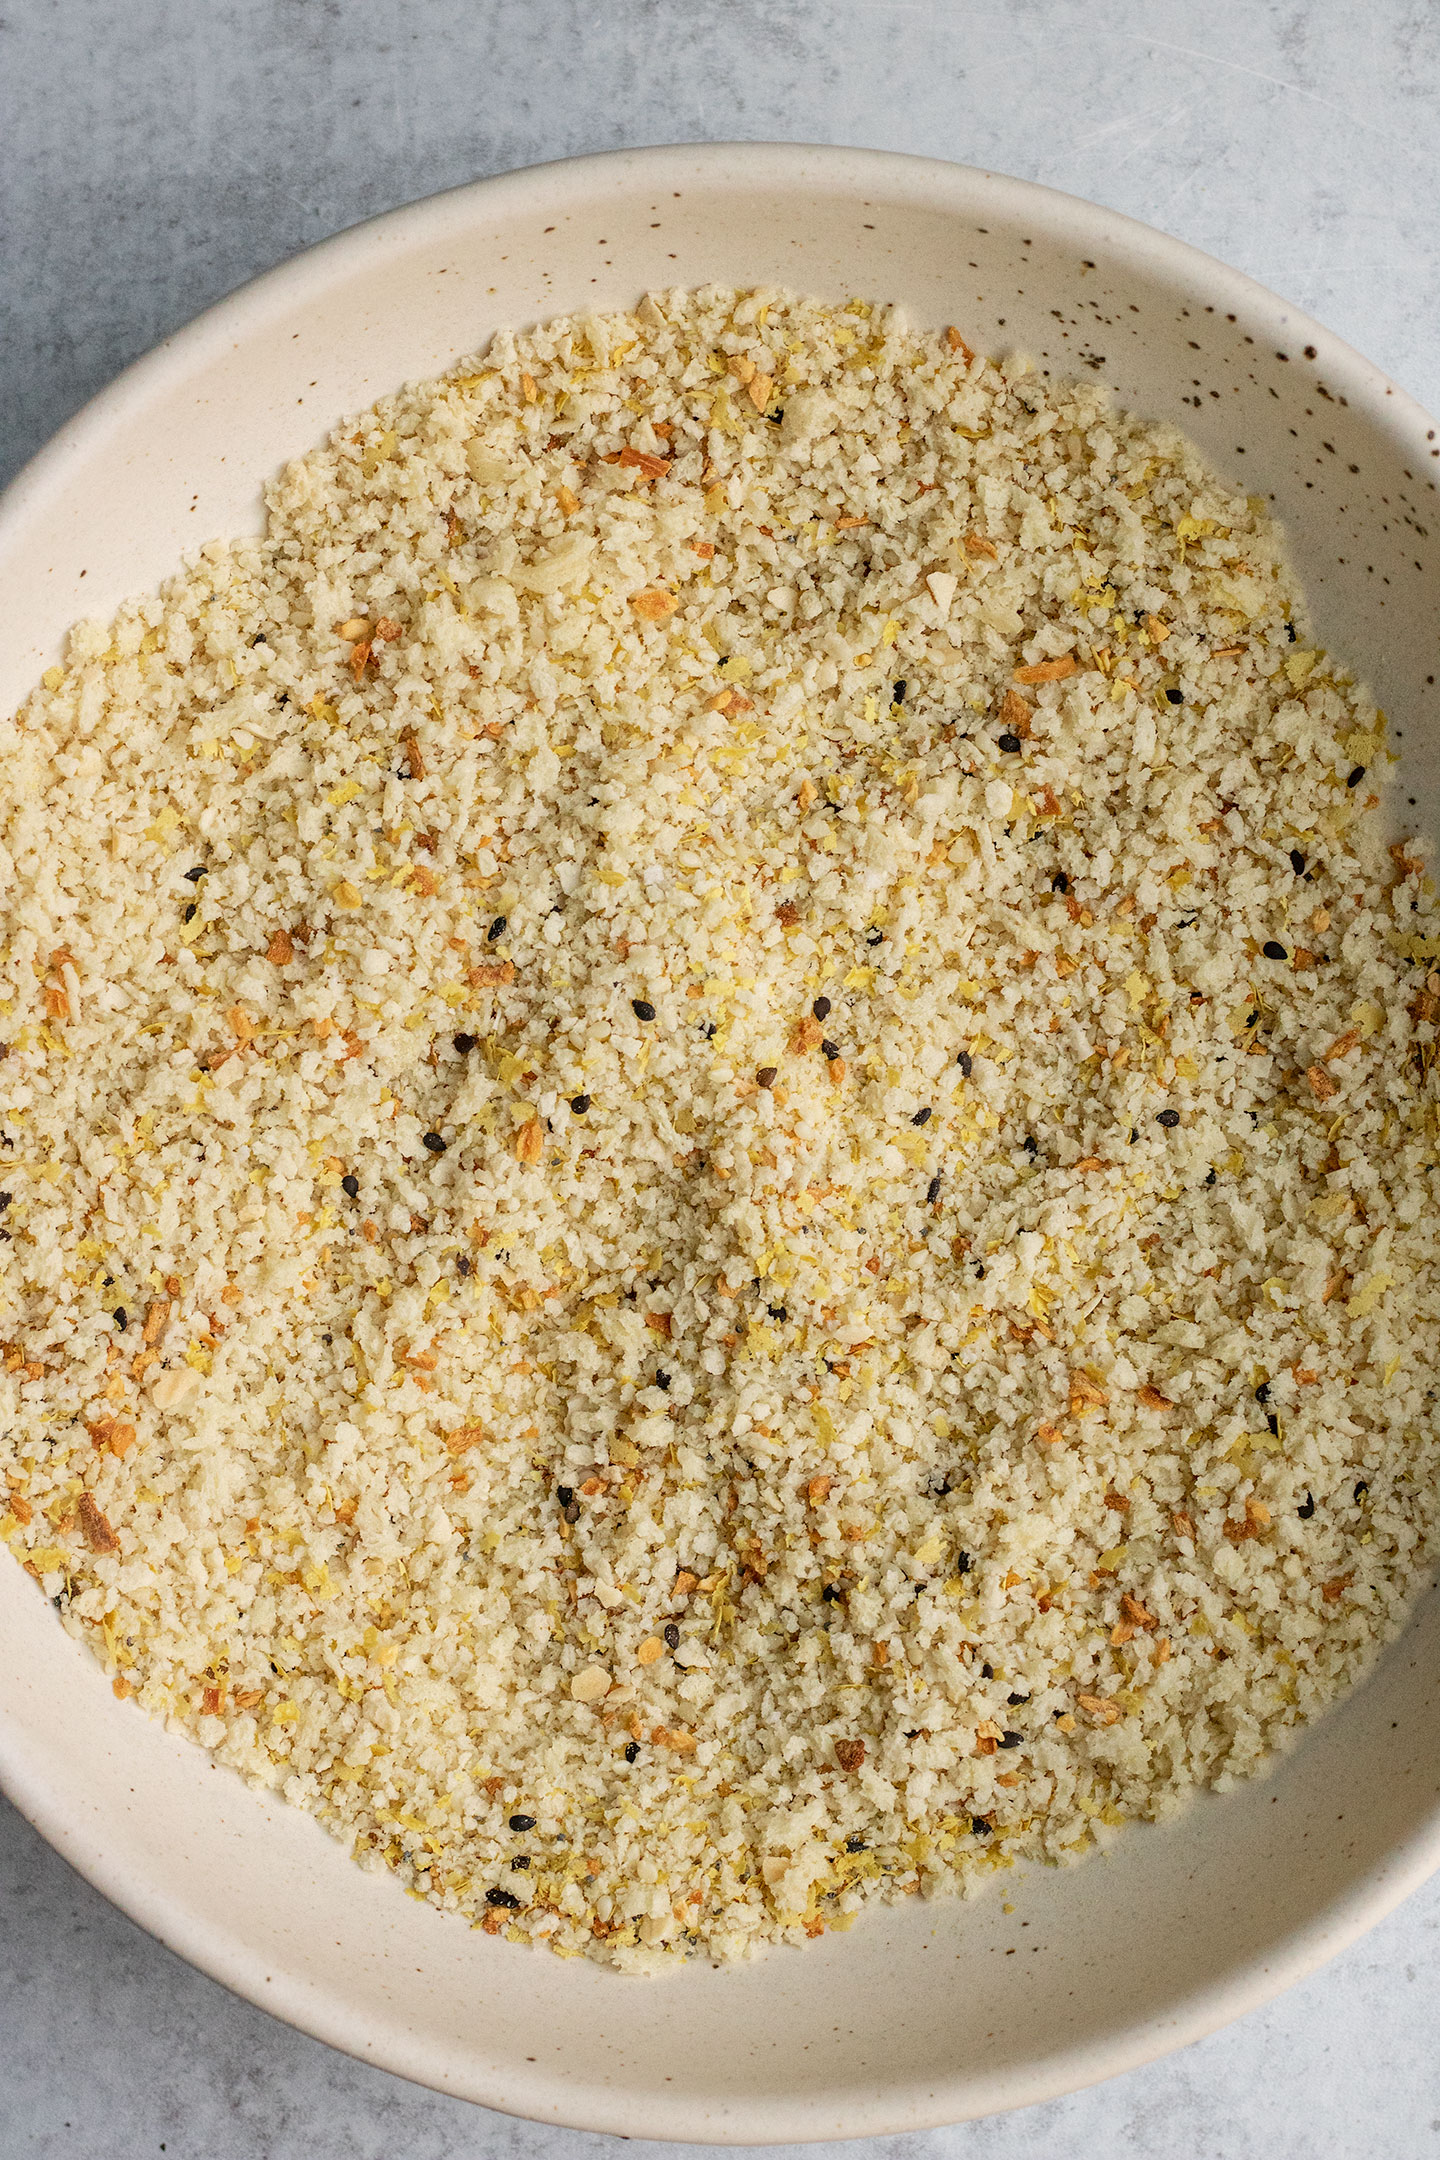
While this happens, mix together your yogurt and milk and set to the side in a separate large dish combine your breading.
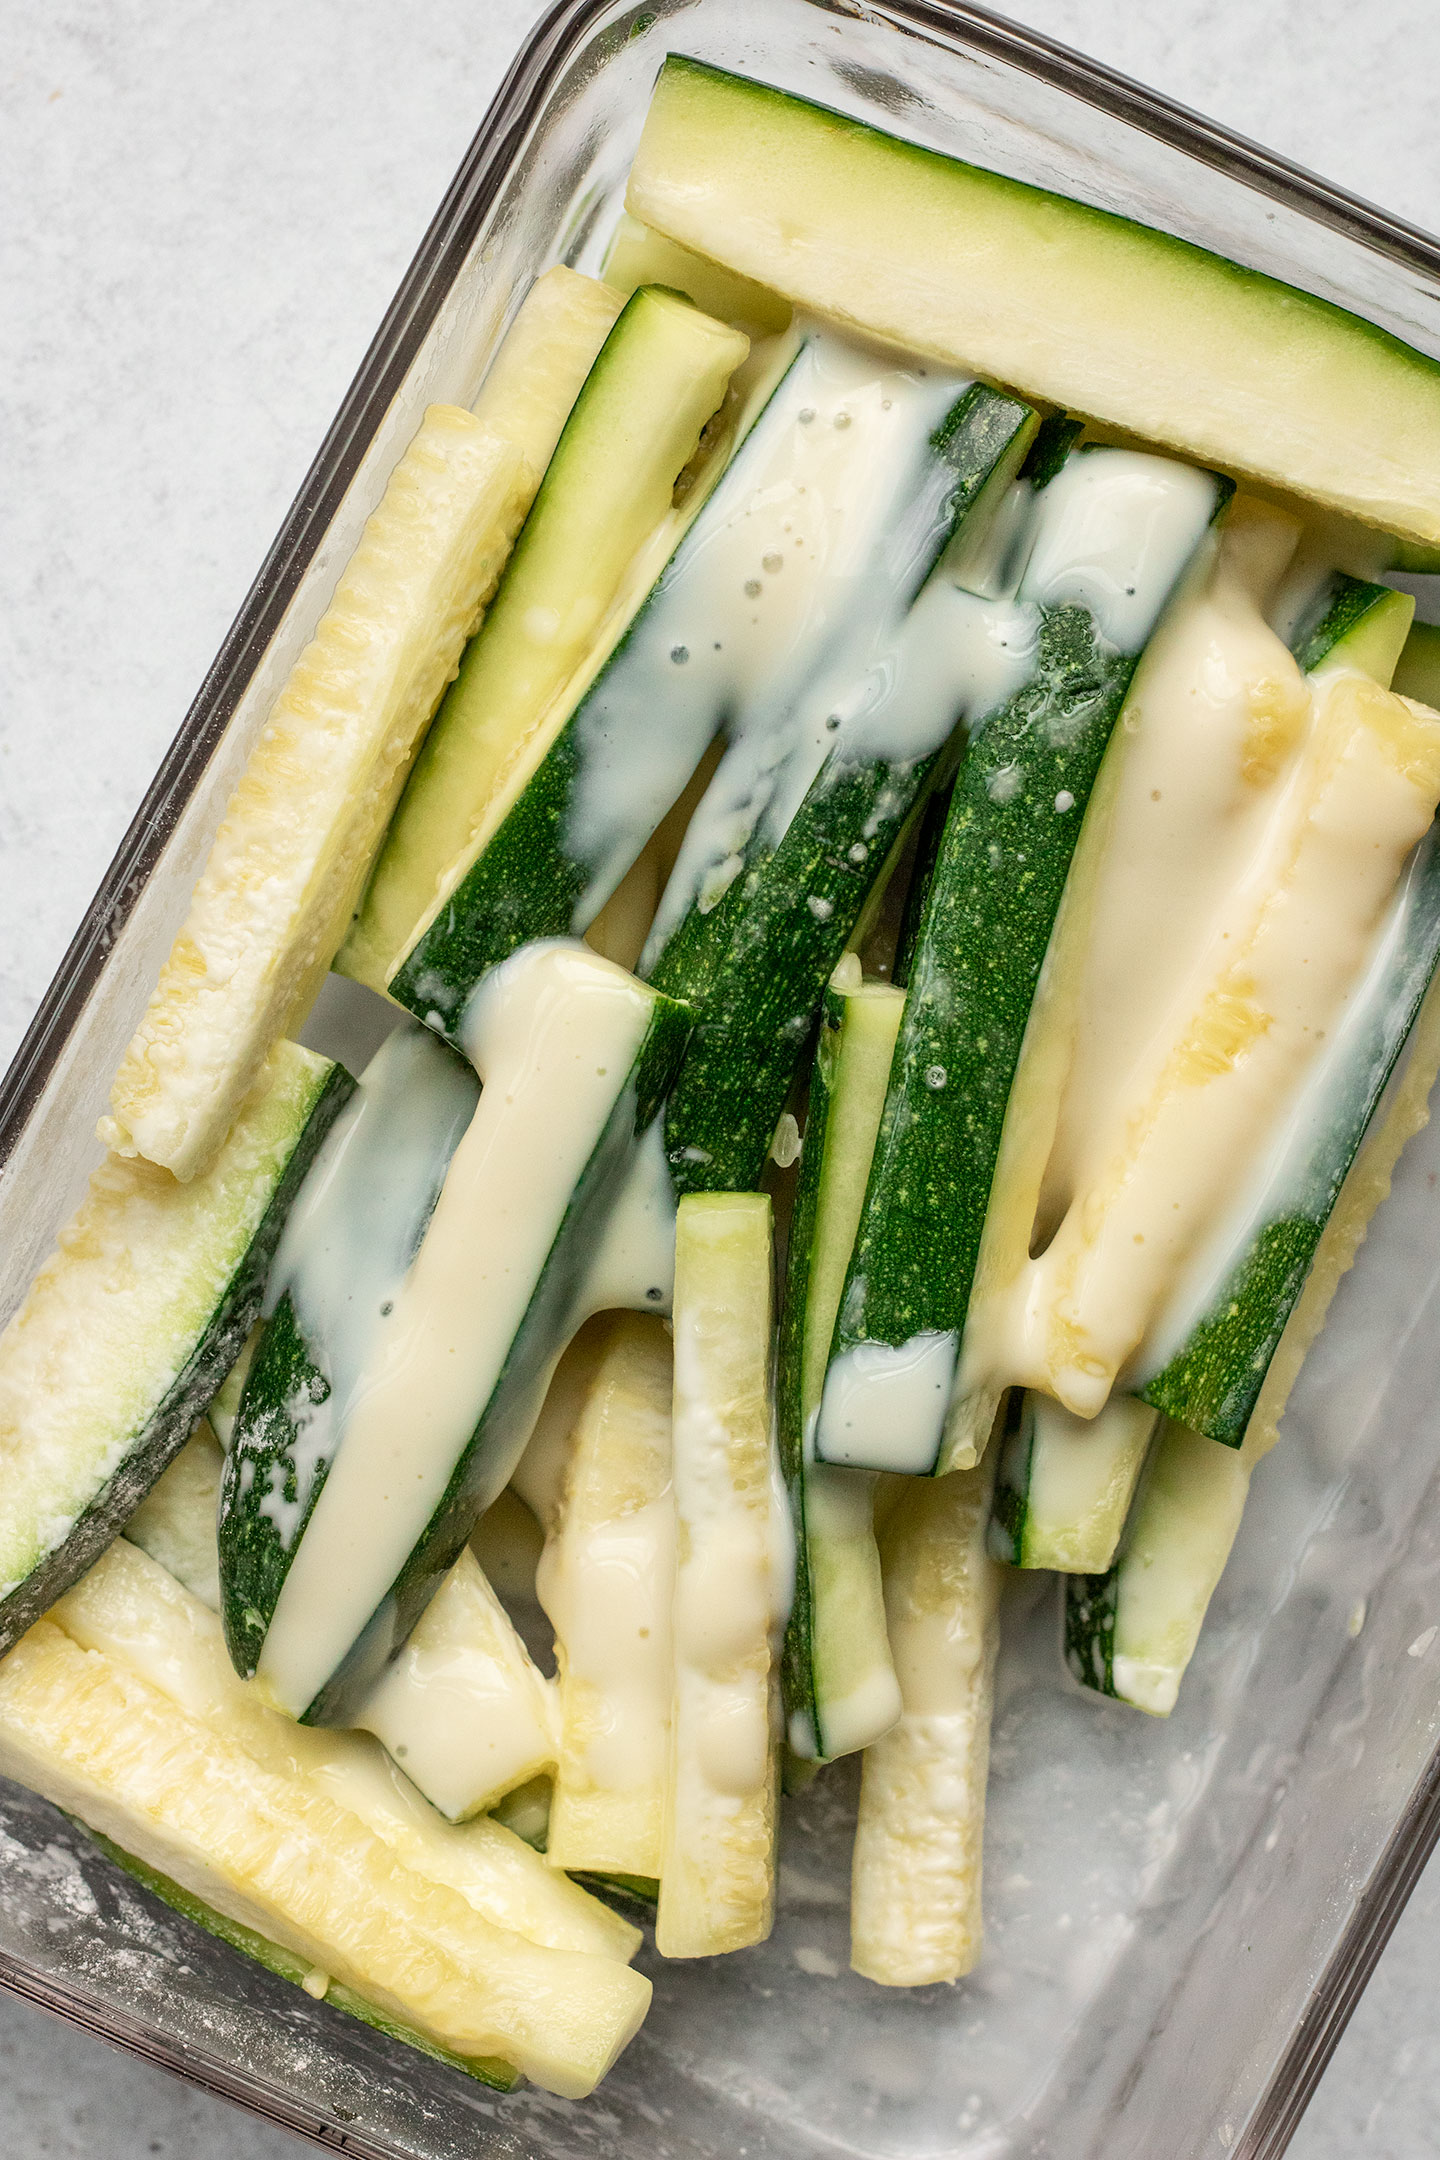
Place the zucchini in an airtight container with cornstarch, seal and give a good shake to coat. Open the container and drizzle the milk mixture on top. Seal again and shake to coat.
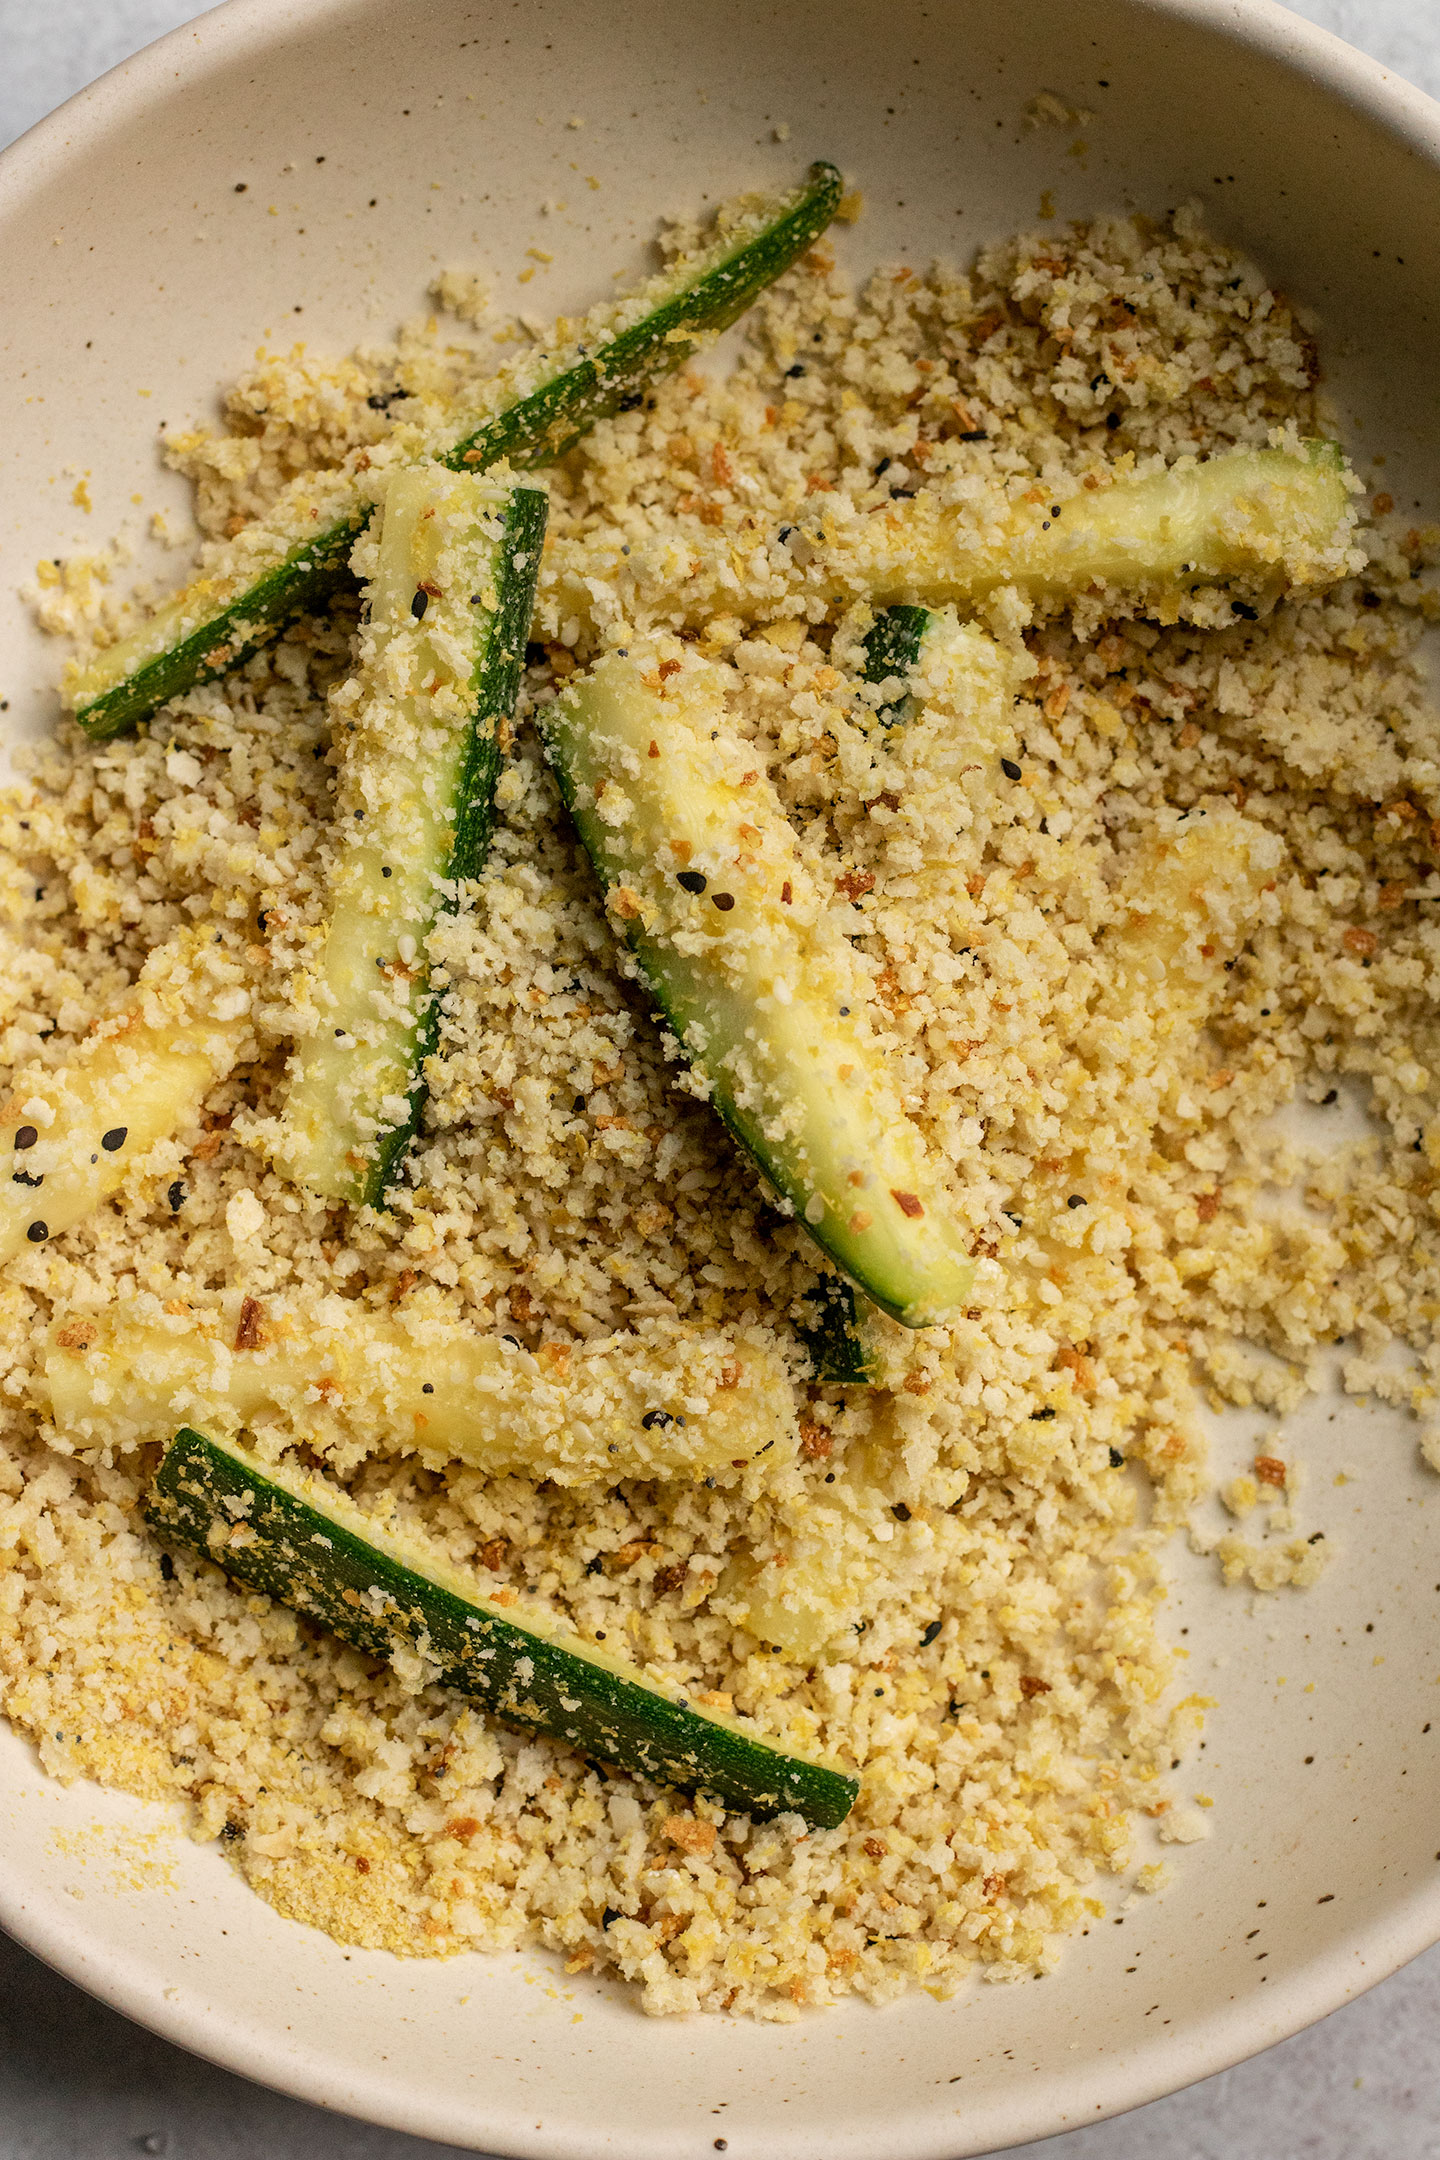
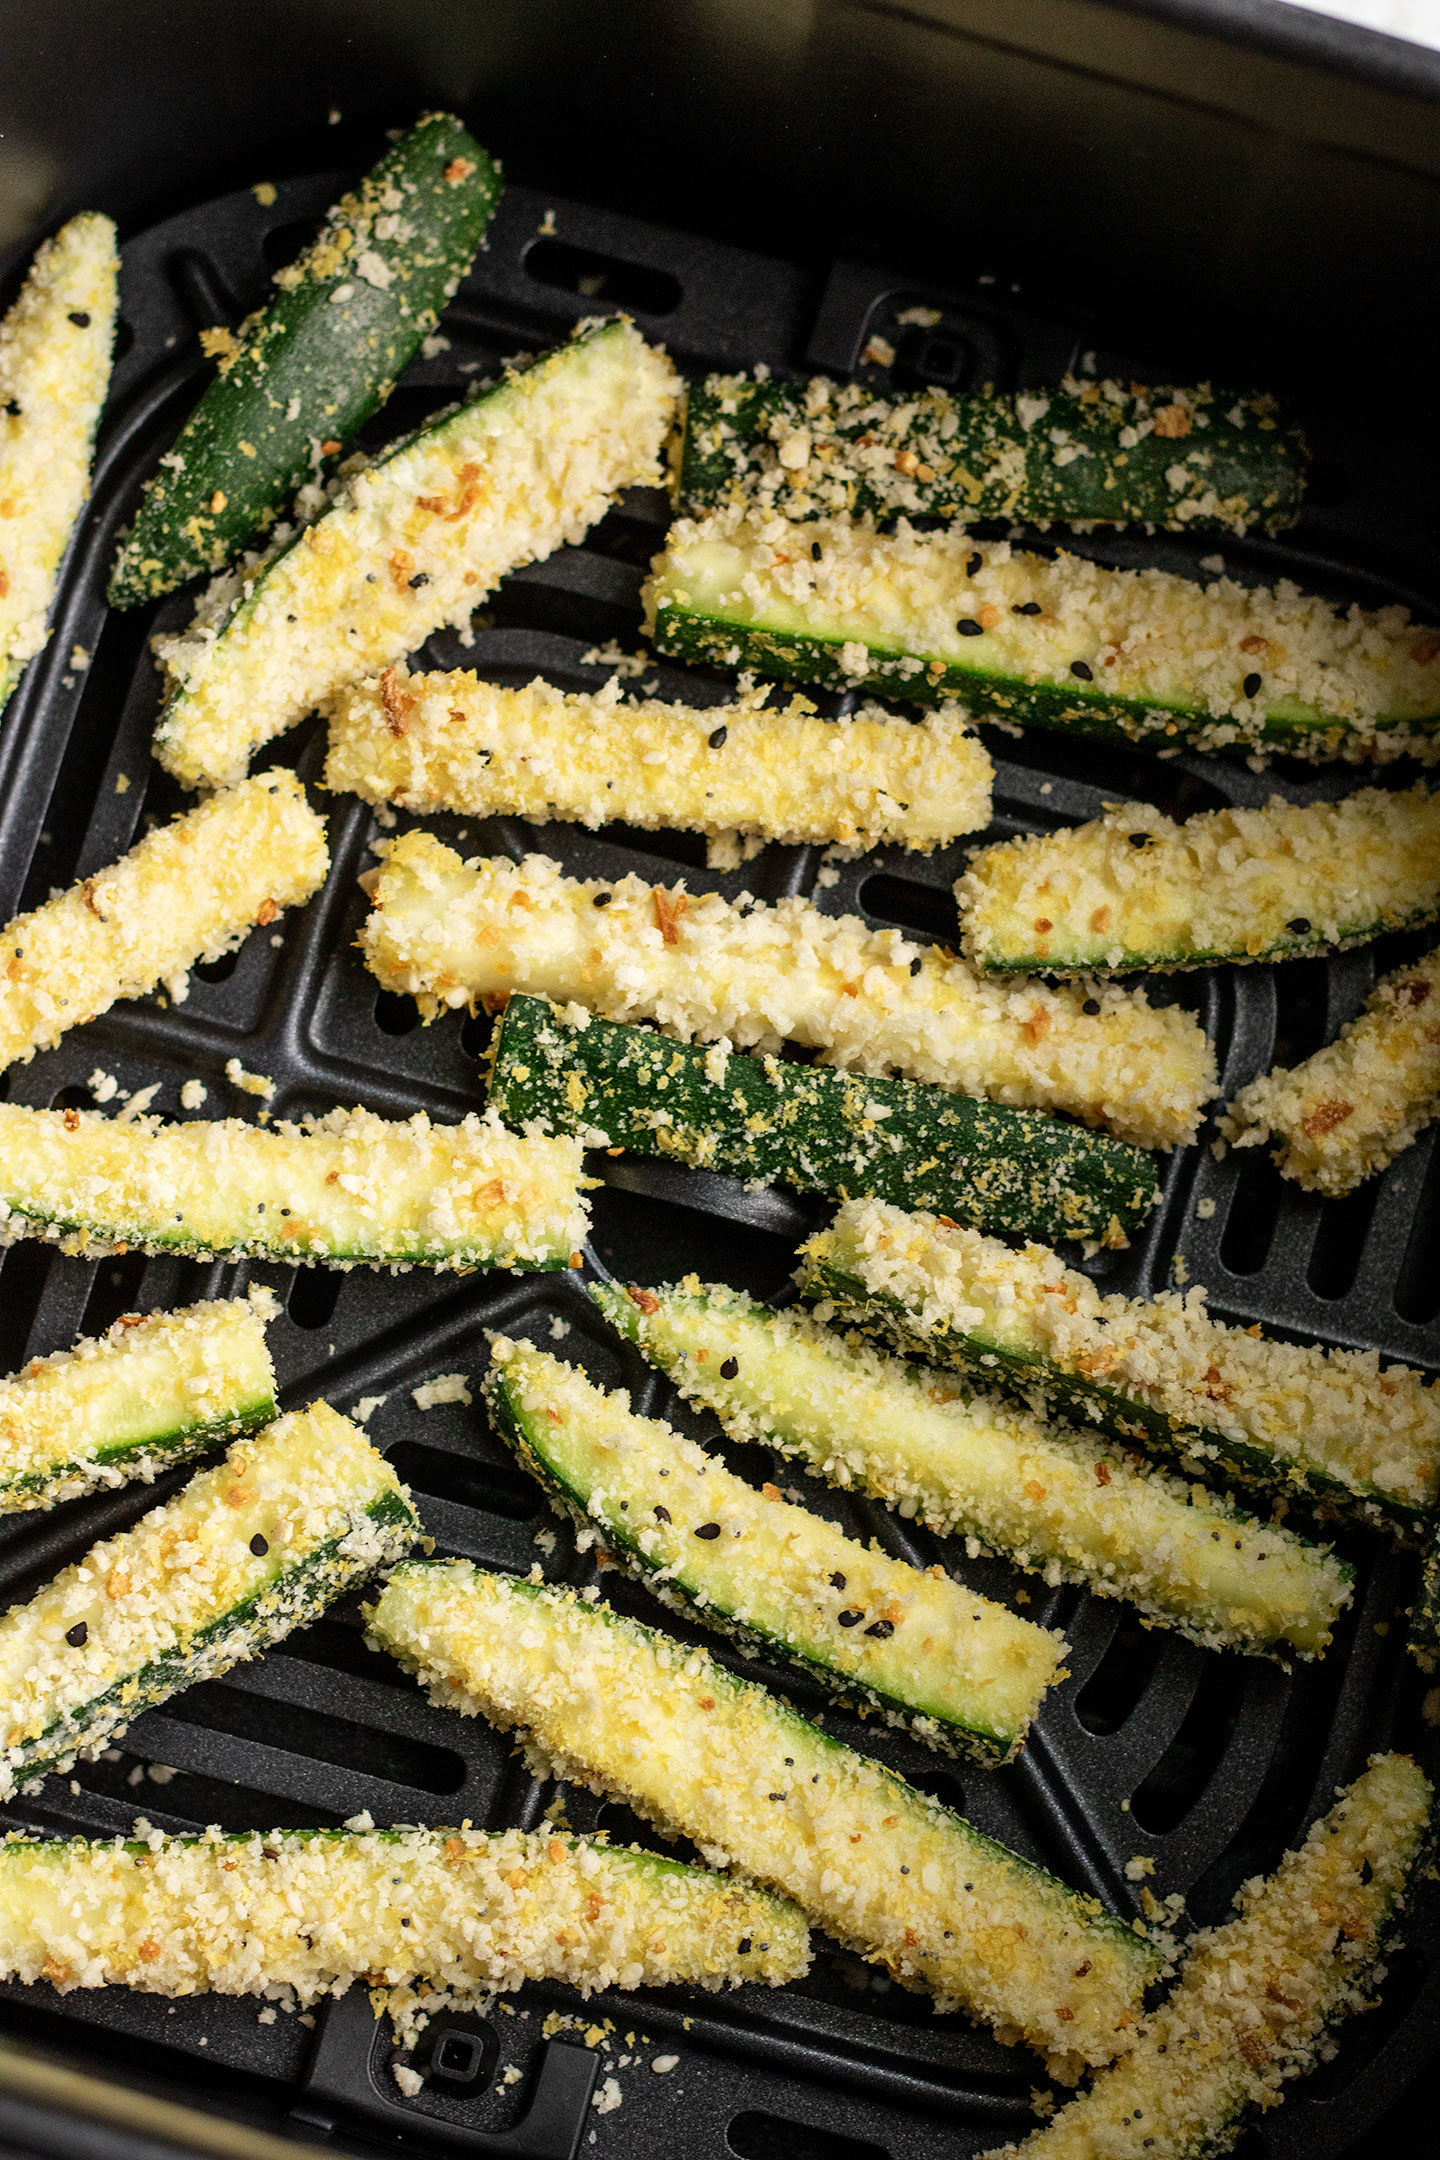
In small batches, add the zucchini to the breading mixture and toss the zucchini to coat. Place the zucchini into your air fryer basket and spray with a high heat oil. Bake in the air fryer at 400F for 11-12 minutes until nice and golden.
Expert Tips
- Avoid using really large zucchini. Large zucchinis tend to have larger seeds and a softer center that is more moist. These will yield a mushier fry.
- Make sure to pat your zucchini dry. Zucchinis are very watery. It’s important to draw out as much moisture from them as possible to help with keeping them crispy when cooked.
- Press the breadcrumbs into zucchini. This will make sure that the breadcrumbs are touching the batter and stick.
Frequently Asked Questions
Zucchinis provide vitamin A, C, potassium among other vitamins minerals and antioxidants. Baking them as opposed to frying also helps to minimize the amount of saturated fat in this tasty snack making it more nutritious to eat even with the added breading.
If you don’t have an air fryer, these zucchini fries can easily be made in the oven. Set your oven to 425F. Place the breaded zucchini on a parchment lined baking tray and then spray with your favorite cooking oil. Place the strips in the oven for 20 minutes. Flip them and then bake for another 5-7 minutes.
Swap regular panko bread crumbs for a gluten-free bread crumb. To also keep it vegan, I often recommend the gluten-free panko bread crumbs from Kikkoman.
First, make sure to use zucchinis that are small or medium sized at best. Avoid overly large zucchini as they tend to have softer centers with large seeds that tend to have more moisture. You also want to draw out some extra moisture by salting them and letting them sit for 10 minutes and then patting dry. This will remove excess moisture, resulting in a crispier texture.

How to Serve
I like to keep it simple and serve this with a squeeze of lemon. But if you want something better than just dipping into ketchup, you can use one of my favorite dips, Ketchup Mayo, to serve with these. This condiment also has a sprinkle of tajin added to it for a little extra tang and salty goodness.
More Fun Vegetable Forward Recipes to Try
- Grilled Vegan Caesar Salad with Crispy Tofu Croutons
- Avocado Mango Salad Bowl
- 15 Minute Mushroom Fried Rice
- Homemade Charred Salsa Verde
- Mango Pico de Gallo
- Spicy Edamame Salad with Smashed Cucumber


Air Fryer Zucchini Fries
- Prep Time: 15 minutes
- Cook Time: 25 minutes
- Total Time: 40 minutes
- Yield: 3 servings 1x
- Category: Sides
- Method: Air Fryer
- Cuisine: American
- Diet: Vegan
Description
These air fryer Zucchini Fries are a flavorful and addicting way to use up some summer zucchini. Toss in a quick batter, bread it and bake to crispy perfection.
Ingredients
- 2 medium zucchinis, cut into 1/4 inch fry shapes
- 1 tbsp unsweetened plain plant based yogurt (I used Forager Project)
- 2 tbsp unsweetened plant based milk
- 3/4 cup panko bread crumbs*
- 2 tbsp nutritional yeast
- 1 1/2 tsp of everything but the bagel seasoning
- 2 tbsp cornstarch
- Salt
- Cooking spray
Ketchup Mayo Dip
- 1 tbsp ketchup
- 1 tbsp vegan mayo
- 1/4 tsp tajin or chili lime seasoning, or more to taste
Instructions
- Place your zucchini sticks on a clean kitchen towel and sprinkle salt over top. Let them sit for 10 minutes while you prep your other ingredients. This step will help draw out excess moisture from your zucchini. With another towel gently pat the zucchini dry.
- In a small bowl combine the yogurt and plant based milk and whisk together. Set this mixture to the side. In a separate large bowl place the bread crumbs, nutritional yeast, and everything but the bagel seasoning and mix together.
- Place the dry zucchini in an airtight container with the cornstarch. Seal with the lid and give a good shake. Pour the yogurt mix on top, seal again and shake.
- Place the battered zucchini in small batches into the panko mixture. Toss until the zucchini is mostly coated in panko and then place into your air fryer basket and spray with your cooking oil. Cook the zucchini at 400F for 11-12 minutes or until the outside is golden.
- Mix the dipping sauce ingredients and enjoy along with the zucchini.
Notes
Large zucchinis tend to have larger seeds and a softer center that is more moist. These will yield a mushier fry, so stick to small or medium sized zucchini.
Zucchinis are very watery. It’s important to draw out as much moisture from them as possible to help with keeping them crispy when cooked.
Press the breadcrumbs into zucchini. This will make sure that the breadcrumbs are touching the batter and stick.
You can make this gluten-free and still vegan by using the gluten-free panko crumbs from Kikkoman.
To bake in the oven set your oven to 425F. Place the breaded zucchini on a parchment lined baking tray and then spray with your favorite cooking oil. Place the strips in the oven for 20 minutes. Flip them and then bake for another 5-7 minutes until golden.
If you tried this recipe or any other recipe on the blog, then let me know what you thought in the comments below! And if you loved it, don’t forget to rate it too. Feel free to follow on Instagram, Pinterest, and TikTok for the latest nutrition tips and recipe videos.
★ Catherine
This post contains affiliate links which means I will make a small commission if you purchase from those links. I only recommend and share products that I know, trust and personally use myself!