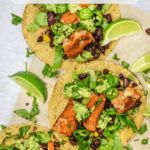
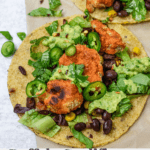
Buffalo Cauliflower Tacos
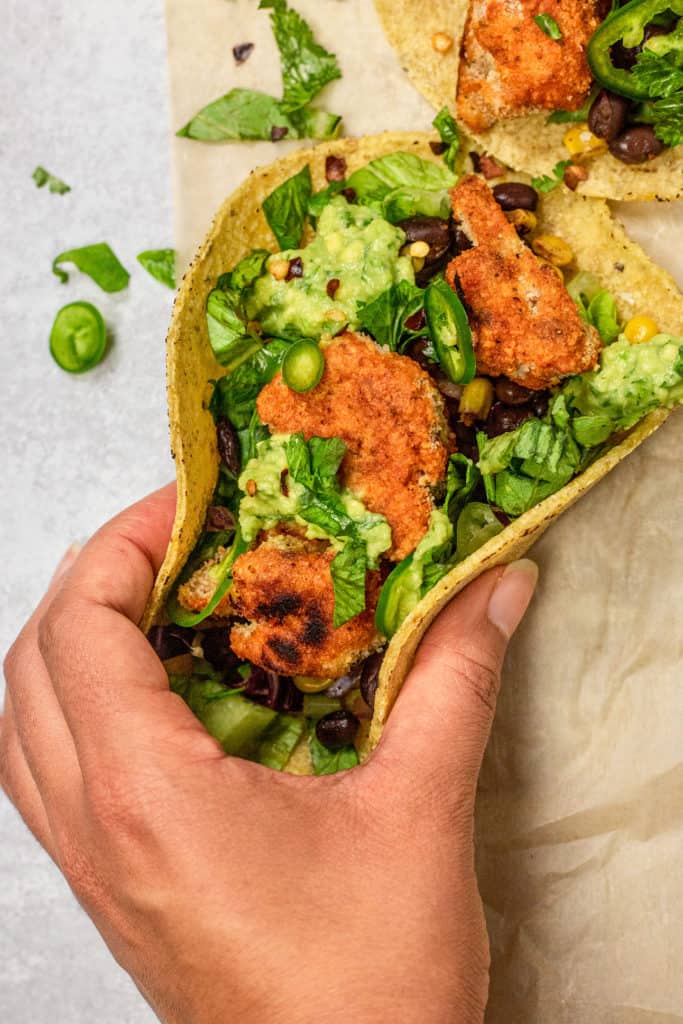
Perfectly crispy, spicy and paired with chili lime beans, these vegan buffalo cauliflower tacos are the perfect complete and healthy plant based dinner.
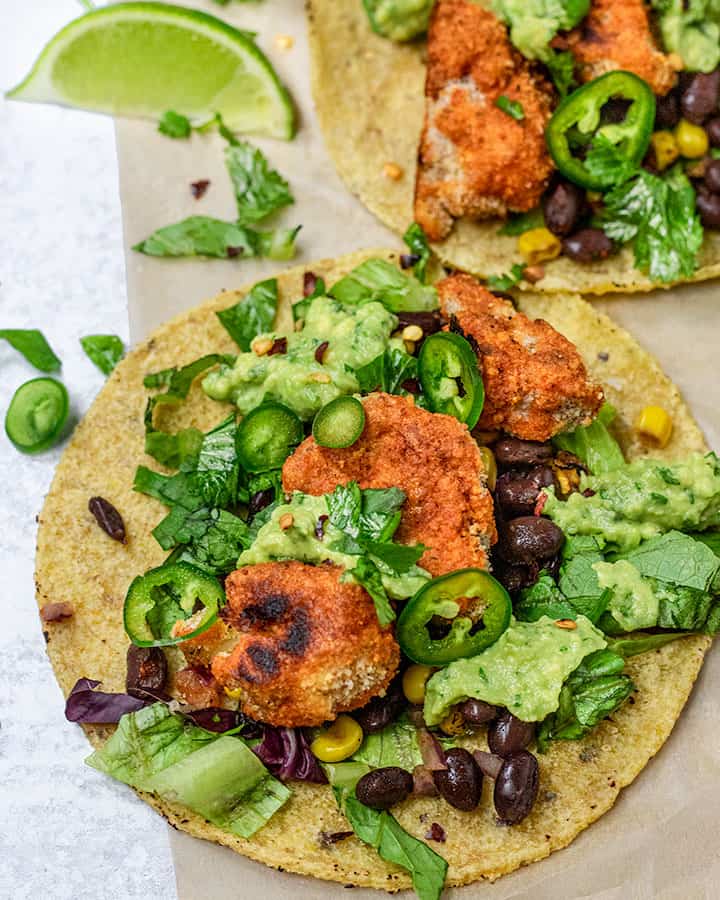
I know cauliflower can be a hit or miss vegetable depending on how you make it. I love it in wraps and I also love to transform it by ricing it and stirring it into stir fries. These buffalo cauliflower tacos are just another way you can learn to love this tasty vegetable. If anything, I know it’s gotten my husband to willingly eat it a lot more of it.
A Complete Meal You’ll Love
- Cauliflower tacos with some added protein. Love cauliflower tacos, but on their own, they don’t usually fill me up, so I’ve paired these with a delicious bean salad to help fill in some of those gaps and boost some nutrition.
- Crispy cauliflower bites that you can bake. Easy to batter, bread and then bake in the oven. They have a lovely bite to them and still manage to have a delicious tender center.
- This meal is vegan and can be made gluten free with a few modifications. I’ve gone ahead and listed some easy alternatives below so you can enjoy them too.
Key Ingredients
- Cauliflower: Use a medium head of cauliflower and carefully cut the cauliflower florets into individual golf ball sized pieces.
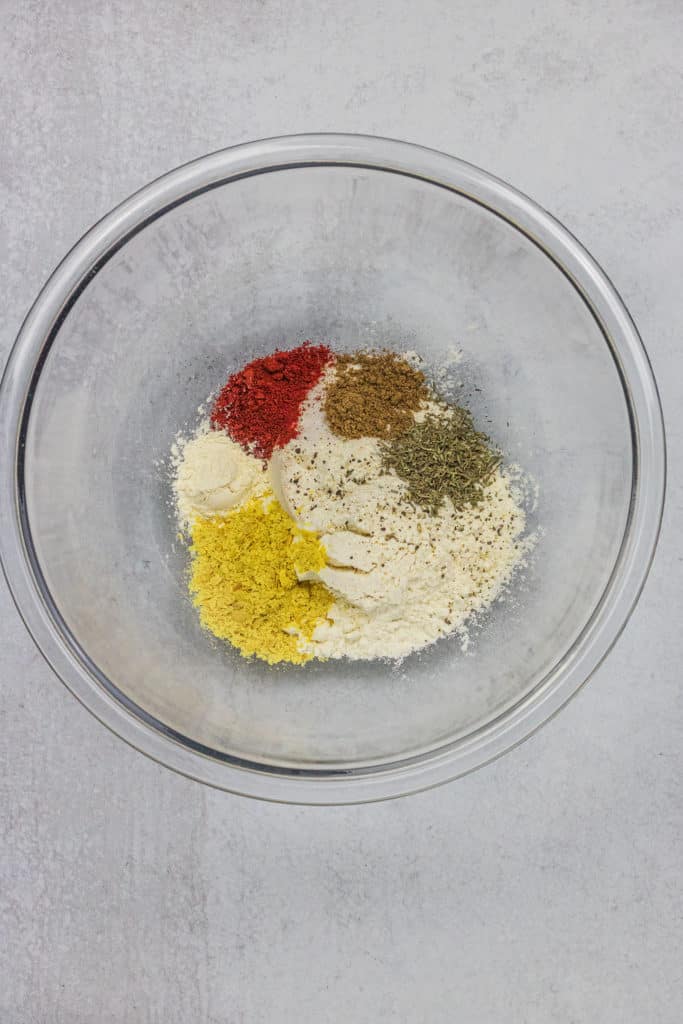
- Batter: Our batter is a combination of flour, seasonings and plant based milk. The seasonings of smoked paprika and thyme provide a very great depth of flavor while the nutritional yeast gives the cauliflower some umami flavor.
- Breading: Keeping it simple with whatever breadcrumbs you like with seasonings. I personally love to use panko bread crumbs to make these extra crispy.
- Black Bean Salad: A flavorful way to get some plant based protein and iron into the tacos to compliment the cauliflower bites.
How to Make Your Buffalo Cauliflower Tacos
Batter. Cut your cauliflower into equal small bite sized pieces. Then prepare the batter by mixing your flour, seasoning and milk together. Mix your cauliflower into the batter until all your cauliflower is coated.
Bread. Shake off excess batter from the cauliflower and place in a separate bowl that has your breading and toss your cauliflower in it to coat. Shake off excess and place on a lined baking sheet, then repeat the process with remaining cauliflower.
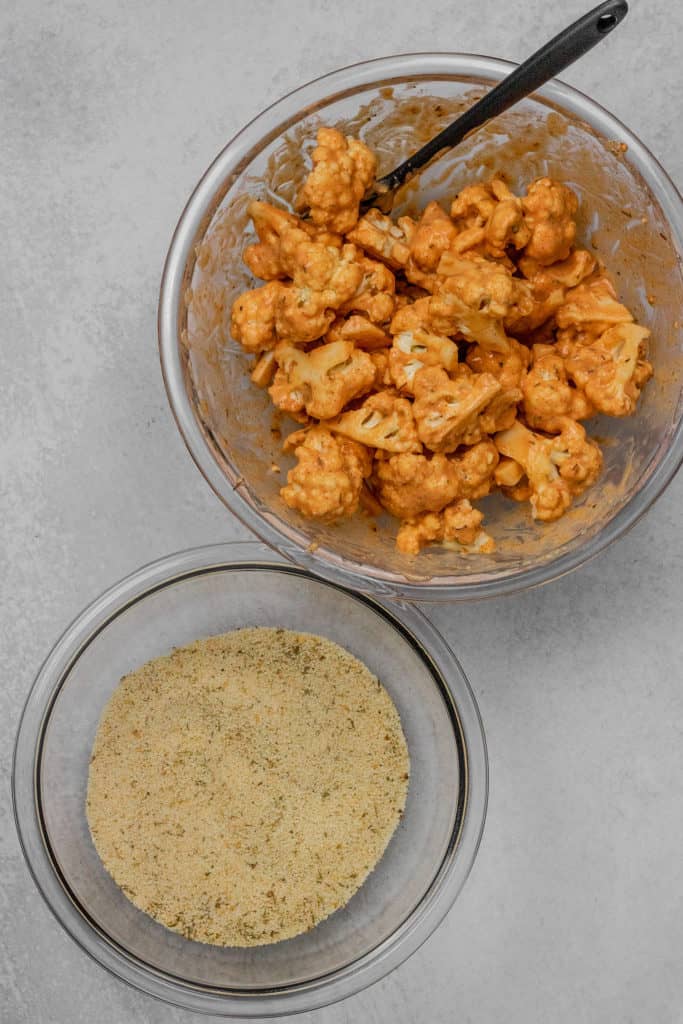
Bake. This cauliflower bakes up perfectly in the oven. While it bakes prepare your buffalo sauce in a bowl. Once cauliflower bakes, pour sauce over and toss cauliflower with a spatula to coat with the sauce. Place the cauliflower back in the oven to cook again until crispy.
Beans. Combine all your bean salad ingredients and set to the side while cauliflower finishes baking.
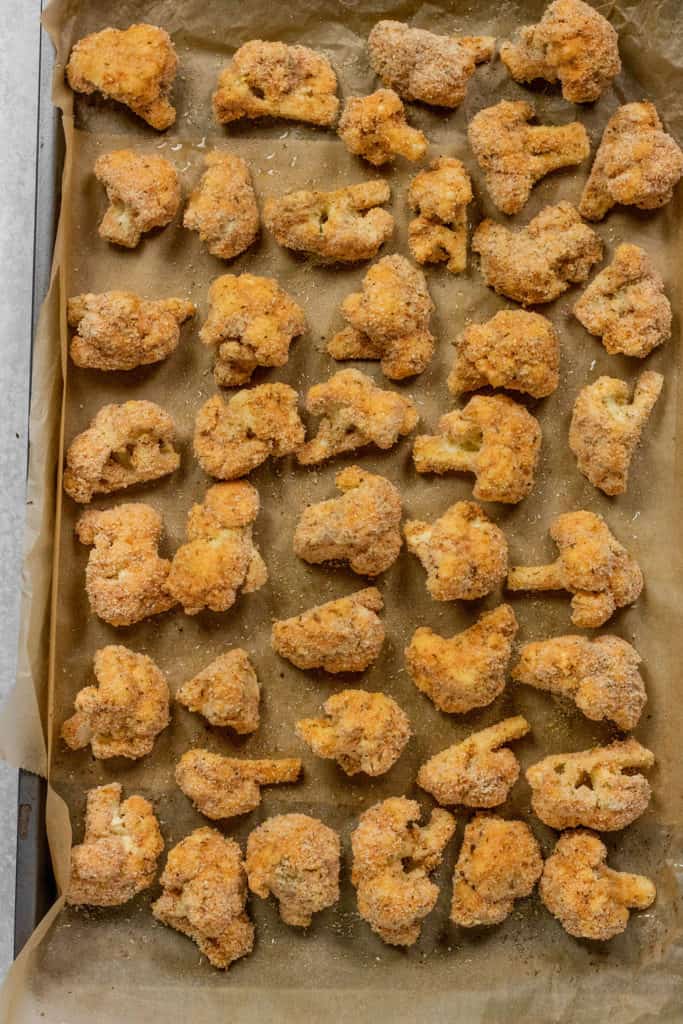
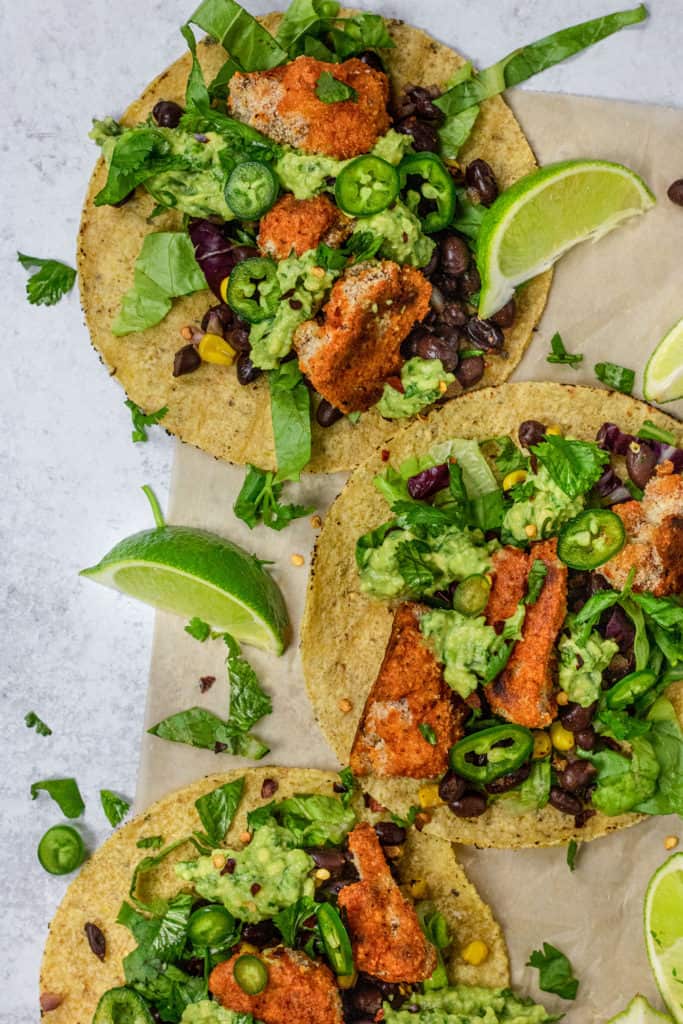
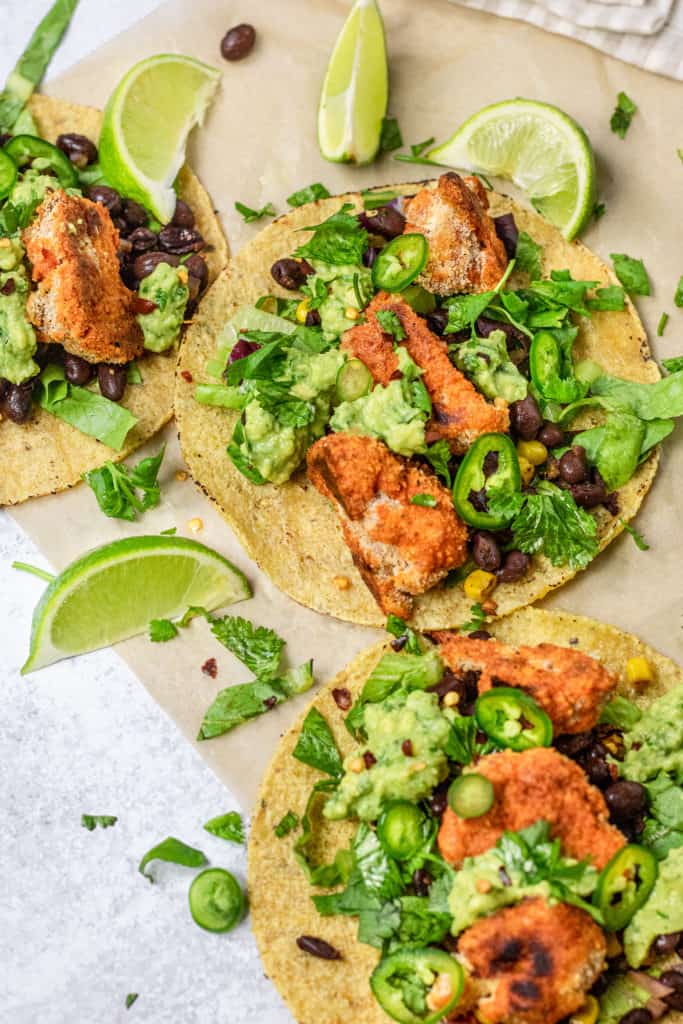
Assemble. To assemble, warm up your tortillas then add in a few spoons of the bean salad and a few pieces of your baked cauliflower along with additional toppings as desired.
Tips for Making Flavorful Cauliflower Tacos
Make sure your cauliflower pieces are all uniformly cut. If some pieces are larger than others, they likely won’t cook properly in the oven. You’ll end up with some that are undercooked or overcooked. Avoid that by cutting them into equal sized pieces as best you can.
For the best quality tacos, take a minute to warm up your tortillas. You can place the tacos in the oven to heat up, but they are perfect to cook over an open flame on your stove if you have that as an option. Just cook for 30 seconds or more on both sides.
What to Put in Your Buffalo Cauliflower Tacos
While I absolutely love these buffalo cauliflower bites on their own in a taco, I find that adding some beans as some plant based protein will make these tacos more satisfying and filling. The beans in the black bean corn salad will also provide some additional iron and fiber to your meal as well.
I also love topping the tacos with some avocado or guacamole along with some sliced jalapenos, fresh cilantro and a squeeze of some fresh lime juice on top.
Frequently Asked Questions
The batter works well with regular flour, rice flour or all purpose gluten free flour. If you feel the batter is too thick, just add a few splashes more of your plant based milk. For the breading, you can use a gluten free bread crumb as desired.
Air fry the cauliflower at 375°F for 10 minutes. Then add the sauce and return for 5 more minutes. It comes out even more crispy in the air fryer!
Instead of using the buffalo sauce, you can always replace with some barbecue sauce instead.
More Easy Vegan Dinner Ideas
- Chili Lime Tofu Skillet
- Sun-Dried Tomato Chickpea Patties
- Vermicelli Noodle Salad with Peanut Sauce
- Cilantro Lime Chickpeas
- Sesame Miso Lentils

Buffalo Cauliflower Tacos
- Prep Time: 20 minutes
- Cook Time: 30 minutes
- Total Time: 50 minutes
- Yield: 8 tacos 1x
- Category: Main Dish
- Method: Baking
- Cuisine: American
- Diet: Vegan
Description
Perfectly crispy, spicy and paired with chili lime beans, these vegan buffalo cauliflower tacos are the perfect complete and healthy plant based dinner.
Ingredients
Buffalo Cauliflower
- 1 medium head of cauliflower
- 1/2 cup flour
- 1 tsp smoked paprika
- 1 tsp garlic powder
- 1 tbsp nutritional yeast
- 1/2 tsp dry thyme
- 1/2 tsp ground coriander
- 1/4 tsp black pepper
- 1 tsp salt
- 3/4 cup unsweetened plant based milk (I used soy milk)
- 1 cup bread crumbs of choice
- 1 tbsp Italian seasoning
- 4 tbsp hot sauce
- 1 tbsp tahini or vegan butter
- 1 tbsp sugar or maple syrup
- 1 tbsp lemon juice
- 1 tbsp water
Black Bean Corn Salad
- 1, 15 oz can black beans
- 1 cup thawed frozen corn
- 1/4 cup red onion, finely minced
- Juice of half a lime
- 1 tsp maple syrup
- 1 tsp chili lime seasoning
Extras
- 8 corn tortillas
- 1–2 ripe avocados
- Cilantro
- Jalapeno
- Lime Wedges
Instructions
- Set oven to 425F and line 1-2 baking sheets with parchment paper. Cut your cauliflower into golf ball sized pieces, about 1 inch in size.
- To one bowl, combine flour, paprika, garlic powder, nutritional yeast, thyme, coriander, salt, pepper and milk, then whisk together with a fork to form a batter.
- Then, in a separate bowl, add bread crumbs and Italian seasoning and give a mix.
- Add cauliflower into the batter and give a gentle mix to coat with a spatula or with your hands to fully coat each cauliflower pieces.
- To make the process streamline, take each piece of battered cauliflower with one hand, shake off the excess batter from the cauliflower pieces and place the piece in your breading bowl.
- With your other clean hand, sprinkle the cauliflower with the breading, then gently toss in the bread crumbs to fully coat. Once coated, take your breaded cauliflower and place on the lined baking sheet. Repeat this process with remaining cauliflower.
- Once breaded, spray your cauliflower with a little oil if desired and then place the tray in the oven for 20 minutes.
- Toss the extra breadcrumbs away and use that bowl to mix the buffalo sauce ingredients. Combine hot sauce, tahini, sugar, lemon juice and water, mixing well.
- After cauliflower bakes, remove from the oven. Pour your buffalo sauce over your cauliflower and mix on the pan to coat. Place your cauliflower back in the oven for an extra 10 minutes to crisp back up.
- Combine the ingredients of the bean salad and set aside until cauliflower fully bakes.
- To assemble your tacos, take your tortillas and heat up as desired. Top tortillas with a few spoons of the bean salad and a few pieces of cauliflower along with other toppings as desired then enjoy.
Notes
Make sure your cauliflower pieces are all uniformly cut. If some pieces are larger than others, they likely won’t cook properly in the oven. You’ll end up with some that are undercooked or overcooked. Avoid that by cutting them into equal sized pieces as best you can.
For the best quality tacos, take a minute to warm up your tortillas. You can place the tacos in the oven to heat up, but they are perfect to cook over an open flame on your stove if you have that as an option. Just cook for 30 seconds or more on both sides.
Use panko bread crumbs the a really nice crispy exterior.
For extra crispy baking method, try to air fry the cauliflower at 375°F for 10 minutes. Then add the sauce and return for 5 more minutes. It comes out even more crispy in the air fryer!
If you tried this recipe or any other recipe on the blog, then let me know what you thought in the comments below! And if you loved it, don’t forget to rate it too. Feel free to follow on Instagram, Pinterest, and TikTok for the latest nutrition tips and recipe videos.
★ Catherine
This post contains affiliate links which means I will make a small commission if you purchase from those links. I only recommend and share products that I know, trust and personally use myself!


