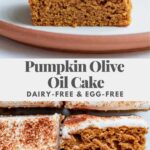


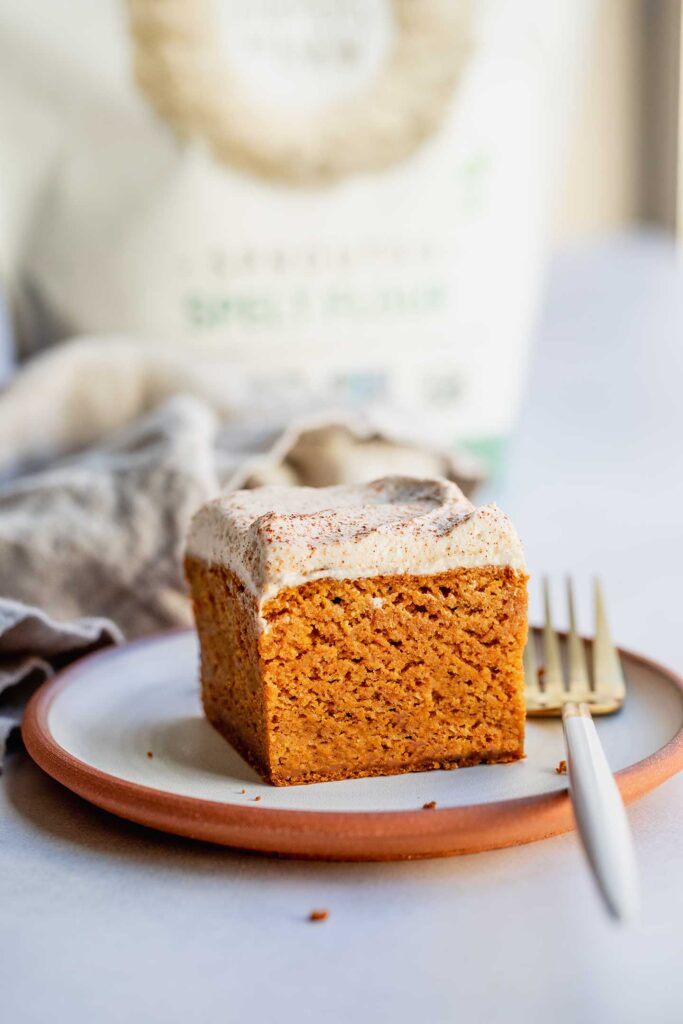
Pumpkin Olive Oil Cake
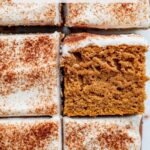
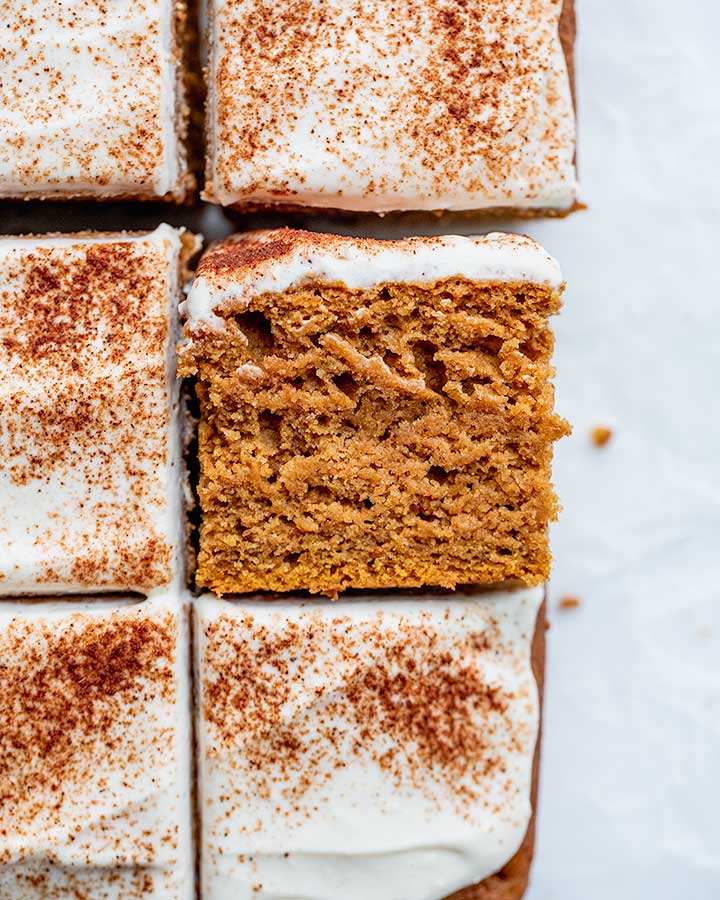
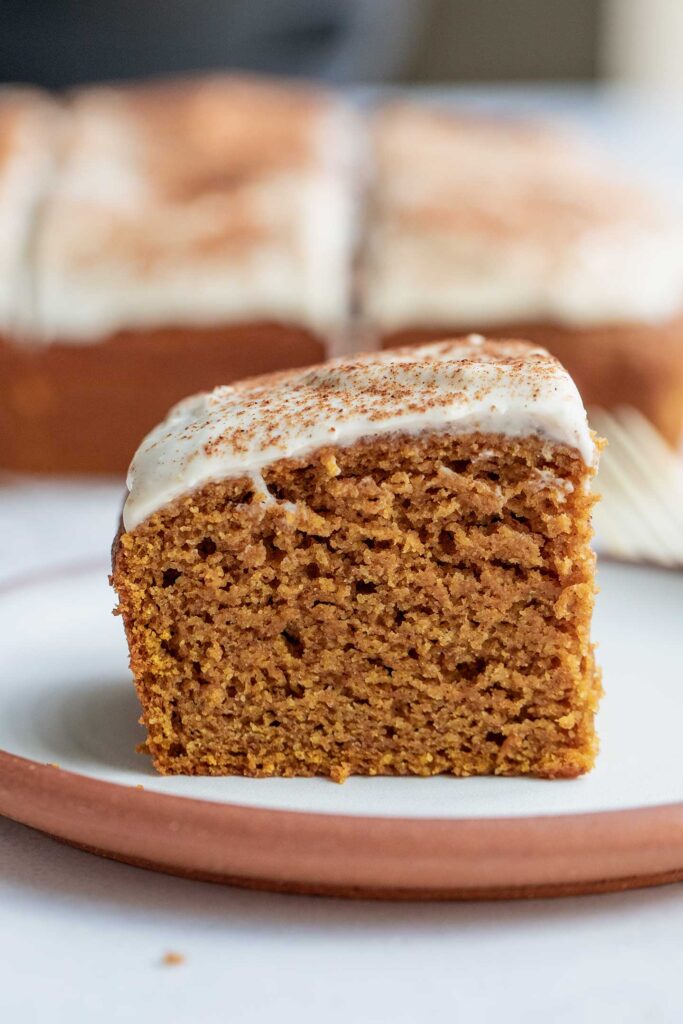
A fluffy and moist Pumpkin Olive Oil Cake infused with warming pumpkin spice and the right amount of sweet for the ultimate fall treat. The best part, it maintains the perfect crumb while being completely dairy-free and egg-free.
This post is sponsored by One Degree Organics, but all opinions are my own.
I’ve made this pumpkin olive oil cake more times than I can count and for good reason, it is incredible. It’s my favorite dessert to make especially for the holidays because it’s easy to put together and really hits all the delicious flavors I’m looking for during the holiday season. So if you need something sweet without overdoing it, this cake is for you. Bonus, we can still manage to pack in a little nutrition at the same time.
Why You’ll Love This Pumpkin Olive Oil Cake
- The right amount of sweet without overdoing it. Overly sweet treats just don’t do it for me like they used to. Standard pumpkin cakes tend to be ultra sweet for me, but this one has just the perfect amount of sweetness that also helps to enhance the flavor of the pumpkin.
- She’s fluffy. The challenge with pumpkin is that it has a lot of moisture and in traditional pumpkin cake recipes you will see more eggs being used to help support the cake better as a result. To keep this vegan, we are subbing the eggs for a combination of aquafaba and dairy-free yogurt. The yogurt adds a hint of flavor while the starches in the aquafaba provides structure similar to eggs to help keep our cake light and fluffy.
- Moist and decadent, but with the whole grain advantage. The combination of pumpkin and olive oil helps keep the cake feeling moist. And even though we are using a whole grain flour in our batter, the techniques we use help to keep this cake light and fluffy in texture while also lending more of its nutty flavor to the final cake.
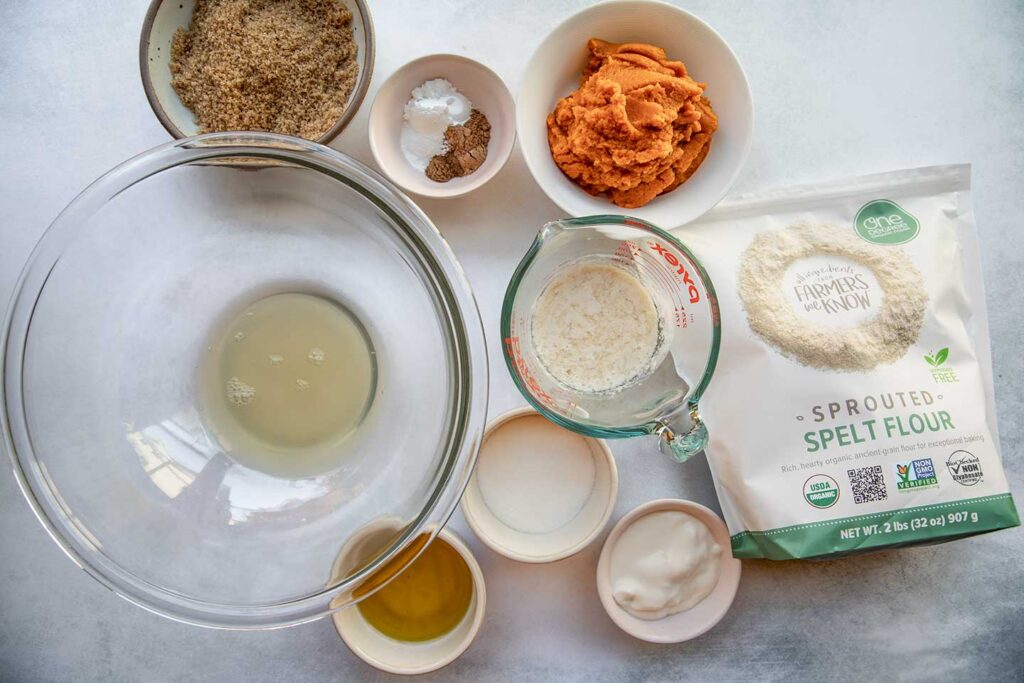
Key Ingredients and Substitutions
- Spelt Flour: I used spelt flour for the cake as it adds a nice nutty depth of flavor to the cake, and provides the added benefit of extra fiber without negatively impacting the texture or structure of the cake. I specifically used One Degree Organics Sprouted Spelt Flour for this cake for some extra health benefits. As I’ve spoken upon previously, sprouting helps to enhance absorption of the nutrients found within this whole grain.
- Pumpkin Puree: I recommend using regular canned pumpkin. If you don’t have access to canned pumpkin, canned butternut squash puree can work just as well.
- Aquafaba: If you are unfamiliar with this ingredient, it is the liquid found in a can of chickpeas. Just drain the liquid from the can into a storage container to use as an egg replacement. I like this over using ground flaxseeds as it provides the cake structure and lift without leaving the cake feeling dense.
- Sugar: I used a combination of brown sugar and cane sugar, I just use less sugar than traditional recipes. I find it still provides a fantastic texture and taste without being overpowering.
- Pumpkin Pie Spice: For ease, I use premade pumpkin pie spice, but you can absolutely make your own for this.
- Olive Oil: This helps to lock in the moisture of our cake. I used just 1/4 cup for the batter as when I tested it with more the cake felt way too heavy and oily. This was the right balance to maintain good texture. Feel free to use a more neutral oil if preferred.
- Yogurt: I use a plant-based unsweetened yogurt to keep this dairy-free. This is one of my favorite ingredients to add to baked goods. It really helps add a little more tang and flavor to the final cake that balances well with the sweetness of the cake.
- Vegan Buttermilk: This is really easy to make. You just need a plant-based milk and an acid. I use a combination of unsweetened soy milk and apple cider vinegar. You can also use oat milk or almond milk.
Why Use Spelt Flour?
Spelt is a type of wheat and can be ground into spelt flour. Of the types of whole wheat flour available, this type of whole grain flour behaves the most like all-purpose flour and adds a beautiful layer of flavor and nutrition in comparison.
In general, we should always be aiming to consume more whole grains as they are a valuable source of fiber, vitamins, and minerals. To add to this, you can choose sprouted grains like One Degree Organics Sprouted Spelt Flour for even more nutrition benefit. Sprouting whole grains like spelt helps to reduce the natural inhibitors within the grain that reduce our ability to absorb certain nutrients. Choosing sprouted grains means that your body will be able to better absorb more of those nutrients and make these grains easier to digest.
How to Make Pumpkin Olive Oil Cake
Preheat the oven to 350F. Measure out the milk in a liquid measuring cup and whisk in the apple cider vinegar to make a buttermilk mixture and set aside.

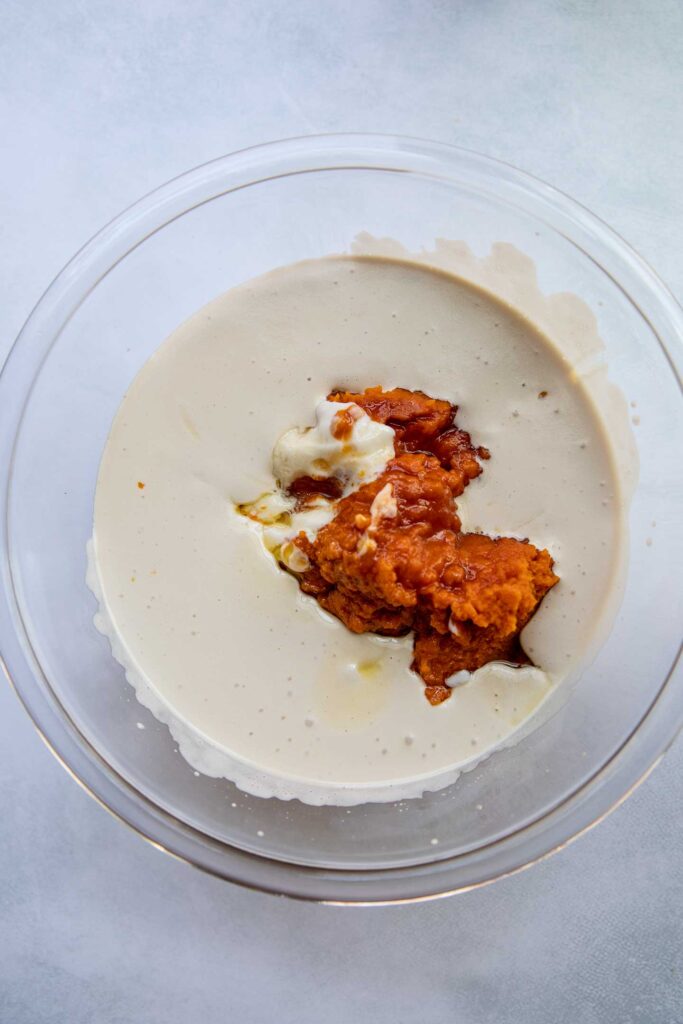
To a large mixing bowl add the aquafaba. Using a handheld electric mixer, whip and aerate the aquafaba for about a minute until the mixture is uniformly foamy.
To the foamy mix add the olive oil, yogurt, sugar, pumpkin, vanilla, and the buttermilk mixture and whip again with the mixer until completely smooth.
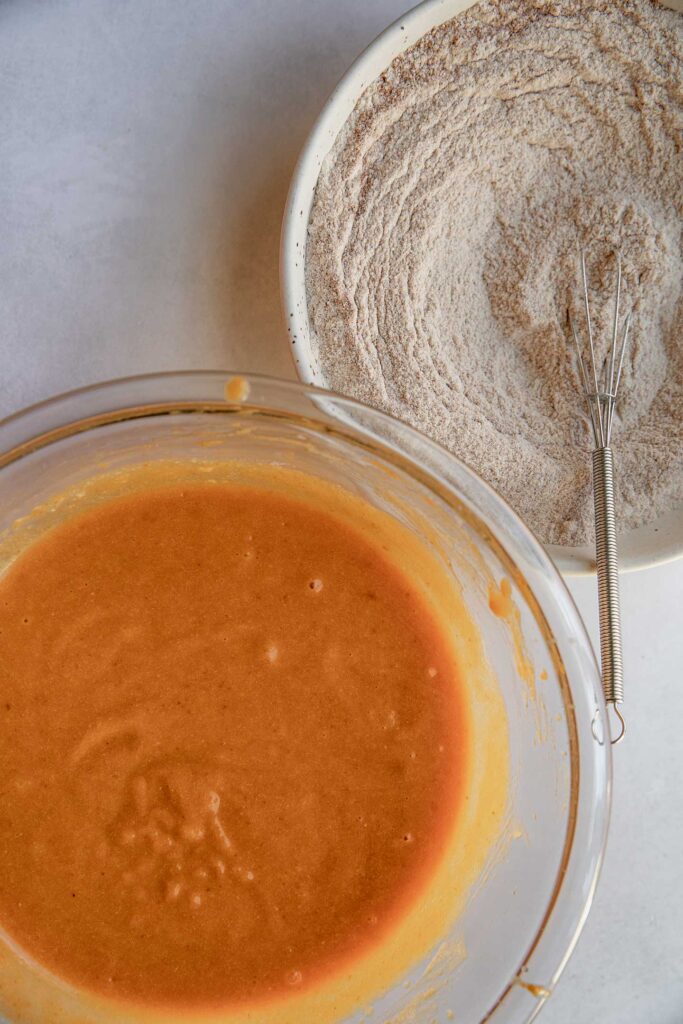

In a separate bowl, measure out the flour, pumpkin spice, clove, baking powder, baking soda and salt then whisk together to combine.
Pour the flour mixture into the bowl of wet ingredients and with a rubber spatula, fold the flour together to make a batter, making sure not to overmix. To do this, sweep the outside of the bowl, fold it over the flour then repeat on the opposite side of the bowl until no streaks of flour remain. It is okay if the batter isn’t perfectly smooth.


Pour the batter into a parchment lined 8-in x 8-in baking pan. Use the spatula to spread it evenly in the pan then tap the pan on the counter to level the batter. Place in the oven to bake for 30-35 minutes or until a toothpick comes out mostly clean.
Allow the cake to cool in the pan for 15 minutes, then transfer it to a wire rack to finish cooling completely (about 1 1/2 to 2 hours).
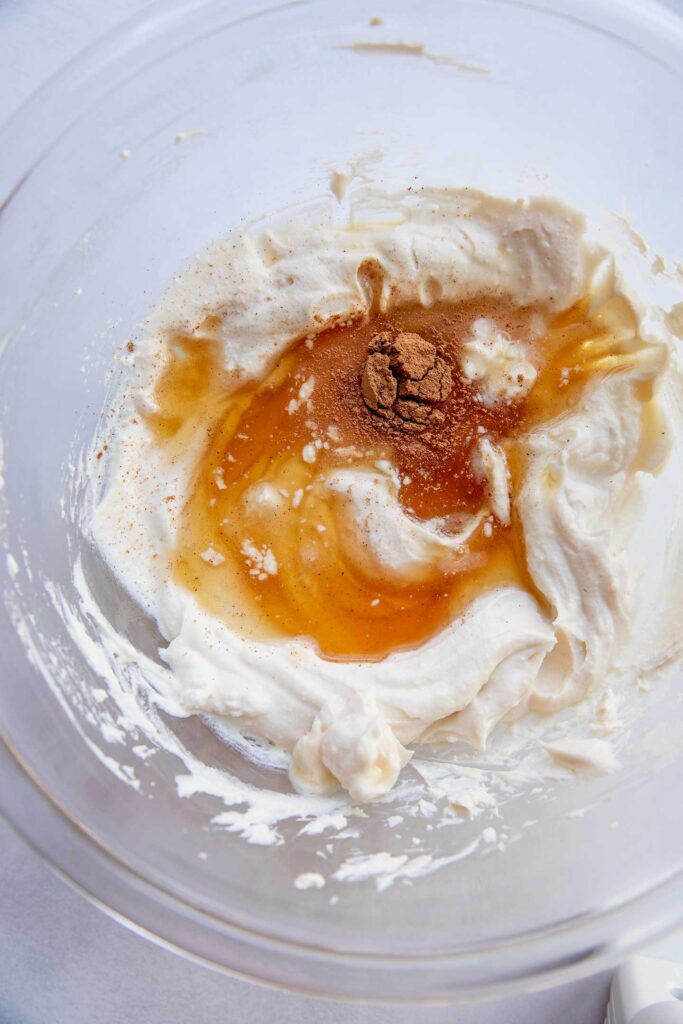

While the cake cools, add the cream cheese and butter to a bowl and use the hand mixer to whip together until very smooth and fluffy, about 2 minutes. Scrape down the sides of the bowl then add the maple syrup, pumpkin spice, salt and vanilla then whip again at medium high speed until smooth. Store in the fridge until you are ready to frost the cake.


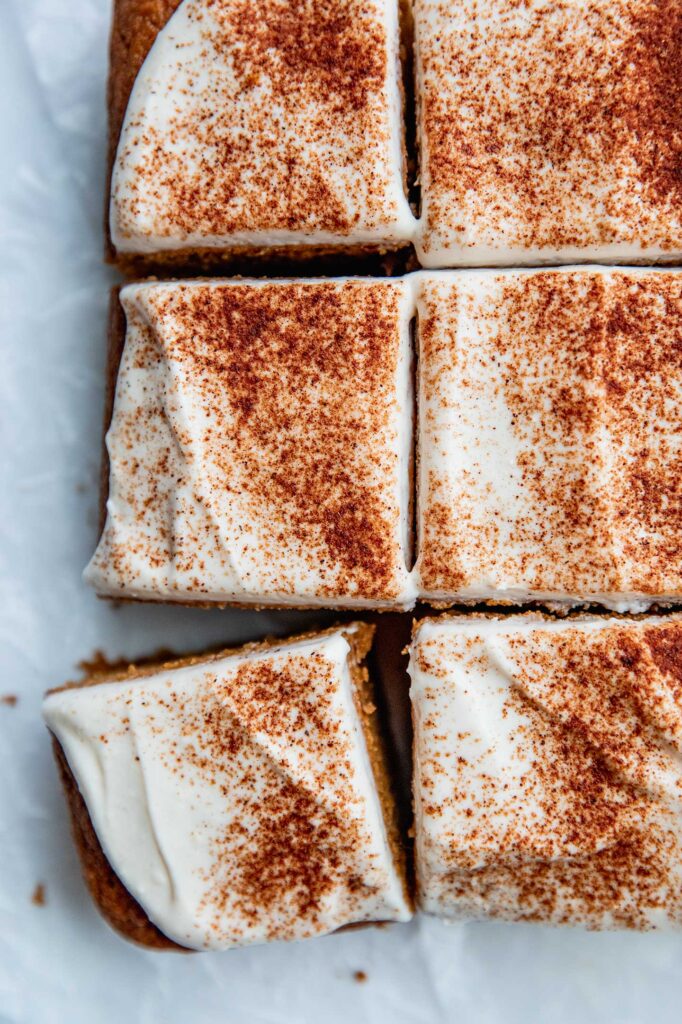
When ready to serve, spoon the frosting on top of the cake then with an offset spatula spread the frosting evenly overtop. Cut into equal pieces and enjoy.
Expert Tips
- Avoid overmixing. Use a spatula to fold the flour into the batter until no streaks of flour remain. The batter does not need to be 100% smooth. Overmixing can ruin all the work you do to follow a recipe to a “t”. In this case, over mixing can cause your cake to deflate after baking leading to a gummy cake texture.
- Allow your cake to completely cool before cutting. This cake is moist and if cut while still hot, the cake will compress and obtain a gummy texture on the bottom. Plus, a warm cake will cause the frosting to melt, so please wait for it to cool completely!
- If you want your cake to have more pumpkin flavor, use less pumpkin spice. One version I tested I accidentally left out the pumpkin spice, and the pumpkin flavor was incredible, so feel free to use or leave out based on your preference.
- Measure with precision. For the most accurate results, use a digital scale to weigh out your ingredients. Using a scale also will help minimize the need to clean measuring spoons and cups.
Frequently Asked Questions
This recipe was not tested using gluten-free flour and at the moment I do not have a solid substitution. I would be cautious making a 1:1 swap with gluten-free all purpose flour as it will not provide the same lift that gluten containing flours will. For a gluten-free pumpkin cake, I would recommend this recipe here.
The unfrosted cake can be covered or wrapped in plastic and left on the counter for 3 days. To keep it for 5 days, store the covered cake in the fridge. The frosting can be stored in an airtight container separately in the fridge for up to 5 days. Allow the frosting to come to room temperature before spreading on the cake.
I would stick to an 8-in x 8-in pan as directed. Changing the type of pan you use can impact the end result of your cake. If you use a bigger pan, you may not need as much cook time. If you use a smaller loaf pan you will need significantly more cooking time. So, please stick to the recommended pan.
How to Serve
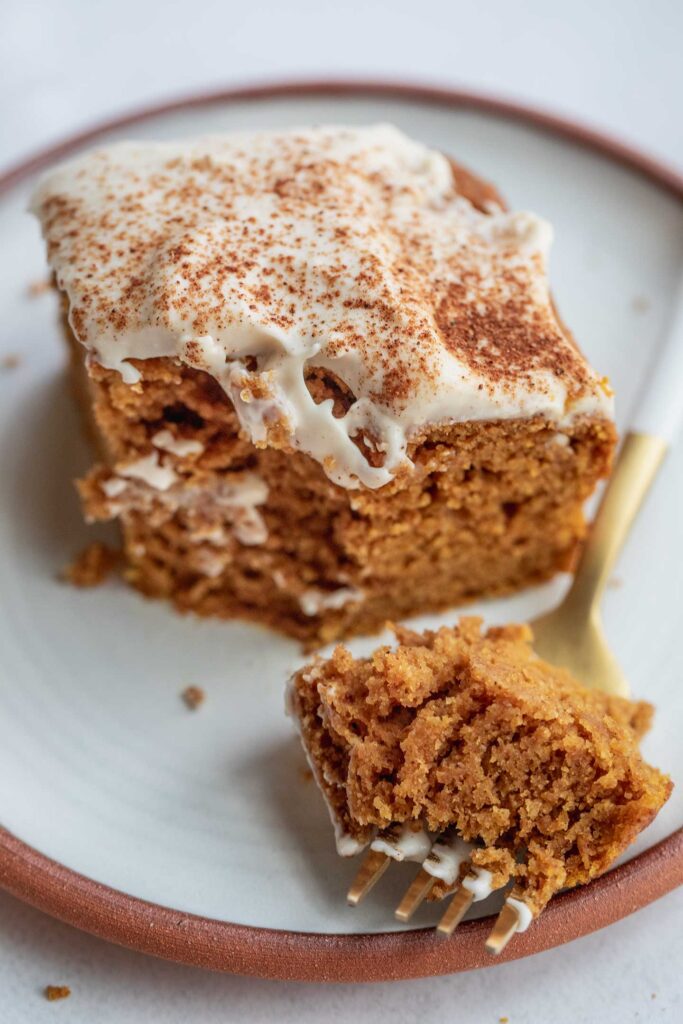
The cream cheese frosting is completely optional, and in all honesty, I treat this like a snack cake and am pretty content with enjoying a slice without frosting. It tastes that good on its own. So if you don’t want to have frosting, enjoy it plain or topped with a dusting of powdered sugar.
This cake is great to enjoy with tea or coffee. If you want a fun drink as well as an excuse to use up some of that leftover pumpkin, I highly recommend this Pumpkin Spice Hot Chocolate.
More Sweet Treats to Try
- Peanut Butter and Jelly Oatmeal Cups
- Pumpkin Pancakes
- Puff Pastry Pear Galette
- Vegan Peanut Butter Blondies
- Apple Crisp Stuffed Baked Apples
If you tried this recipe or any other recipe on the blog, then let me know what you thought in the comments below! And if you loved it, don’t forget to rate it too. Feel free to follow on Instagram, Pinterest, and TikTok for the latest nutrition tips and recipe videos.
Print
Pumpkin Olive Oil Cake
- Prep Time: 20 minutes
- Cook Time: 35 minutes
- Total Time: 55 minutes
- Yield: 9 servings 1x
- Category: Dessert
- Method: Baking
- Cuisine: American
- Diet: Vegan
Description
A fluffy and moist Pumpkin Olive Oil Cake infused with warming pumpkin spice and the right amount of sweet for the ultimate fall treat. The best part, it maintains the perfect crumb while being completely dairy-free and egg-free.
Ingredients
Pumpkin Cake
- 1/4 cup unsweetened soy milk
- 1 tbsp apple cider vinegar
- 1/3 cup aquafaba
- 1/4 cup (55g) olive oil
- 1/4 cup (70g) unsweetened plain plant-based yogurt
- 1/2 cup (105g) brown sugar
- 1/4 cup (60g) cane sugar
- 1 cup canned pumpkin puree
- 1 tsp vanilla extract
- 2 cups (260g) One Degree Organics Sprouted Spelt Flour
- 2 tsp pumpkin spice
- 1/4 tsp ground clove
- 2 tsp baking powder
- 1/2 tsp baking soda
- 3/4 tsp kosher salt
Maple Cream Cheese Frosting
- 8 oz (227g) plant-based cream cheese, room temperature
- 3 tbsp (45g) plant-based butter, room temperature
- 1/4 cup maple syrup
- 1/2 tsp pumpkin spice
- 1/4 tsp kosher salt
- 1 tsp vanilla extract
Instructions
- Preheat the oven to 350F. Measure out the milk in a liquid measuring cup and whisk in the apple cider vinegar to make a buttermilk mixture and set aside.
- To a large mixing bowl add the aquafaba. Using a handheld electric mixer, whip and aerate the aquafaba for about a minute until the mixture is uniformly foamy.
- To the foamy mix add the olive oil, yogurt, sugar, pumpkin, vanilla, and the buttermilk mixture and whip again with the mixer until completely smooth.
- In a separate bowl, measure out the flour, pumpkin spice, clove, baking powder, baking soda and salt then whisk together to combine.
- Pour the flour mixture into the bowl of wet ingredients and with a rubber spatula, fold the flour together to make a batter, making sure not to overmix. To do this, sweep the outside of the bowl, fold it over the flour then repeat on the opposite side of the bowl until no streaks of flour remain. It is okay if the batter isn’t perfectly smooth.
- Pour the batter into a parchment lined 8-in x 8-in baking pan. Use the spatula to spread it evenly in the pan then tap the pan on the counter to level the batter. Place in the oven to bake for 30-35 minutes or until a toothpick comes out mostly clean.
- Allow the cake to cool in the pan for 15 minutes, then transfer it to a wire rack to finish cooling completely (about 1 1/2 to 2 hours).
- While the cake cools, add the cream cheese and butter to a bowl and use the hand mixer to whip together until very smooth and fluffy, about 2 minutes. Scrape down the sides of the bowl then add the maple syrup, pumpkin spice, salt and vanilla then whip again at medium high speed until smooth. Store in the fridge until you are ready to frost the cake.
- When ready to serve, spoon the frosting on top of the cake then with an offset spatula spread the frosting evenly overtop. Cut into equal pieces and enjoy.
Notes
Avoid overmixing. Use a spatula to fold the flour into the batter until no streaks of flour remain. The batter does not need to be 100% smooth. Overmixing can ruin all the work you do to follow a recipe to a “t”. In this case, over mixing can cause your cake to deflate after baking leading to a gummy cake texture.
Allow your cake to completely cool before cutting. This cake is moist and if cut while still hot, the cake will compress and obtain a gummy texture on the bottom. Plus, a warm cake will cause the frosting to melt, so please wait for it to cool completely!
If you want your cake to have more pumpkin flavor, use less pumpkin spice. One version I tested I accidentally left out the pumpkin spice, and the pumpkin flavor was incredible, so feel free to use or leave out based on your preference.
Measure with precision. For the most accurate results, use a digital scale to weigh out your ingredients. Using a scale also will help minimize the need to clean measuring spoons and cups.
This post contains affiliate links which means I will make a small commission if you purchase from those links. I only recommend and share products that I know, trust and personally use myself!