

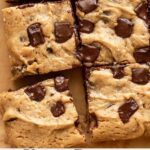
Vegan Peanut Butter Blondies
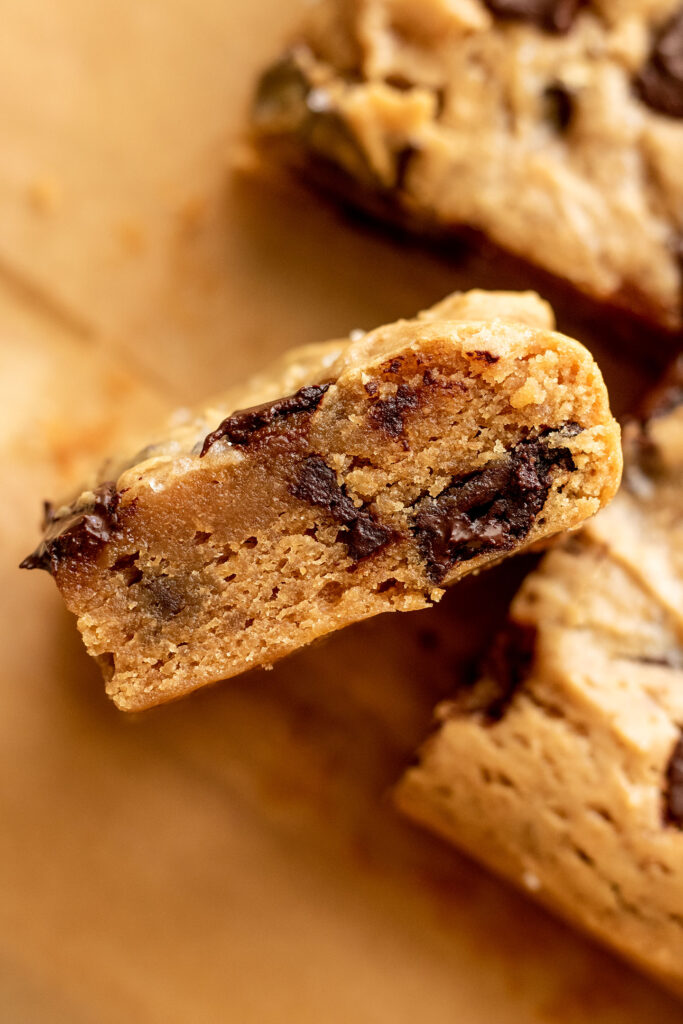
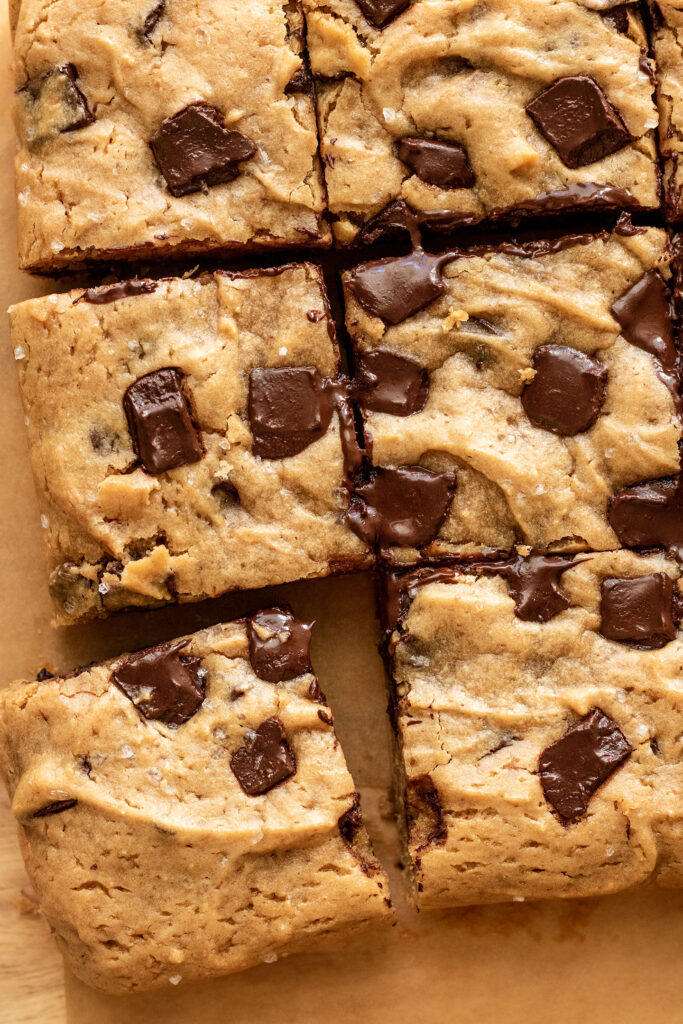
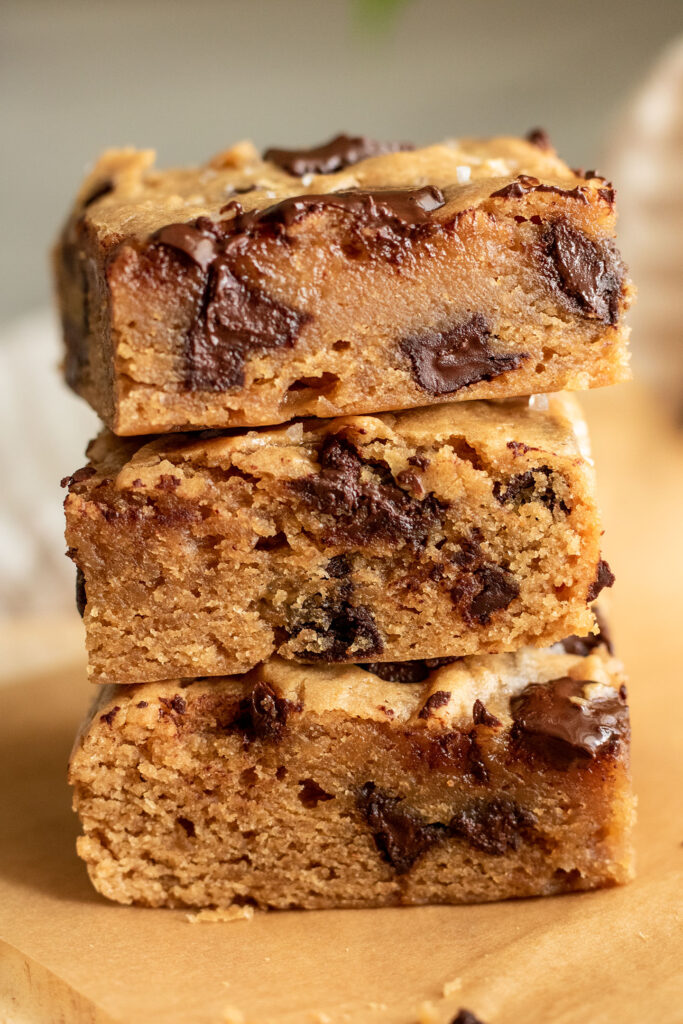
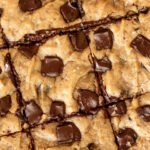
Vegan peanut butter blondies with a crackly top, gooey chocolate chips and the best chewy center. Soft and buttery treats that are super easy to make.
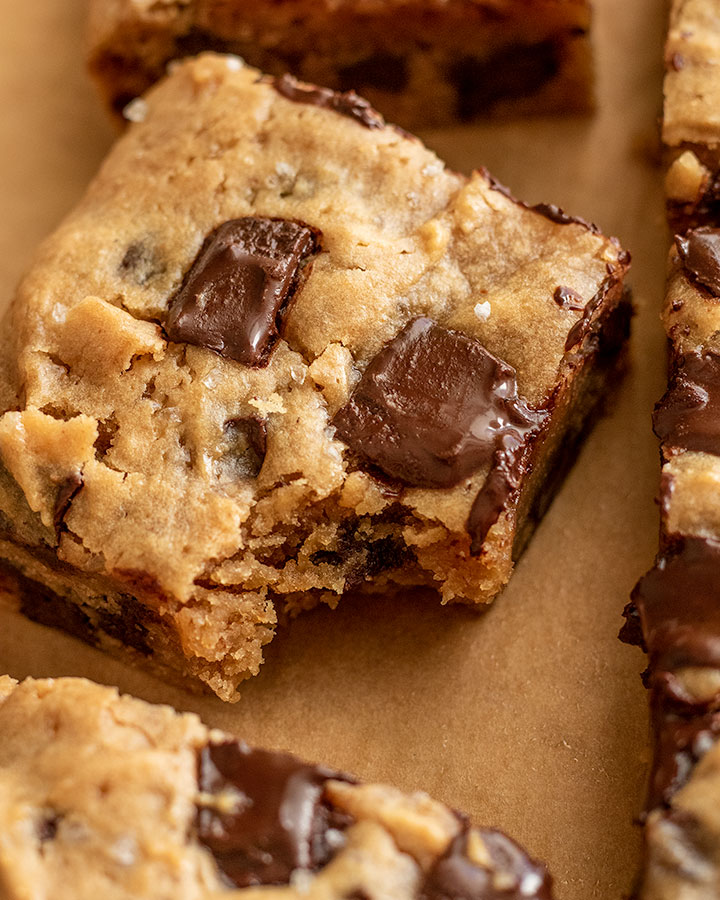
Brownies are a weakness for me, but these Vegan Peanut Butter Blondies have become an even greater weakness. It’s like the easier way of making chocolate chip cookies. No dough rolling required. And they come out just as perfectly chewy and gooey.
If you are looking for a very easy chewy blondie recipe that also happens to be completely dairy and egg-free, then you are in the right place!
Why You’ll Love These Chewy Vegan Blondies
- They have a classic chewy, fudgy texture with a crackly, shiny top
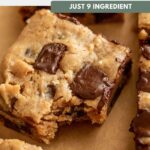
- Made with 9 simple ingredients
- Mixed together in just one bowl
- Can be made with whole grain flour to make them more wholesome
- Vegan and can be made gluten-free
Key Ingredients and Substitutions
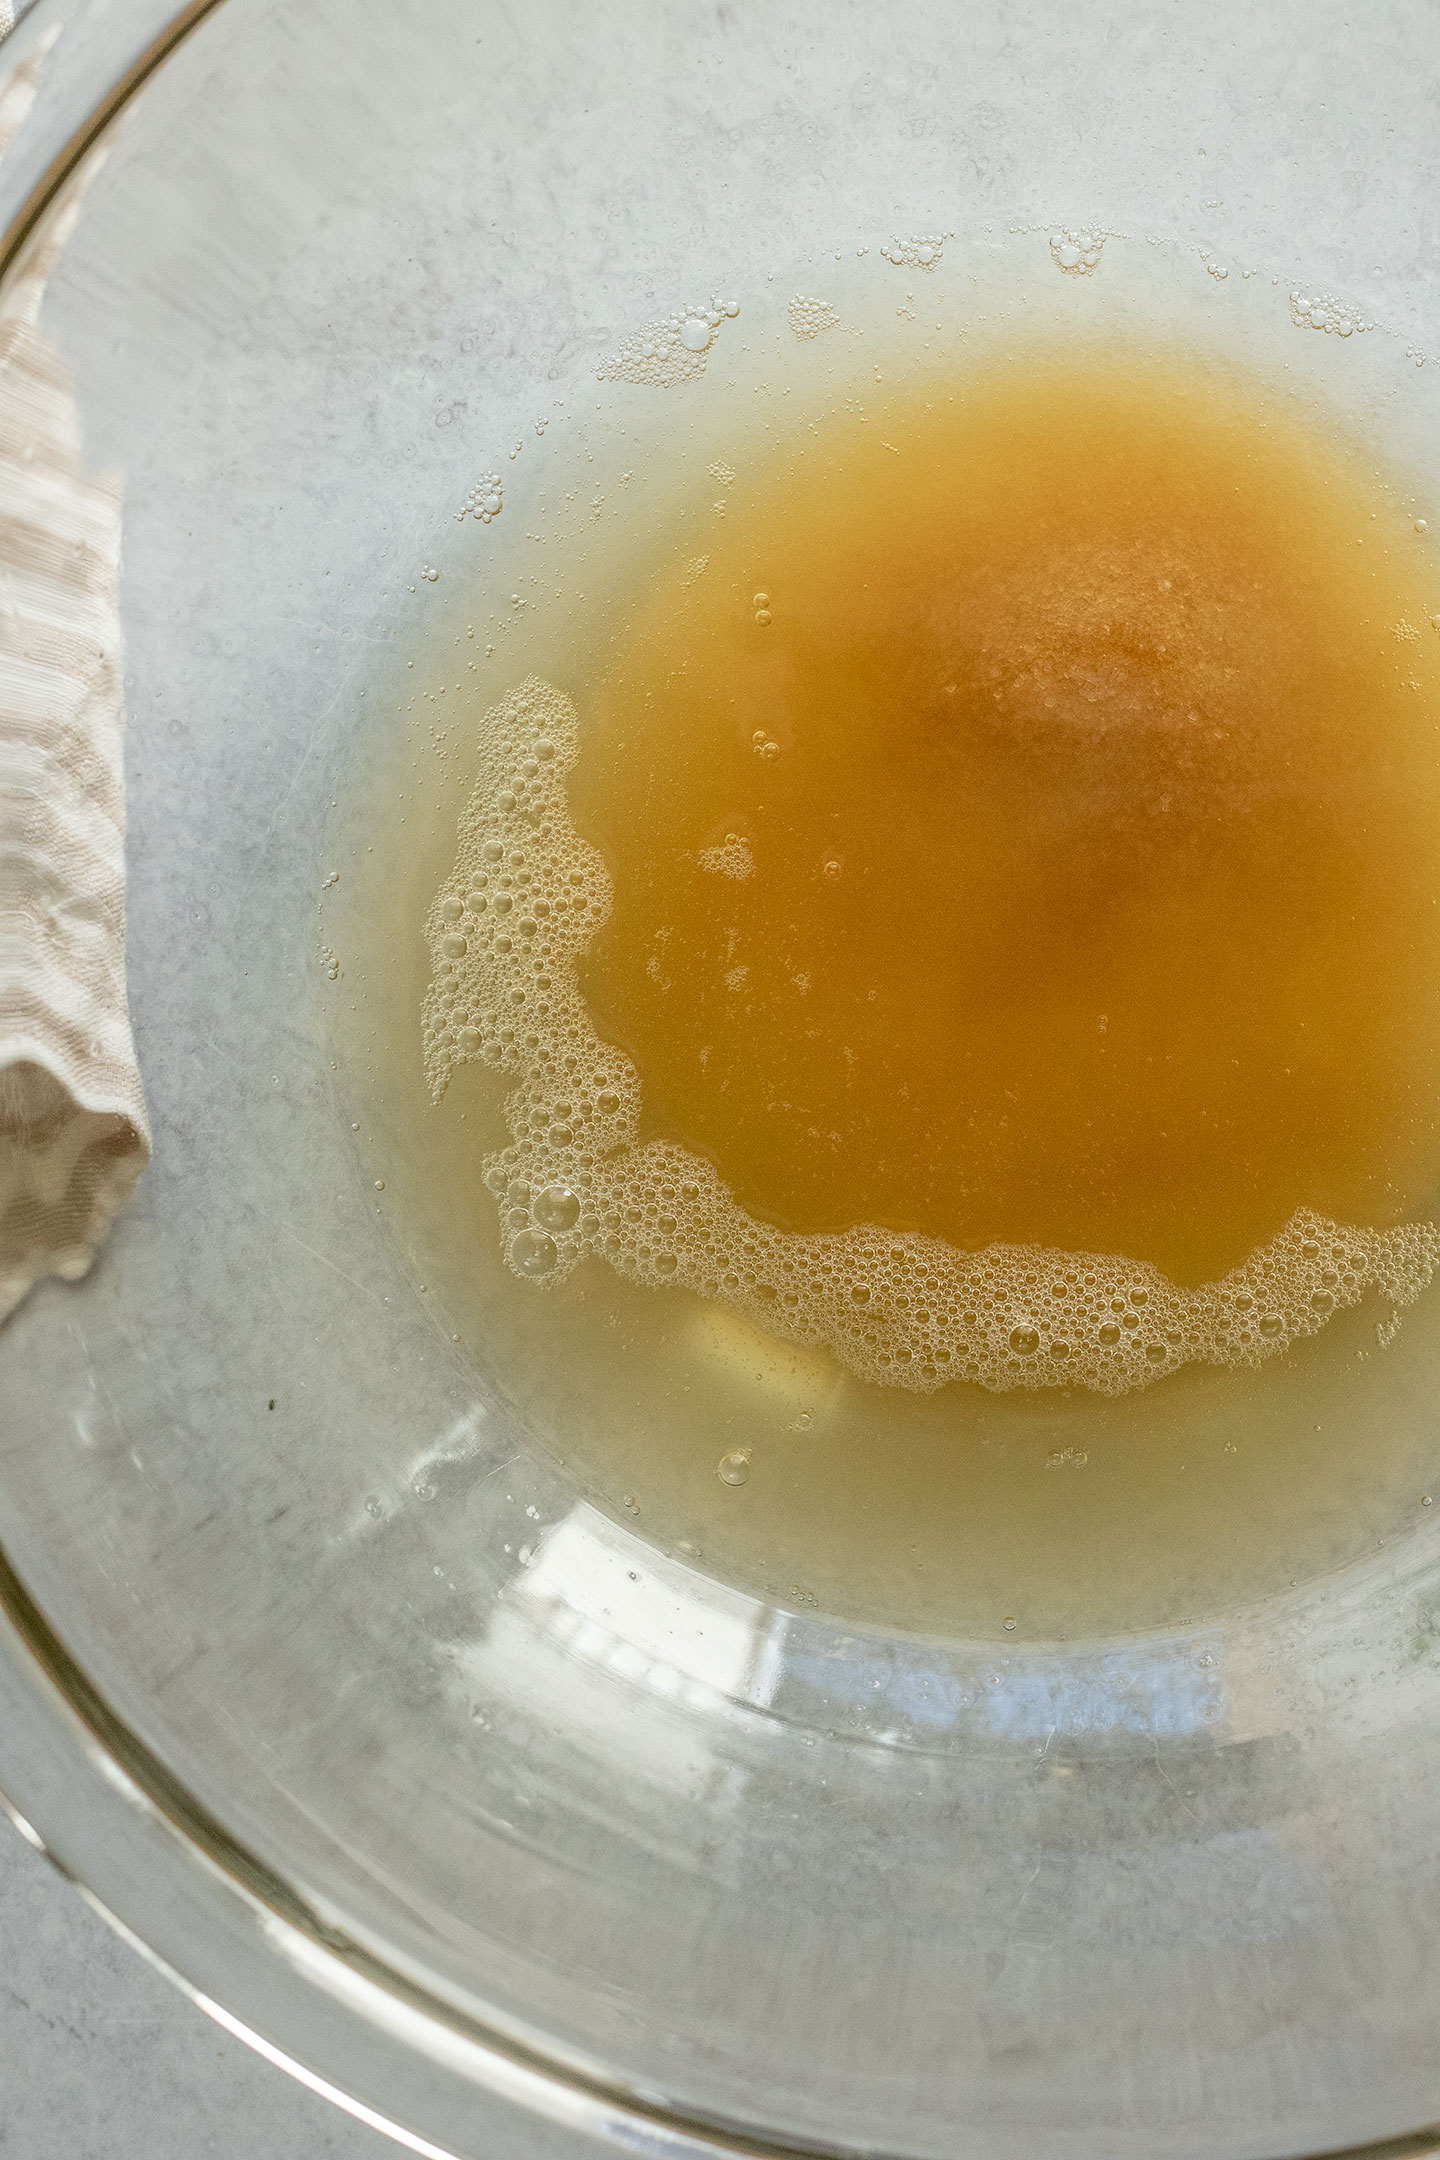
- Aquafaba: This is the liquid found inside a can of chickpeas. Just open the can and drain just the liquid to use as a replacement for eggs in this recipe. You can save the chickpeas for a tasty chickpea recipe like these Lemon Garlic Marinated Chickpea Wraps.
- Sugar: To give these an almost chewy cookie texture, I used a combination of both cane sugar and light brown sugar. To keep these truly vegan opt for organic or vegan dedicated brands. I have not tested this recipe with other sugar alternatives.
- Peanut Butter: Use a salted natural peanut butter. It should be runny and creamy. This rule applies for peanut butter swaps as well. You can use cashew butter, almond butter or even sunflower seed butter depending on preference.
- Vanilla: Good quality vanilla makes a big difference in flavor. It also helps to keep the sugars reduced in this recipe.
- Baking Powder: For leavening. Do not use baking soda.
- Salt: If you use unsalted peanut butter, you may need an extra sprinkle of salt to the batter to help balance out the sweetness.
- Flour: I have tested this recipe with whole wheat pastry flour, all-purpose flour and gluten-free all-purpose 1:1 baking flour.
- Chocolate Chips: Use dairy-free chocolate chips or chunks or any of the other add-in suggestions at the end of this post.
How to Make Vegan Peanut Butter Blondies
In a mixing bowl, add your aquafaba and cane sugar. Using an electric hand mixer or a cheap handheld frother, whip the mixture together until it is fluffy, thick and glossy. To the bowl, add your brown sugar, peanut butter, vanilla, baking powder and salt and fold it together using a spatula.

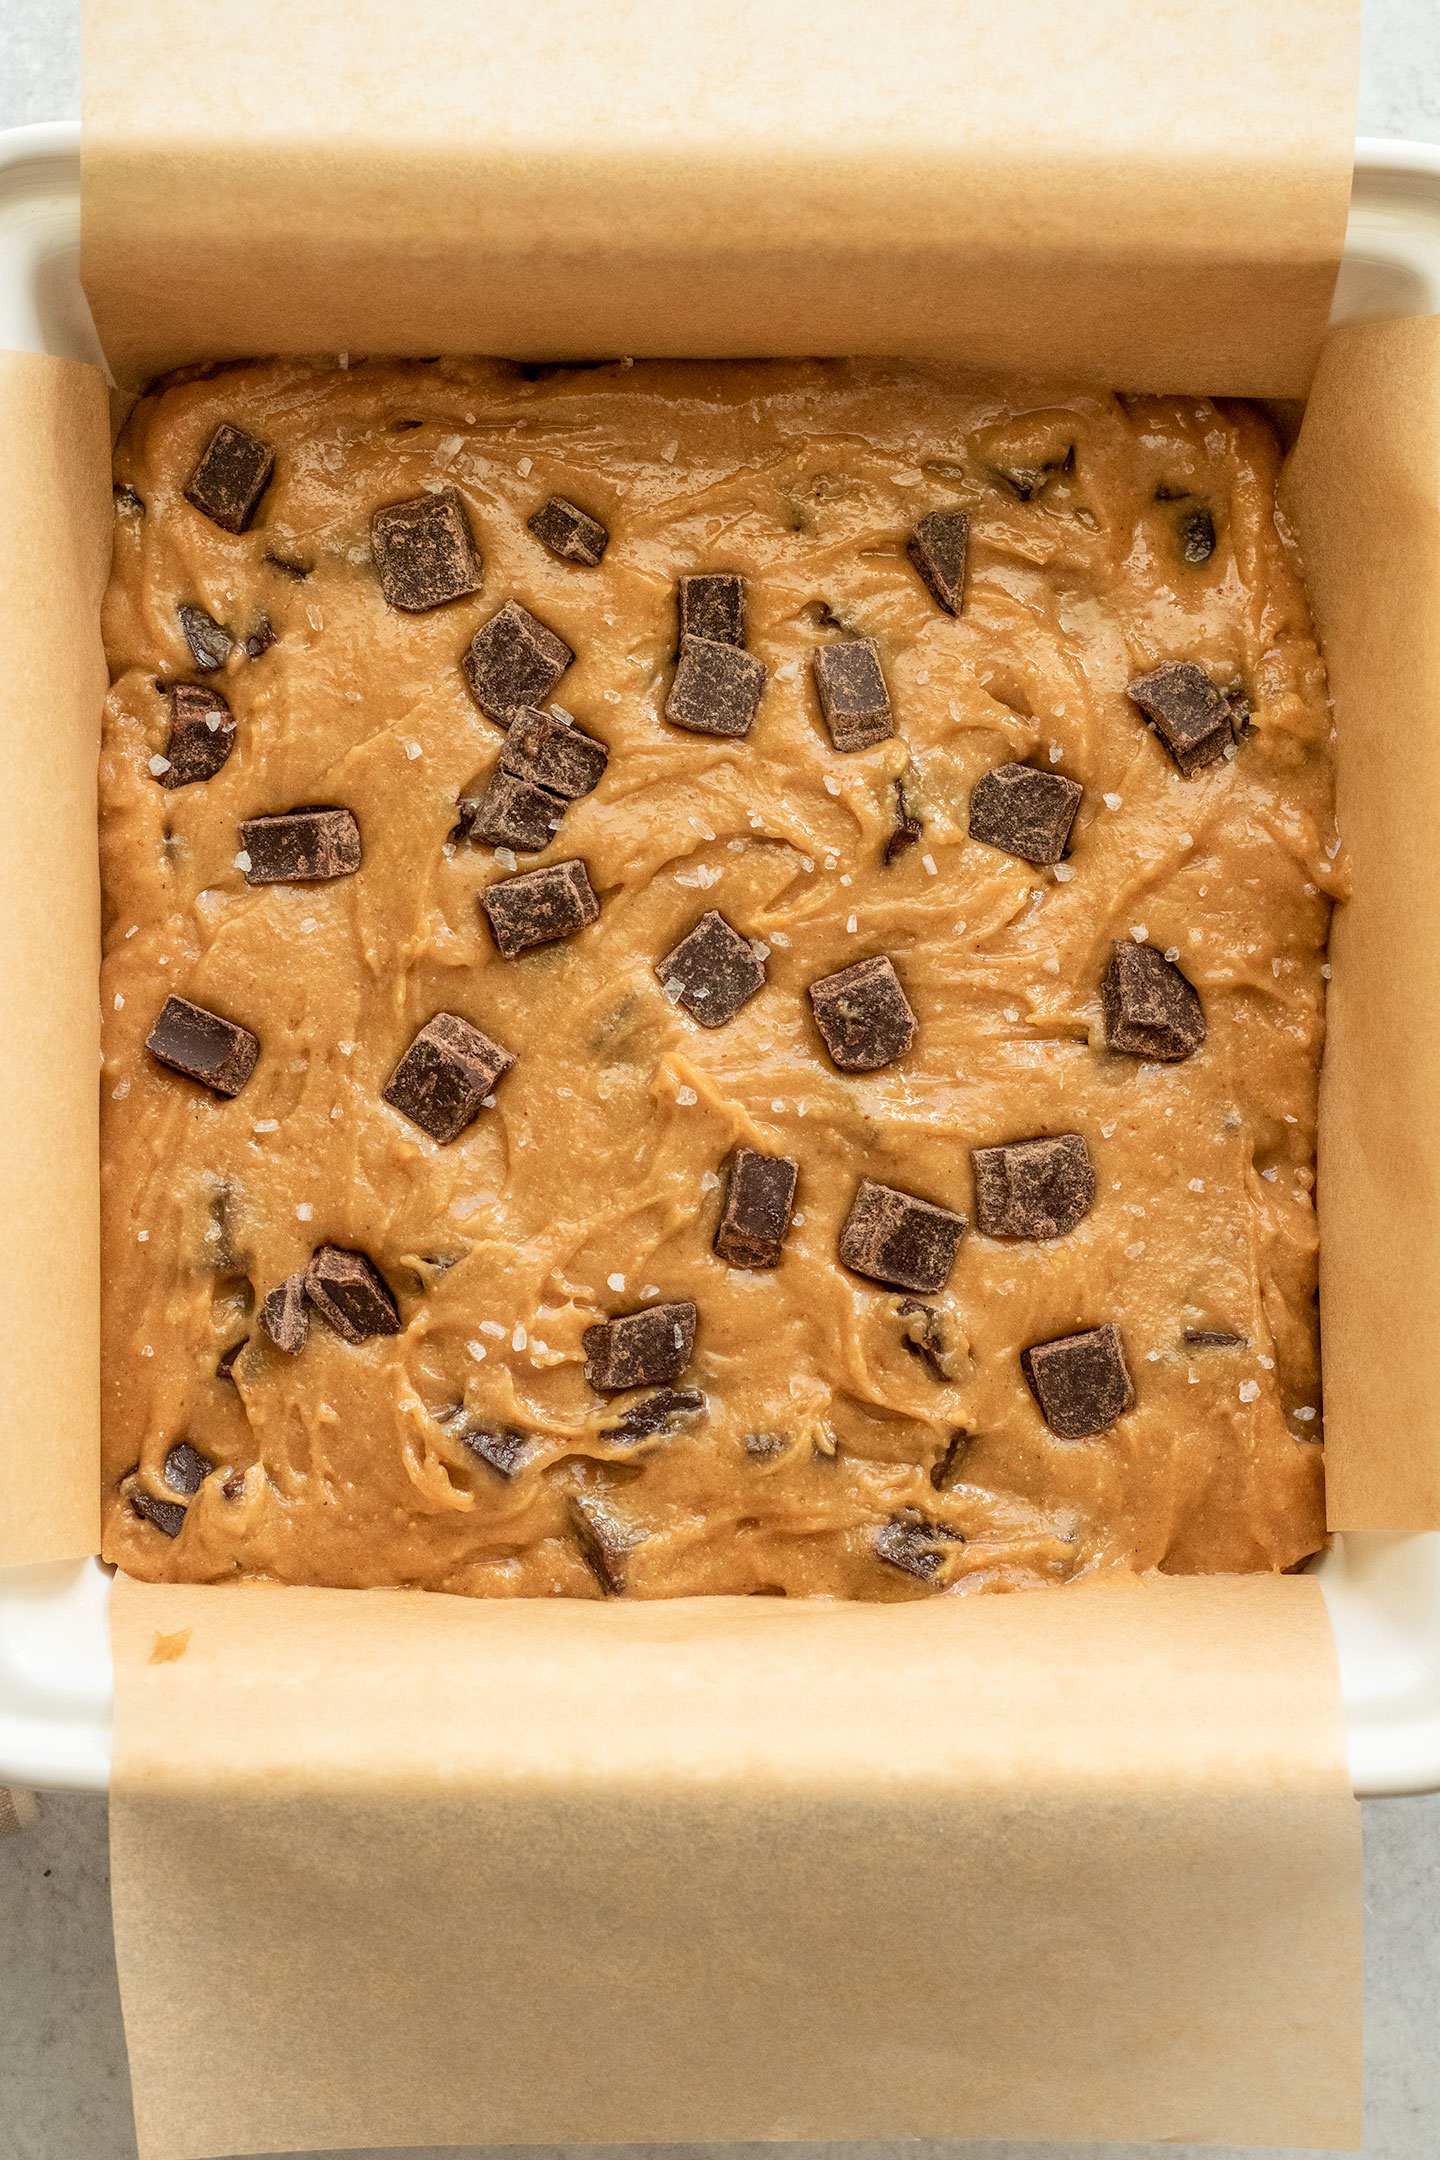
Add in the flour and carefully fold the batter together until just combined and no large clumps of flour remain. Then fold in the chocolate chips and drop the batter into a parchment lined baking tray (8-in x 8-in). Bake the tray for just 30 minutes.

The blondies will appear underdone in the center, but allow to fully cool in the tray so they can finish baking. Cut into your preferred bar size and enjoy.
Expert Tips
- Make sure to use natural peanut butter or nut butter alternative. For the ultimate fudgy texture, going for nut butters that are naturally creamy and runny will yield the best texture as the natural oils help to create the perfect texture.
- Do not overmix your batter. Make sure just to fold the batter enough so that no big clumps of flour remain.
- Underbake your blondies. At the time suggested for baking this recipe, the blondies may look underdone in the middle when removing from the oven, but they will continue to bake as they are cooling in the pan.
- Make sure to measure your flour appropriately. Either use a scale to measure or fluff your flour before measuring using the spoon and level method.
Frequently Asked Questions
Blondies are a little more forgiving with certain flour swaps. I have tested these blondies with all-purpose flour, whole wheat pastry flour (not whole wheat flour as this flour variety is too course), and a gluten-free 1:1 baking flour mix.
You can swap the peanut butter for a natural sunflower seed butter. Just make sure that the swap is for a variety that is creamy and runny.
Make sure that your blondies have completely cooled before placing them into an airtight storage container. This will prevent the blondies from drying out and they will last on the counter for up to 5 to 7 days.
Yes. Once cooled, store the cut slices layered between parchment paper in an airtight storage container and place in the freezer for up to 1 month. When ready to enjoy, just thaw your treat.
You may have added too much flour or overbaked your blondies. Too much flour will lead to a more dense cakey consistency and overbaking can make them more dry and crumbly.
Other Mix-Ins to Try
- Replace the peanut butter for cashew butter and vegan sprinkles for a funfetti version of this treat
- Swap the chocolate chips for crushed oreo cookies
- Add some crushed pretzels with the chocolate chips for a little crunch
- Replace the chocolate chips with a few swirls of vegan nutella over top
More Vegan Desserts to Try
- Vegan Chocolate Chip Zucchini Muffins
- Matcha Sugar Cookies
- Chocolate Churro Rice Crispy Treats
- Peach Pie Ice Cream Bars
- Strawberry Crumble Bars
- Double Chocolate Banana Bread
Vegan Peanut Butter Blondies
- Prep Time: 10 minutes
- Cook Time: 30 minutes
- Total Time: 40 minutes
- Yield: 9 squares 1x
- Category: Dessert
- Method: Baking
- Cuisine: American
- Diet: Vegan
Description
Vegan peanut butter blondies with a crackly top, gooey chocolate chips and the best chewy center. Soft and buttery treats that are super easy to make.
Ingredients
- 1/2 cup aquafaba (liquid only from a can of no salt added chickpeas)
- 1/4 cup cane sugar
- 1/2 cup natural peanut butter, salted
- 1/3 cup packed light brown sugar
- 1 tbsp vanilla extract
- 1/2 tsp baking powder
- 1/2 tsp salt
- 1 cup (125 g) whole wheat pastry flour, all-purpose flour or gluten-free 1:1 all-purpose flour mix
- 3/4 cup dairy-free chocolate chips or chunks, optional
Instructions
- Preheat the oven to 350F and line an 8-in x 8-in baking pan with parchment paper.
- Add your aquafaba and your cane sugar to a mixing bowl. With an electric hand mixer or hand held frother, blend the mixture until the aquafaba has frothed and thickened to a glossy consistency.
- Pour in the peanut butter, brown sugar, vanilla, baking powder and salt, then with a spatula fold it into the aquafaba mixture until fully combined.
- Add the flour and fold it into the batter until just combined and no clumps of flour remain. If using chocolate chips, fold that into the batter.
- Pour your batter into the lined 8-in x 8-in baking pan and place in the oven to bake for 30 minutes. The middle may appear slightly underbaked, but it will continue to cook in the pan once removed from the oven.
- Once cooled, remove from the pan and cut it into 9 or 16 squares based on portion preference and enjoy.
Notes
Make sure to use natural peanut butter or nut butter alternative. For the ultimate fudgy texture, going for nut butters that are naturally creamy and runny will yield the best texture as the natural oils help to create the perfect texture.
Do not overmix your batter. Make sure just to fold the batter enough so that no big clumps of flour remain.
Underbake your blondies. At the time suggested for baking this recipe, the blondies may look underdone in the middle when removing from the oven, but they will continue to bake as they are cooling in the pan.
Make sure to measure your flour appropriately. Either use a scale to measure or fluff your flour before measuring using the spoon and level method.
If you tried this recipe or any other recipe on the blog, then let me know what you thought in the comments below! And if you loved it, don’t forget to rate it too. Feel free to follow on Instagram, Pinterest, and TikTok for the latest nutrition tips and recipe videos.
★ Catherine
This post contains affiliate links which means I will make a small commission if you purchase from those links. I only recommend and share products that I know, trust and personally use myself!


These are delicious!!!!